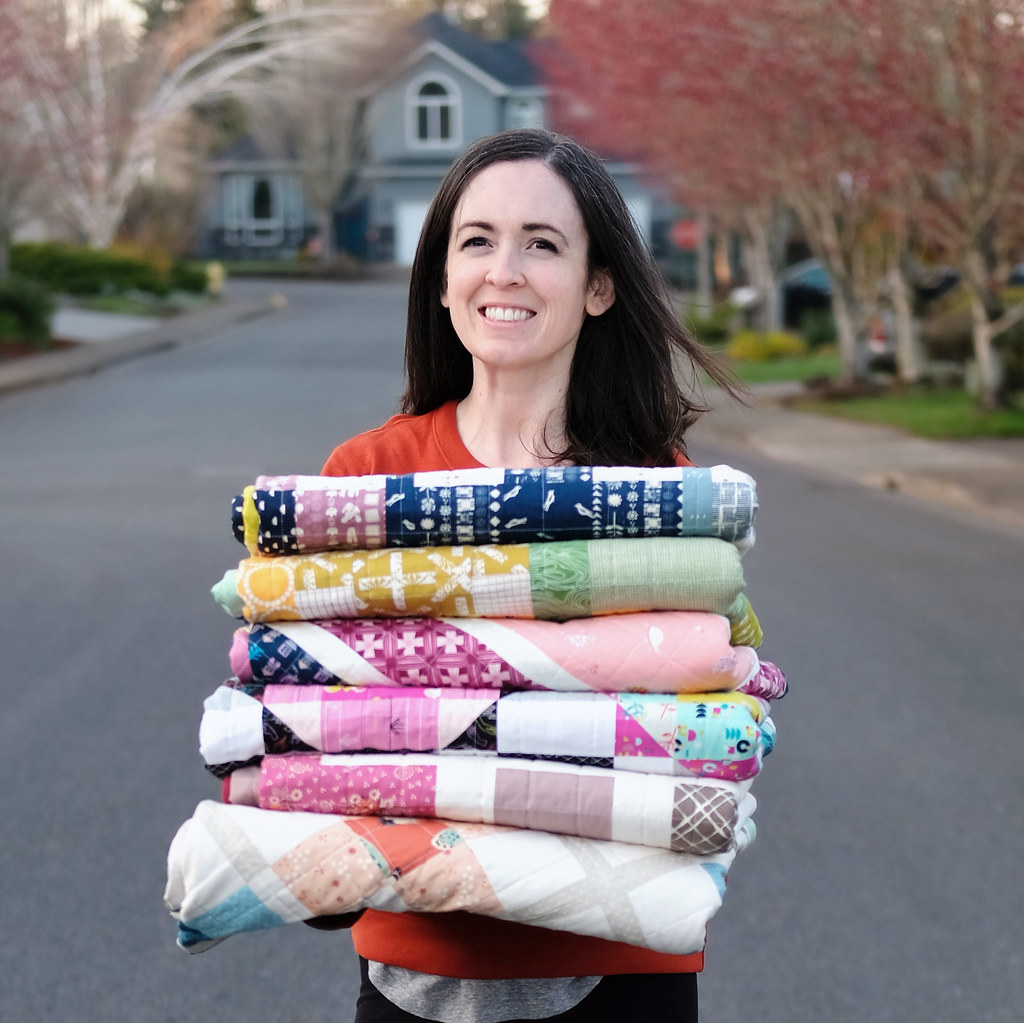
As I was getting ready to sew the binding on my Meadow quilt yesterday (I haven't shared it here yet but I have posted a couple photos on Instagram) I thought I would look to Google for some answers and I found a fantastic tip. Am I the only one who has never heard of this? Basically when you are sewing on the binding you stop a quarter inch from the edge of the corner (or whatever your seam allowance is) and then sew a diagonal line into the corner. I'm sure that makes no sense so you can read much better directions with a diagram here. It really worked!
Also yesterday, I found a very exciting magazine in the mail. The latest issue of Quilty showed up and inside was a quilt that I made last year using Nordika. So fun and exciting! These should be available soon.
And finally, have you bought yourself a Mother's Day present yet? It's not too late.
The Fat Quarter Shop has 20% off gift certificates. Quilt Market is coming up and there are going to be lots of new collections released that I will be adding to my wish list. This is a great way to get 20% off of them when they are released.
Lark Cottons has Dreamin Vintage newly in stock. This collection is inspired by vintage sheets and is so sweet.
Fabricworm has the most adorable collection Everyday Party in stock. Look at those strawberries!
Southern Fabric has Color me Happy bundles on sale. This is such a great collection!
Have a great weekend!


Hi. I must thank my first quilt teacher, that's exactly how she showed us. But I also learned to stitch the diagonal seam in the corner, top and bottom. For better binding, I also saw a video on www.qnntv.com by Patrick Lose, where he cut fabric under that diagonal to remove the extra bulk.
ReplyDeleteOh, that makes so much sense! I hadn't heard of that either.
ReplyDeleteHave a happy Mother's Day! I think we're going kayaking in our new kayak on Sunday. Yay!
I saw that binding tip recently too, and further than that the video I was watching showed how to clip a little wedge of the binding fabric that shows up between the layers of the quilt sandwich at the corners and really looked like it reduced the bulk at the corners.
ReplyDeleteOoh! I am going to follow you on IG so I can see more of that delicious quilt, love the colors! I follow the Sometimes Crafter's binding tutorial and my corners end up great. She has you stop 1/4" from the edge and sew perpendicularly to the edge, but i will try this as well, you will have a better "bolster" to fold over against.
ReplyDeleteI haven't heard of that either! Do you sew through both diagonally or just the one? And congrats on being in Quilty!! I'm in there too, i noticed you and thought, hey i know her! (thru blogland).
ReplyDeleteI have been doing my binding corners like that for a few months at least, and I think they turn out better? What a fun quilt, looks like a lovely magazine spead too.
ReplyDeleteI haven't either! I'll try it.
ReplyDeleteCongrats on the Quilty feature! I can't wait to get my copy :-)
ReplyDeletei just found that tutorial and it really does help, now if only i could sew the binding on straight
ReplyDeleteI'll have to try that out on my next binding because mine always seem a little wonky too.
ReplyDeleteCongrats on the magazine! And I'll try that tip the next time
ReplyDelete