


So bear with me, there are a lot of photos.
Supplies
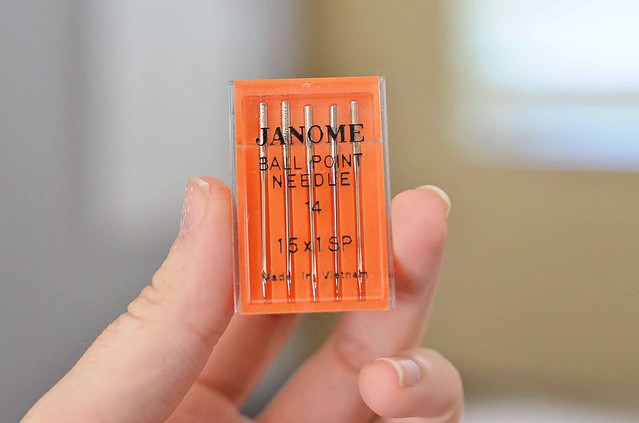
The only thing that you really need for sewing knit fabric is a ball point or stretch needle. I promise, it will make a big difference. And if you have an issue with one brand of needle, you might have better luck with another. Originally I was using a ball point needle from Joann's and had terrible skipped stitches so I ordered a pack of these off of Ebay and they sew like a dream.
Using a walking foot is not required but is very helpful, so if you have one I would recommend that you use it.
Step 1 - Attach the binding
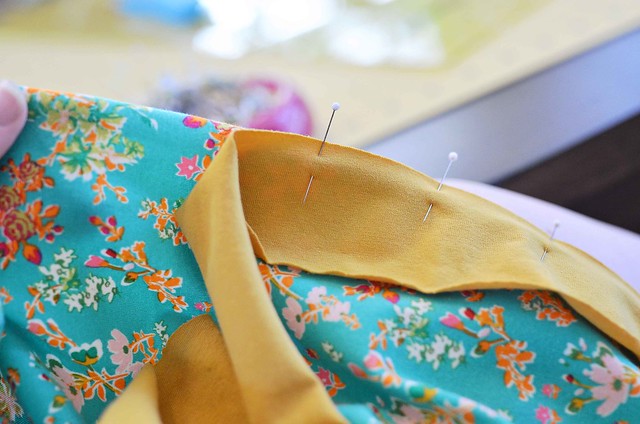
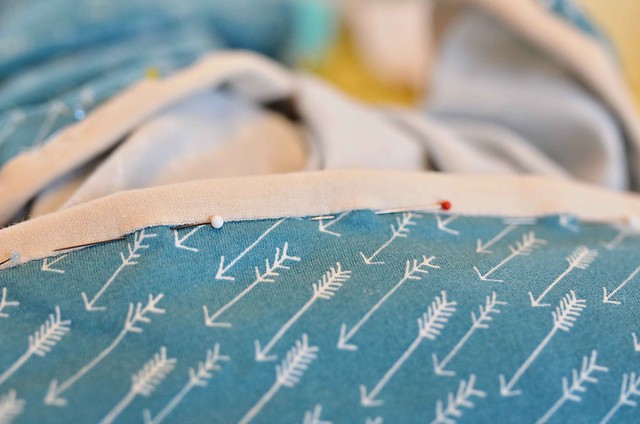
Starting in the middle of one of the blanket sides, leave a 10" tail of binding on the left and pin the raw edge of the binding to the raw edge of the blanket. Pin pretty generously all the around, especially on the curved corners.
You can attach the binding with a straight stitch, but I found that I preferred a narrow zig zag stitch because it holds up to the stretch of the fabric a little better. I like to use just under a 1/2" seam allowance.
Stop about 10" from where you started.

Step 2 - Joining the binding
There is certainly more than one way to do this, but I like to join the binding the same way I would with quilting cotton.
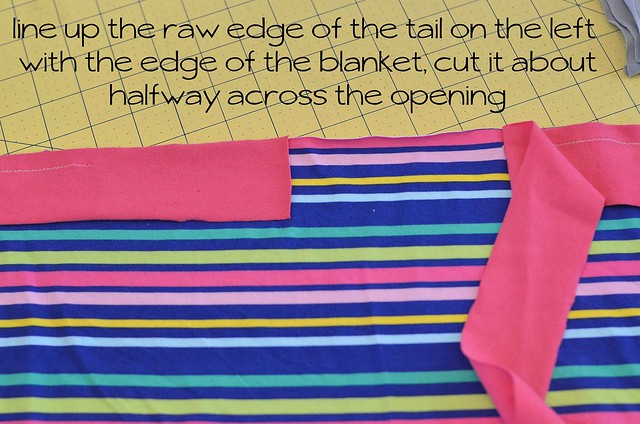
Bring the left binding tail toward the center and cut about half-ish way across the opening. It doesn't have to be exact, just eyeball it.
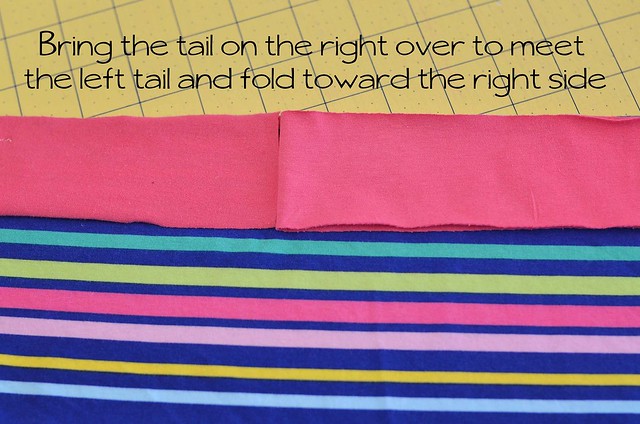
Fold the right tail over right where it meets the edge of the left tail.
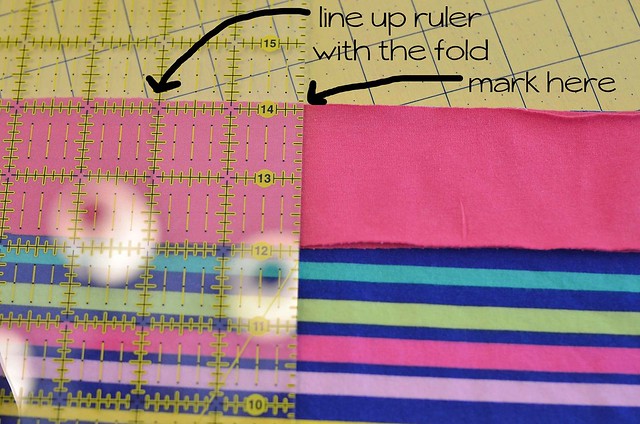
Line up the 2" line on your ruler with the fold and mark. I use my trusty Hera marker.
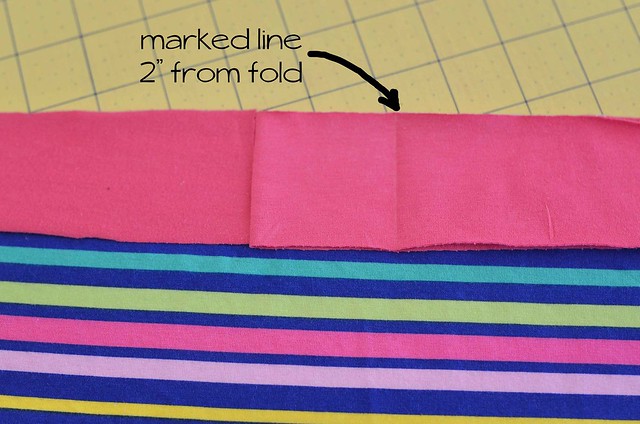
Cut along the marked line.

Place the ends of the tails right sides together and sew along the diagonal. This is a little difficult to illustrate with a photo, so I think it's best to just try it because once you see it, it makes sense.

Trim the seam allowance down to 1/4" and press the seam open. Your binding should be just the right size.
Sew the binding down to the blanket.
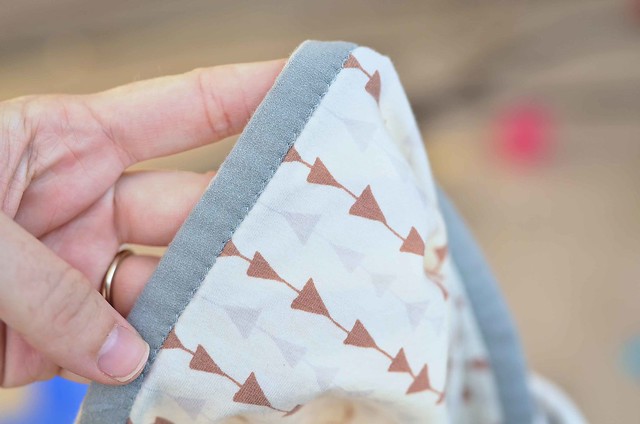
Step 3: Pinning the binding to the back
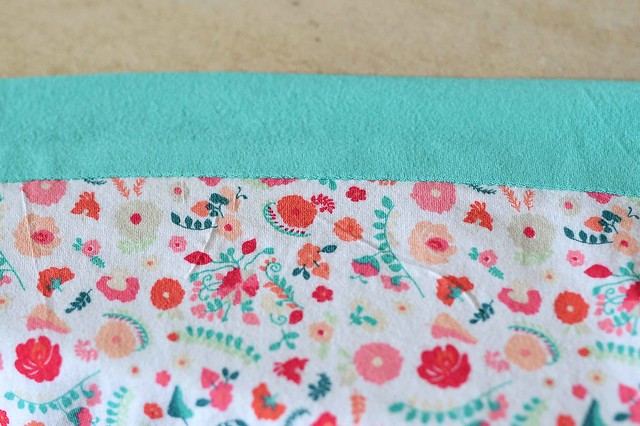
Press the binding away from the front of the blanket. It should have enough starch remaining from the previous steps that it stays pretty well.
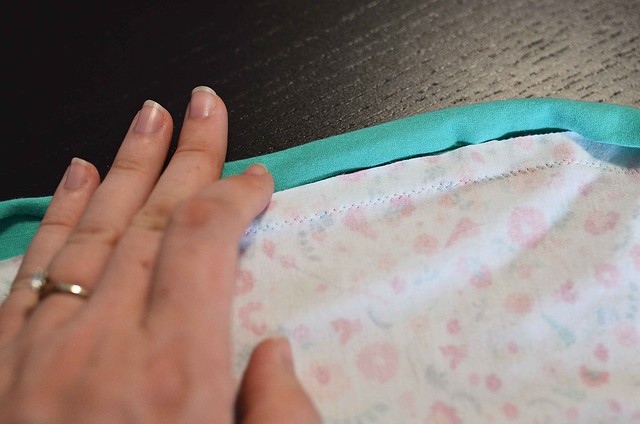
Turn the blanket over and fold down to the raw edge of the blanket.
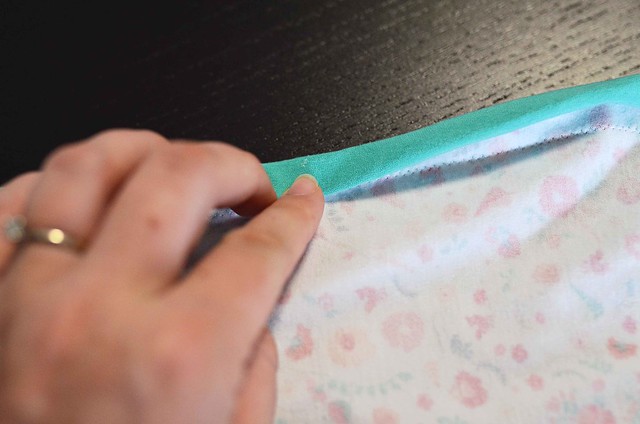
And then fold down to cover your seam from attaching the binding to the blanket. Also, please forgive my chubby, swollen pregnant fingers.
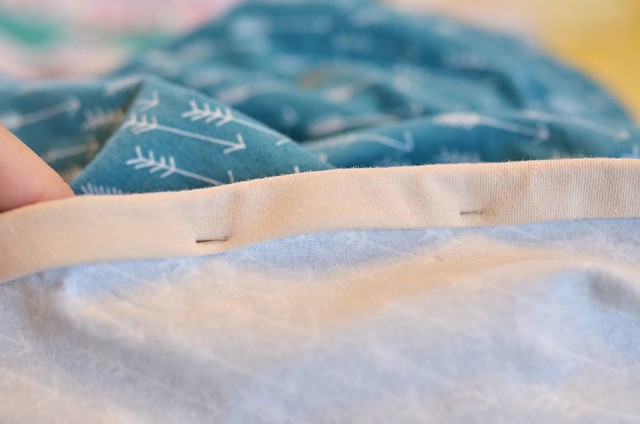
And pin. Your pins should look something like this from the back.
And this from the front. You can see that since you used a little less than a 1/2" seam, the binding goes down a little further in the back. This will help make sure you "catch" the binding in the next step.
Step 4: Sewing the binding down
One frustration that I had with knit blanket tutorials out there is that they all tell you to use a straight stitch to sew the binding down. I found this to not be the best option since the straight stitch has very little stretch. The straight stitch also creates a little bit of a muffin top affect since knit fabric is a little chubbier than quilting cotton, ha ha.
I did try out a few different options and I will share them and leave that decision up to you, though I did end up with a favorite
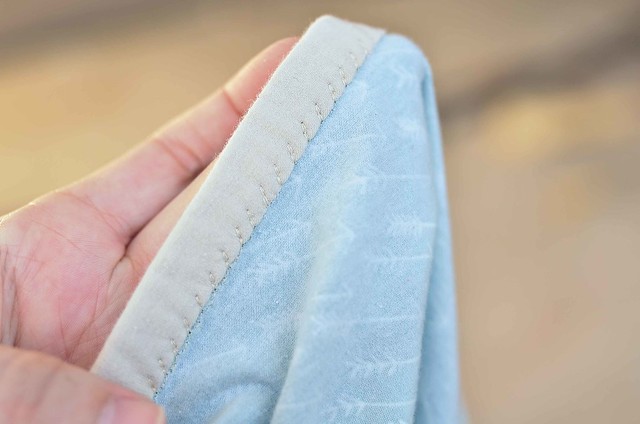
The stretch stitch.
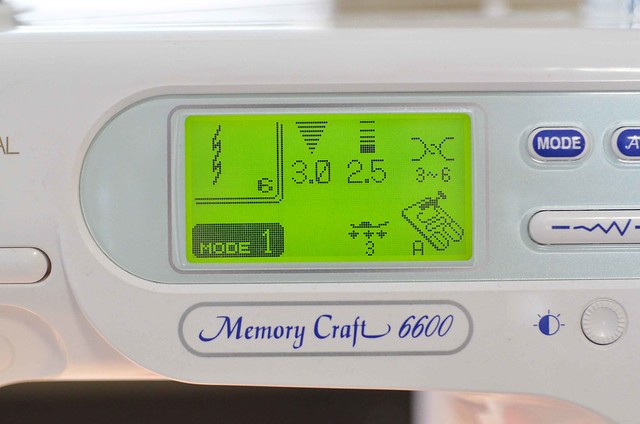
This one looks kind of like a lightning bolt. I set mine as wide and long as possible and it is definitely the stitch that holds up to the most stretch. However, it is also very dense so it feels a little weird and it was pretty impossible to feed it through my machine without causing the fabric to stretch resulting in wavy edges. I wanted to love it, but I didn't.
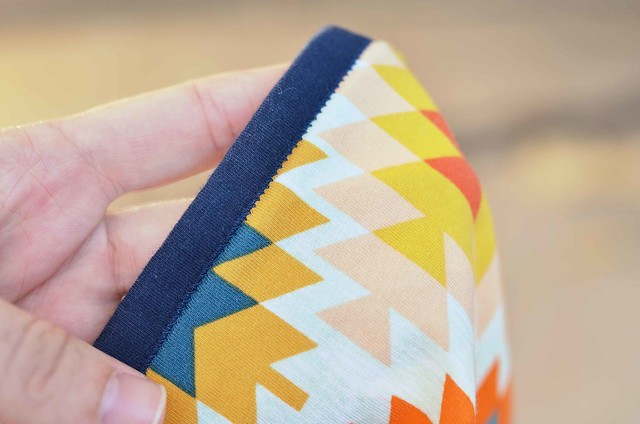
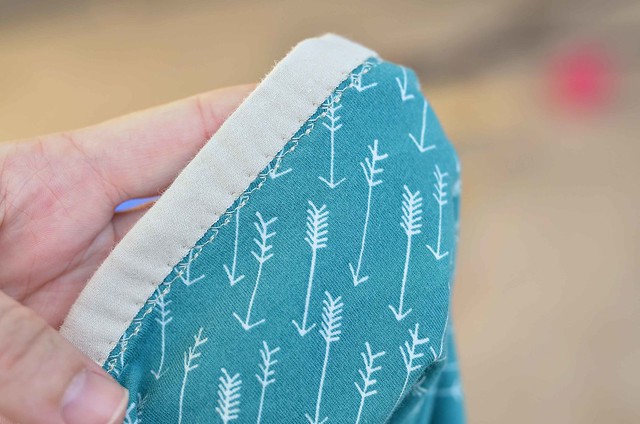
The stretchy overcasting stitch. I know that this stitch isn't meant for this type of task, but it actually worked out pretty well. I don't think I would use it all of the time, but it is pretty stretchy and I thought it went pretty well with this print.
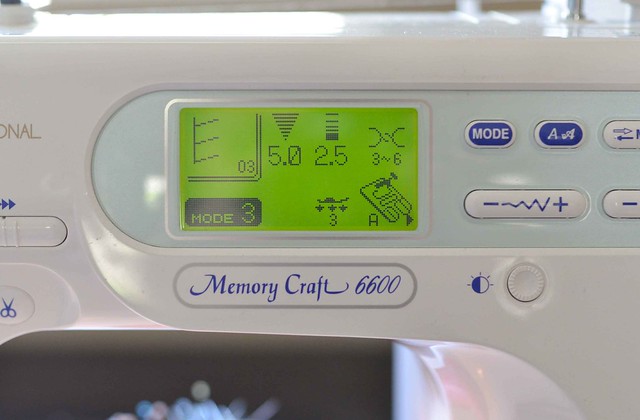
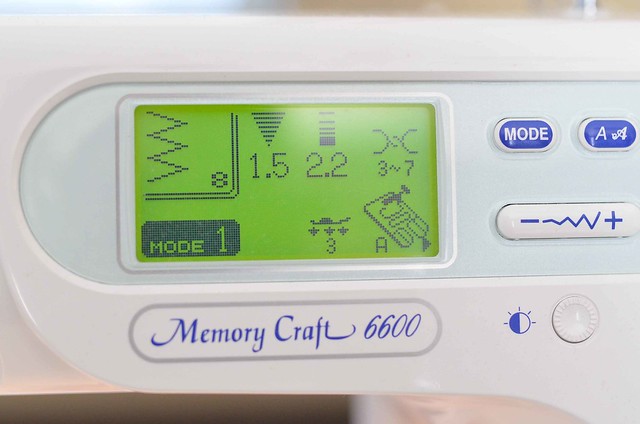
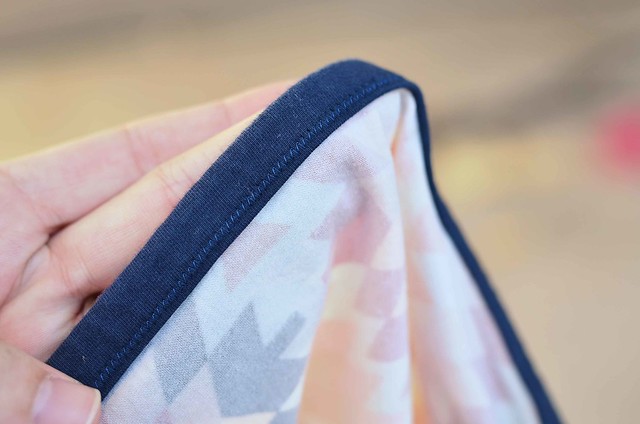
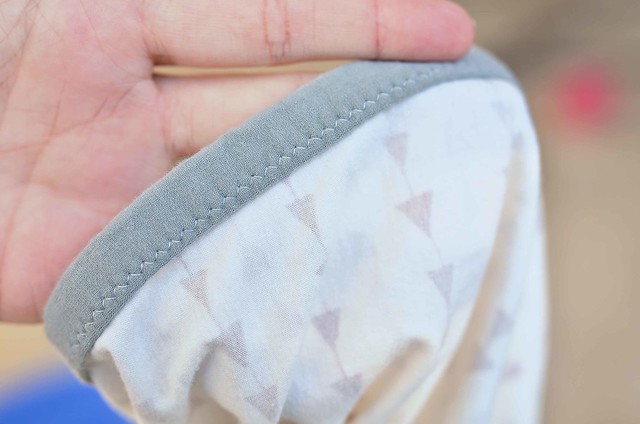
The kinda-long, kinda-narrow zig zag stitch. This one was my favorite.
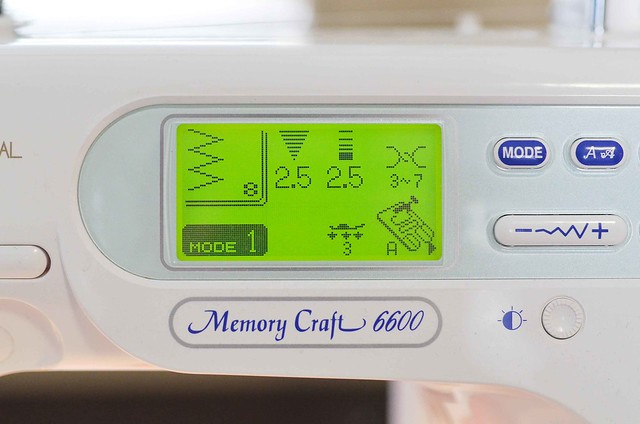
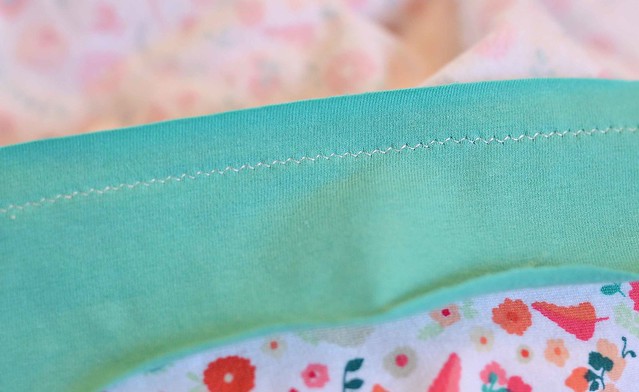
It holds up to quite a bit of stretch, is pretty quick, and has a really nice feel. I also think it looks pretty great.
Regardless of which stitch you use, your stitching will look better if you use matching thread. If you have a matching polyester thread it will hold up to stretching a little better than the cotton, though I will confess that I have very few polyester options so I used several cotton threads.
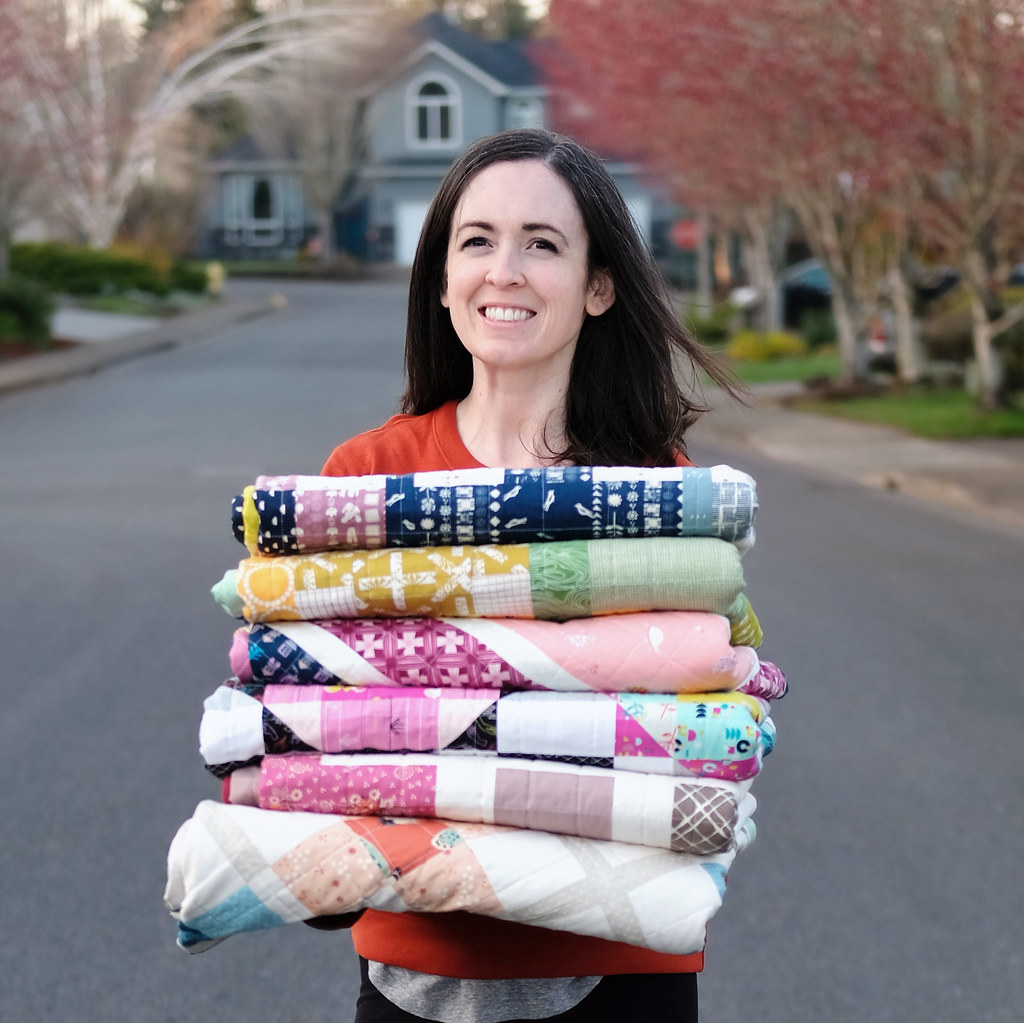
Please let me know if you have any comments or questions. I am excited to share the finished blankets with you on Monday, the Art Gallery knits are so gorgeous!

I had never thought of making jersey knit blankets until your tutorials. Brilliant! Thanks for trying out the stitches for us. I, too, prefer a zigzag to the others, and it feeds so nicely through the machine. XX!
ReplyDeleteThank you so much for your posts! Great info! I've wanted to try a knot blanket, but have been a bit intimidated. We have a baby due in May, so I'll have to give it a try soon! :)
ReplyDeleteAnd, I'm interested to see what you made with your "leftovers." Maybe next week's post?! :) :)
ReplyDeleteI just want to let you know that I just check out your site and I find it very interesting and informative..
ReplyDeletebest-sherpa-blanket
Great things put in this blog, thank you so much for sharing with us this informative blog. Visit Ogen Infosystem to get creative and responsive website designing services.
ReplyDeleteWebsite Designing Company in Delhi
Amazing blog, thank you so much for sharing with us. Get the best Shipping Services by Y&H Cargo India.
ReplyDeleteLogistics Company in India
Nice Information presented you by this blog, thank you so much for sharing this informative blog. Visit for Mutual Find Schemes and Advisors.
ReplyDeleteInvestment Advisor in Delhi
Nice Blog, Visit for the daily lifestyle activities and about Health, Wealth and Lifestyle Events by Lifestyle Magazine in India.
ReplyDeleteLifestyle Magazine