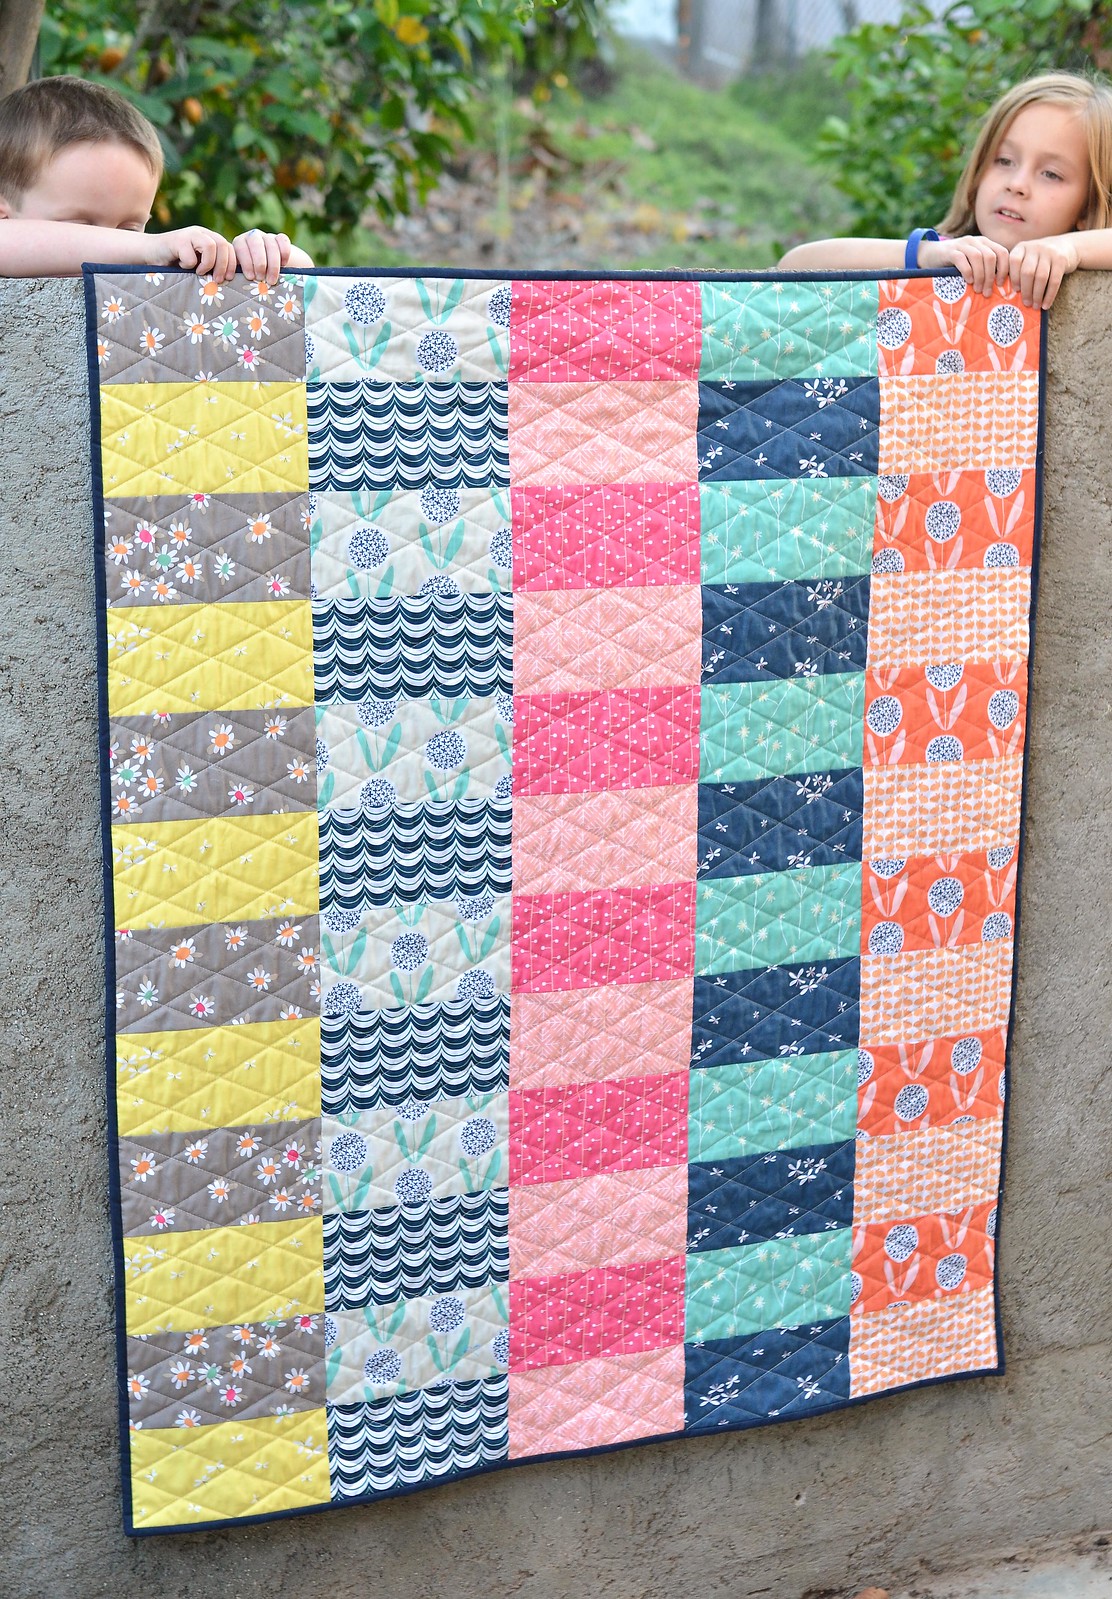
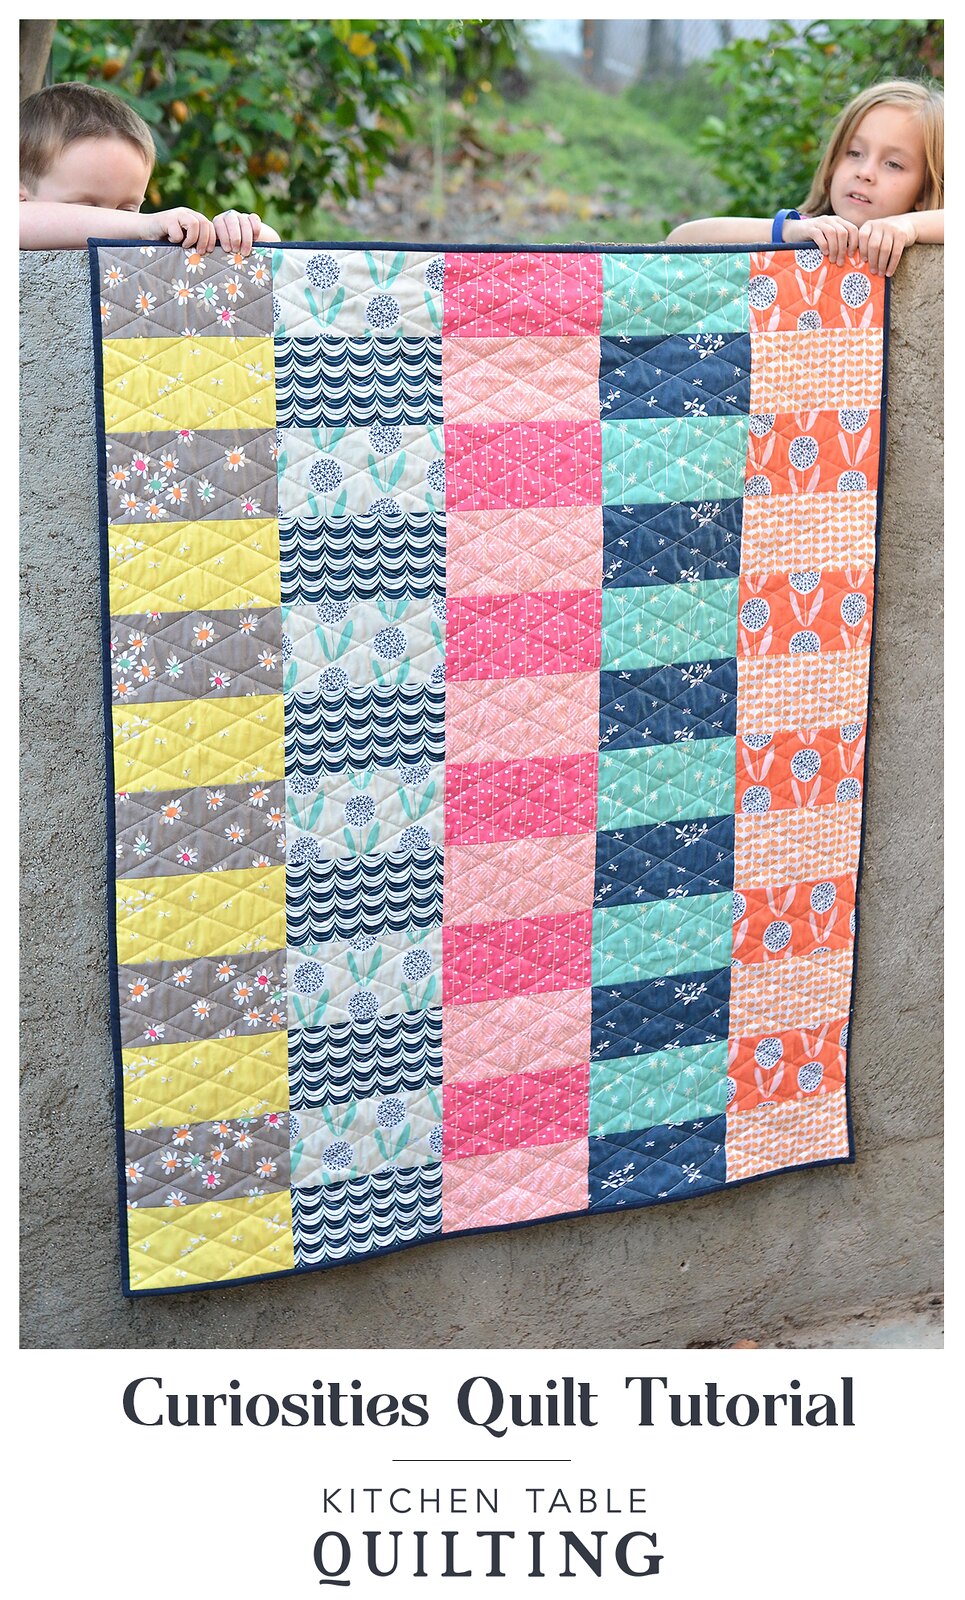
I knew that I wanted to make a quilt that would really show off the fabrics so I thought it was a great opportunity to put together a tutorial for a beginner quilt. And of course this quilt isn't just for beginners, it is also a great quick project.
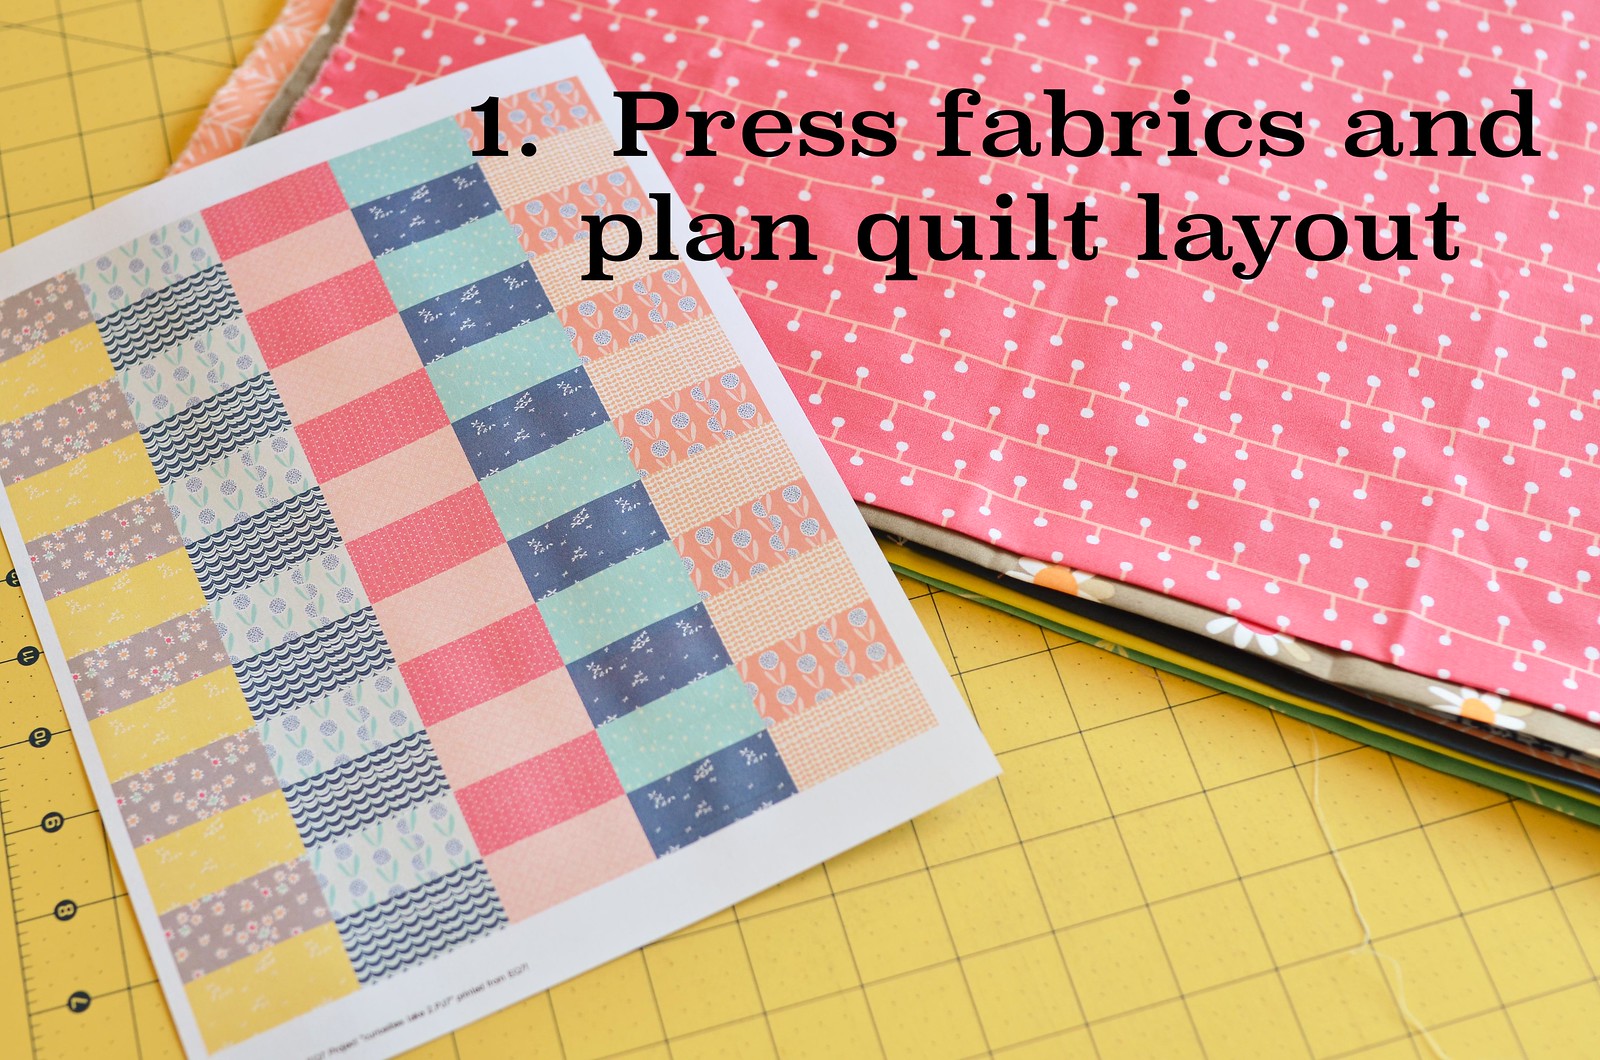
You don't have to use a computer program to plan out your quilt, but if you do, I highly recommend EQ7. If you are more old school, this is a great graph paper notebook.
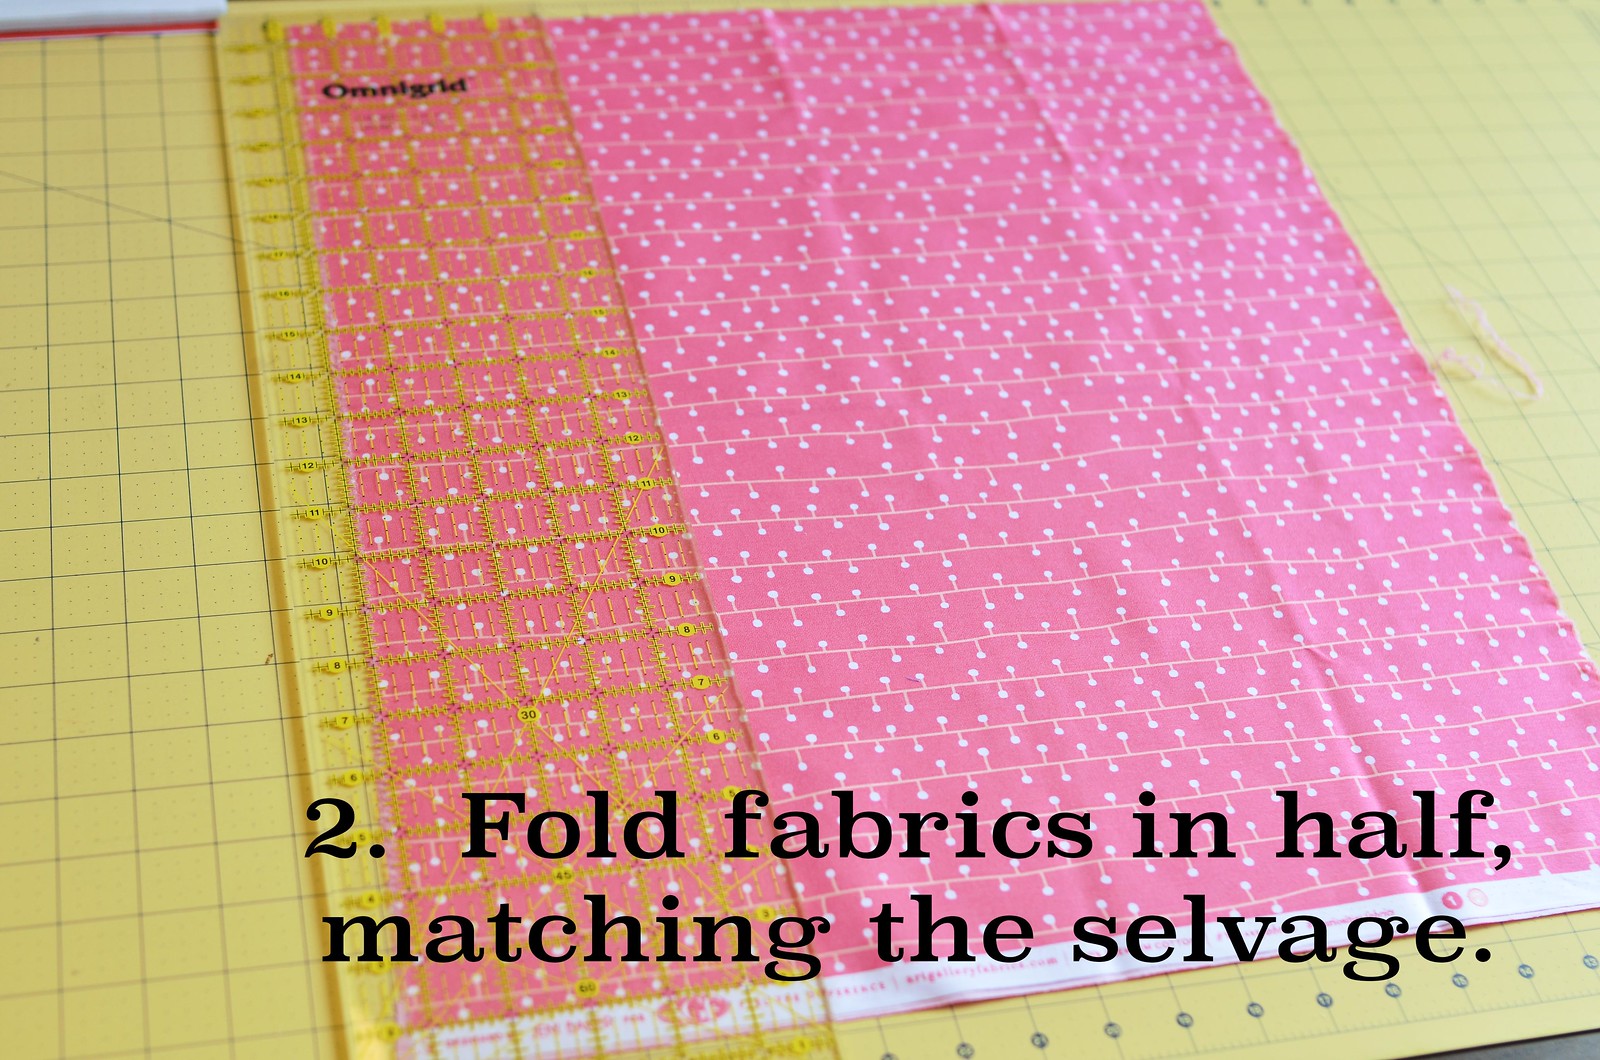
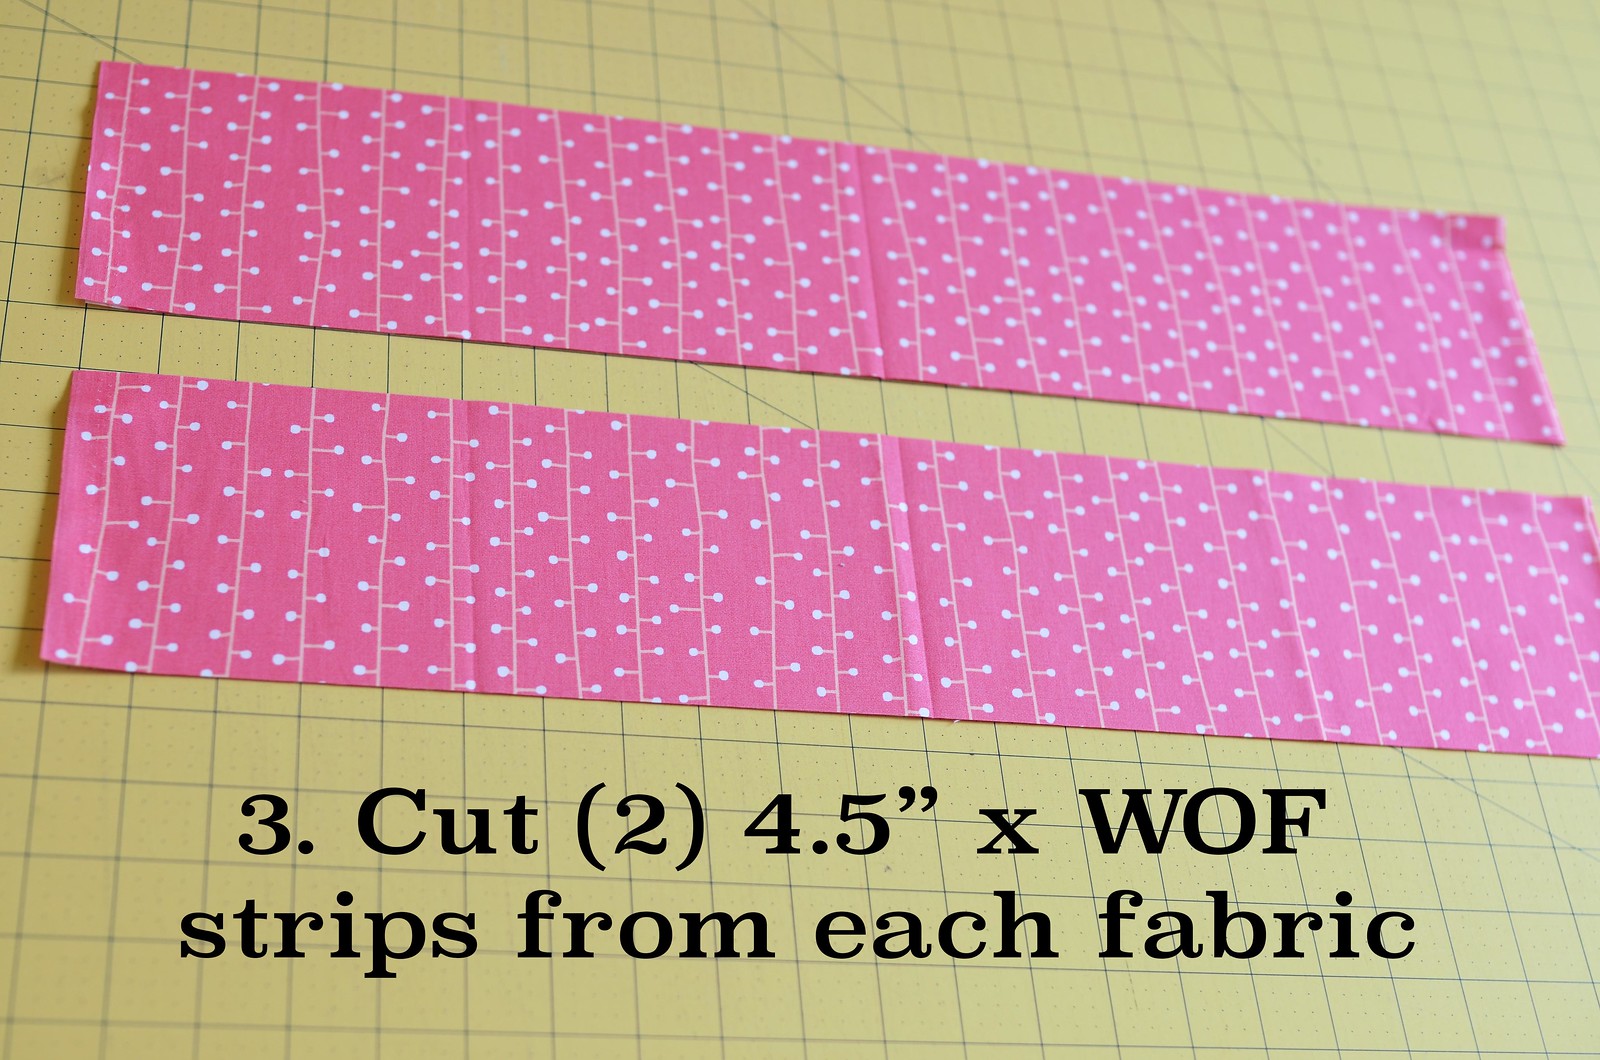
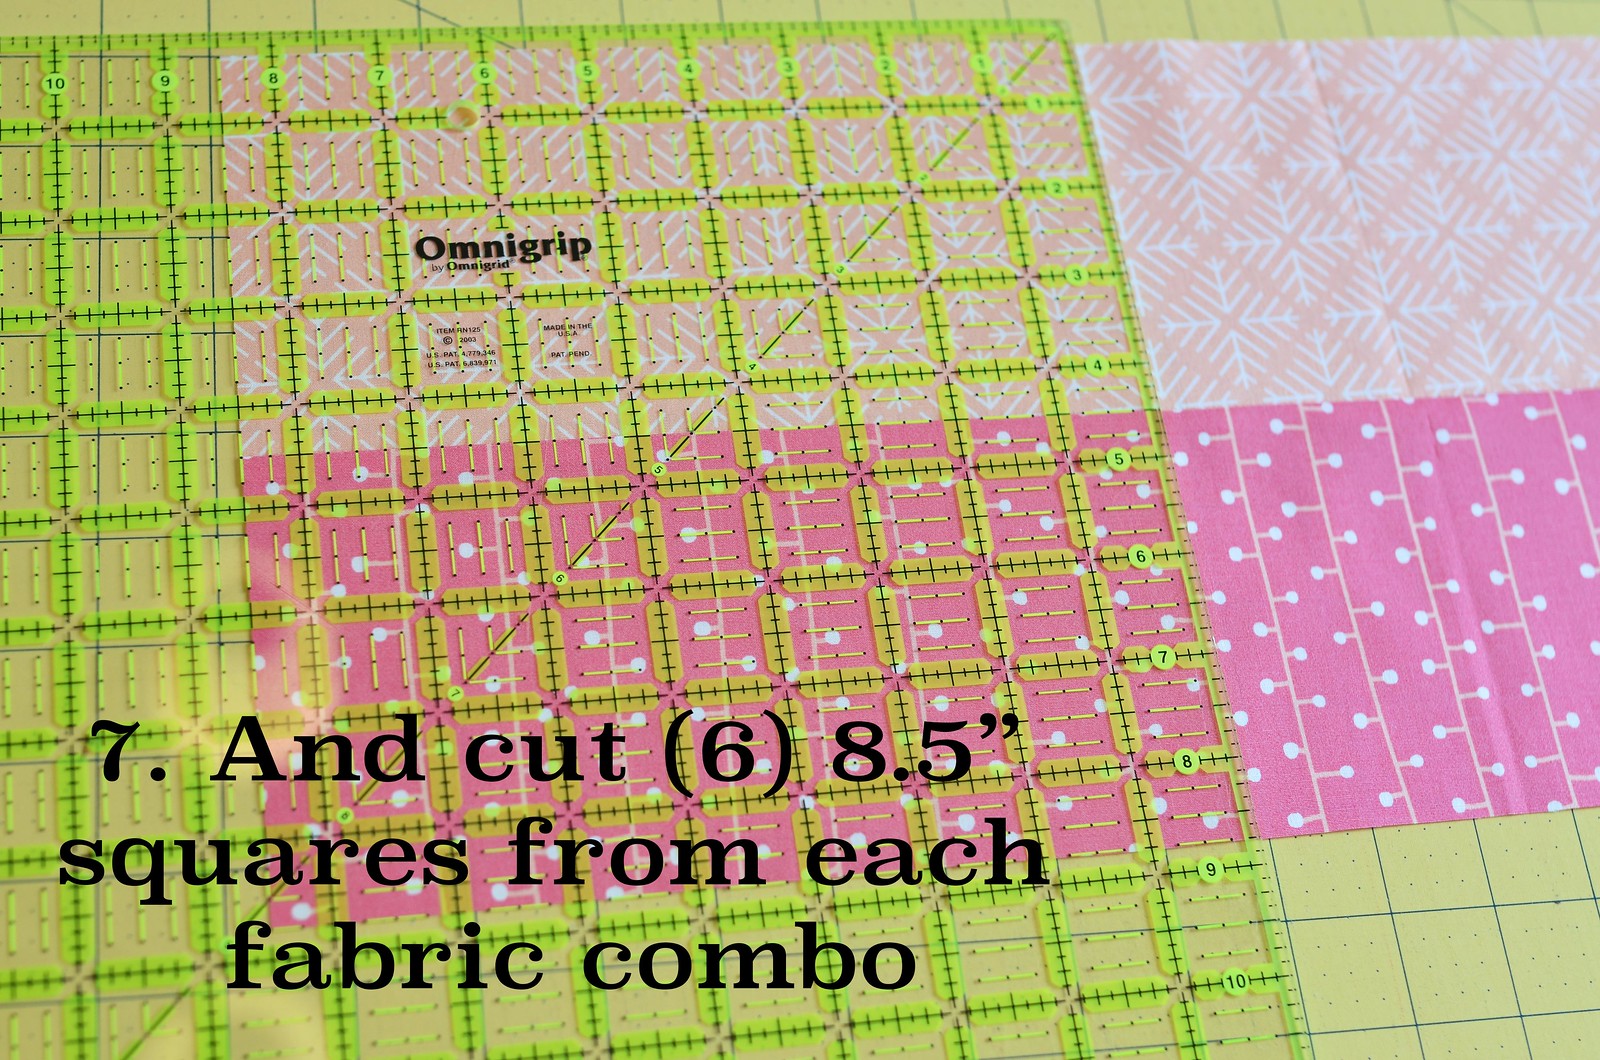
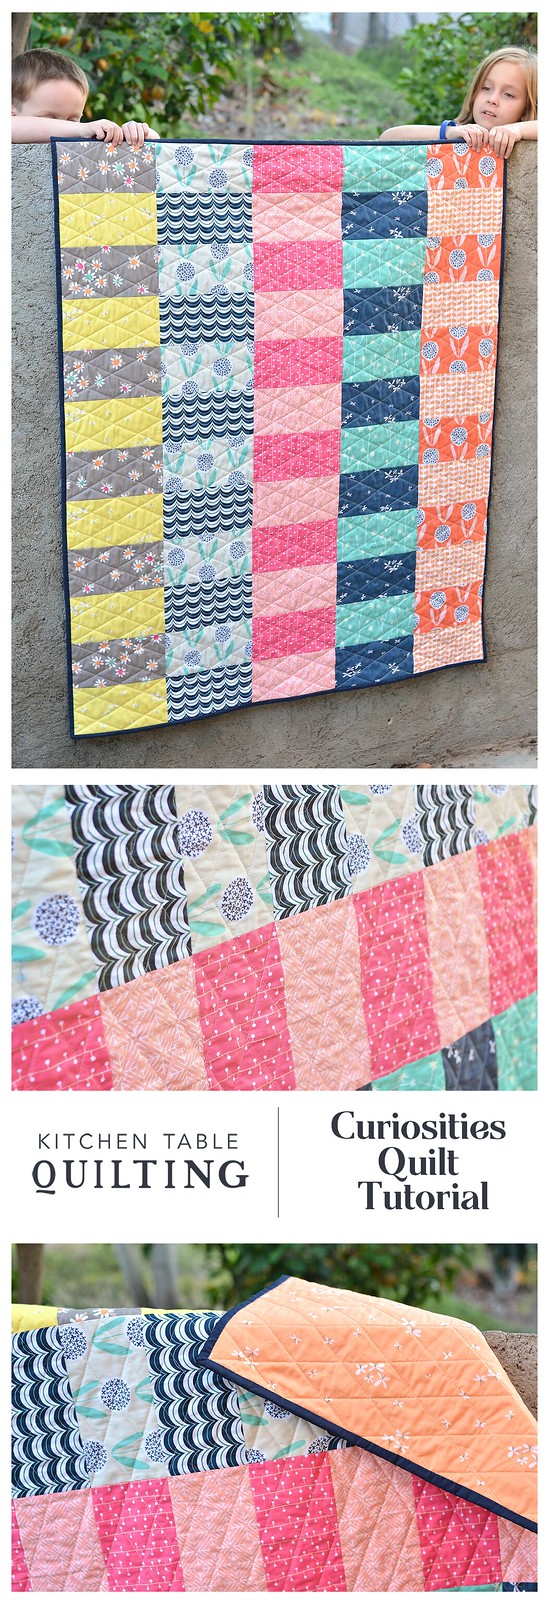
I didn't get a good photo of this, but you can actually cut one of the strips in half (see photo below). It doesn't have to be exact, I just cut where the fabric had been folded.
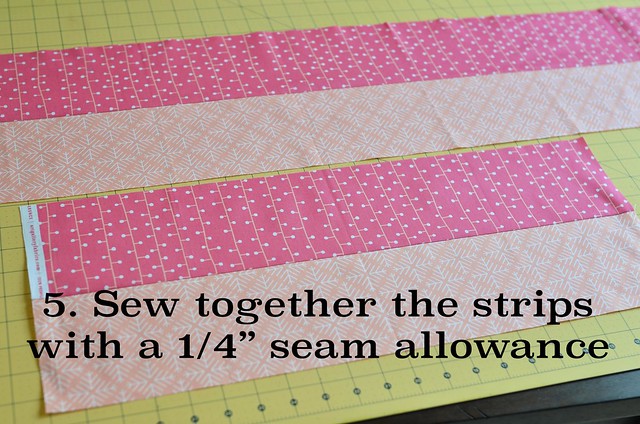
And press the seams toward the darker fabric.
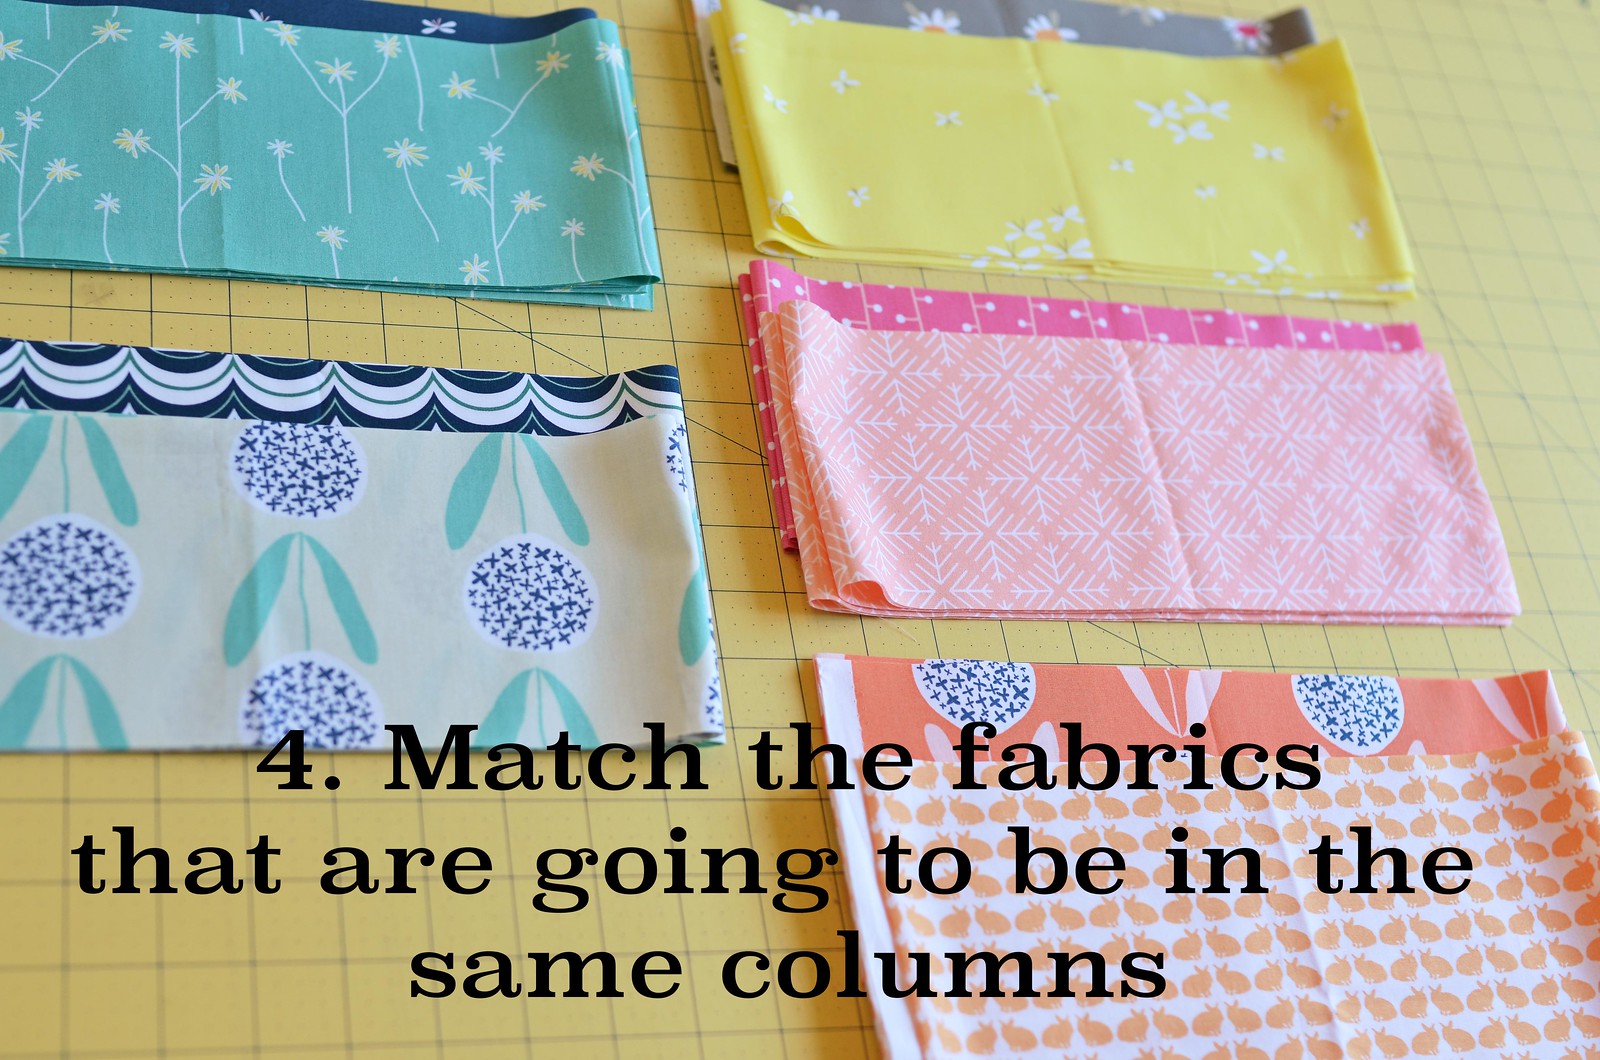
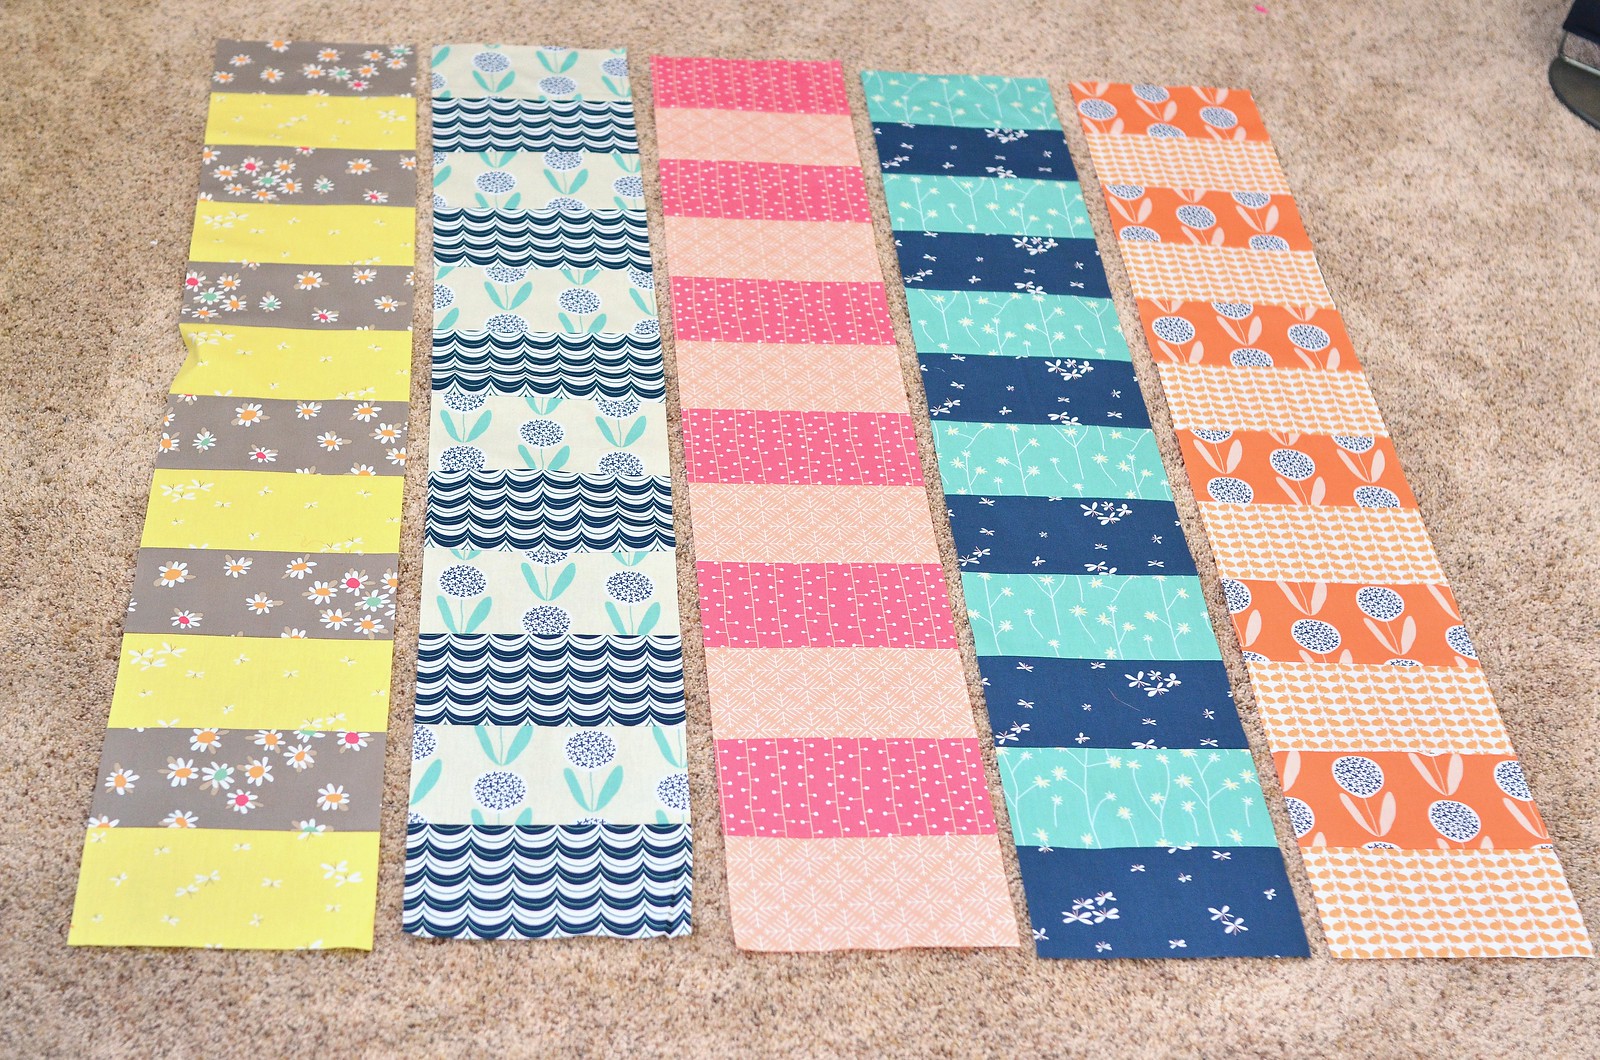
Piece your fabric into columns.
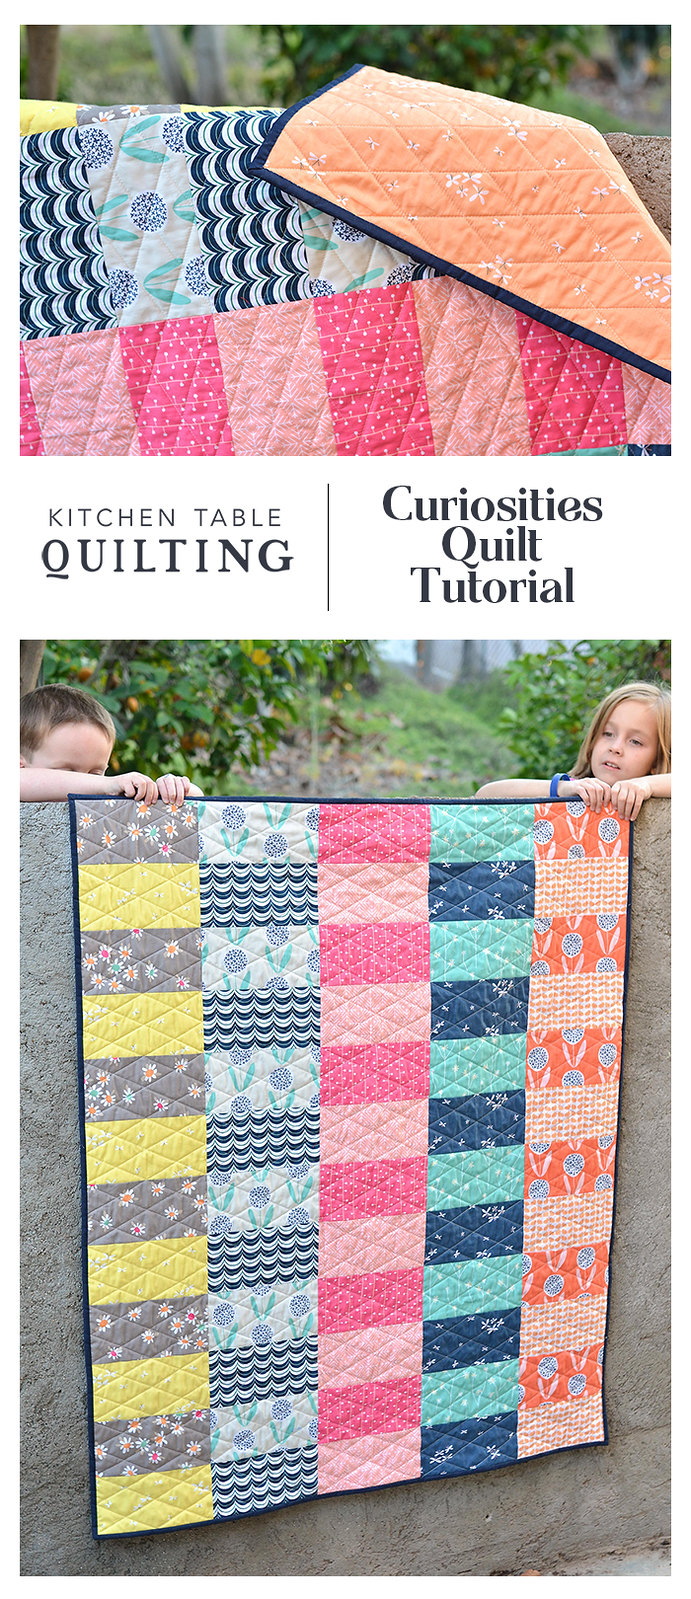
And then sew together the columns. Baste, quilt, and bind as desired.
I was excited to use a Curiosities voile for the back of the quilt. This was the first time I have used an Art Gallery voile and though it is buttery soft, basting with it was a little challenging! When I taped the voile down to the floor to baste the quilt, it would not stick to the tape. At all. So I came up with a solution:
Before the tape (I recommend this one) could unstick itself from the voile, I hurried and put pins in about 2" apart. And it worked!
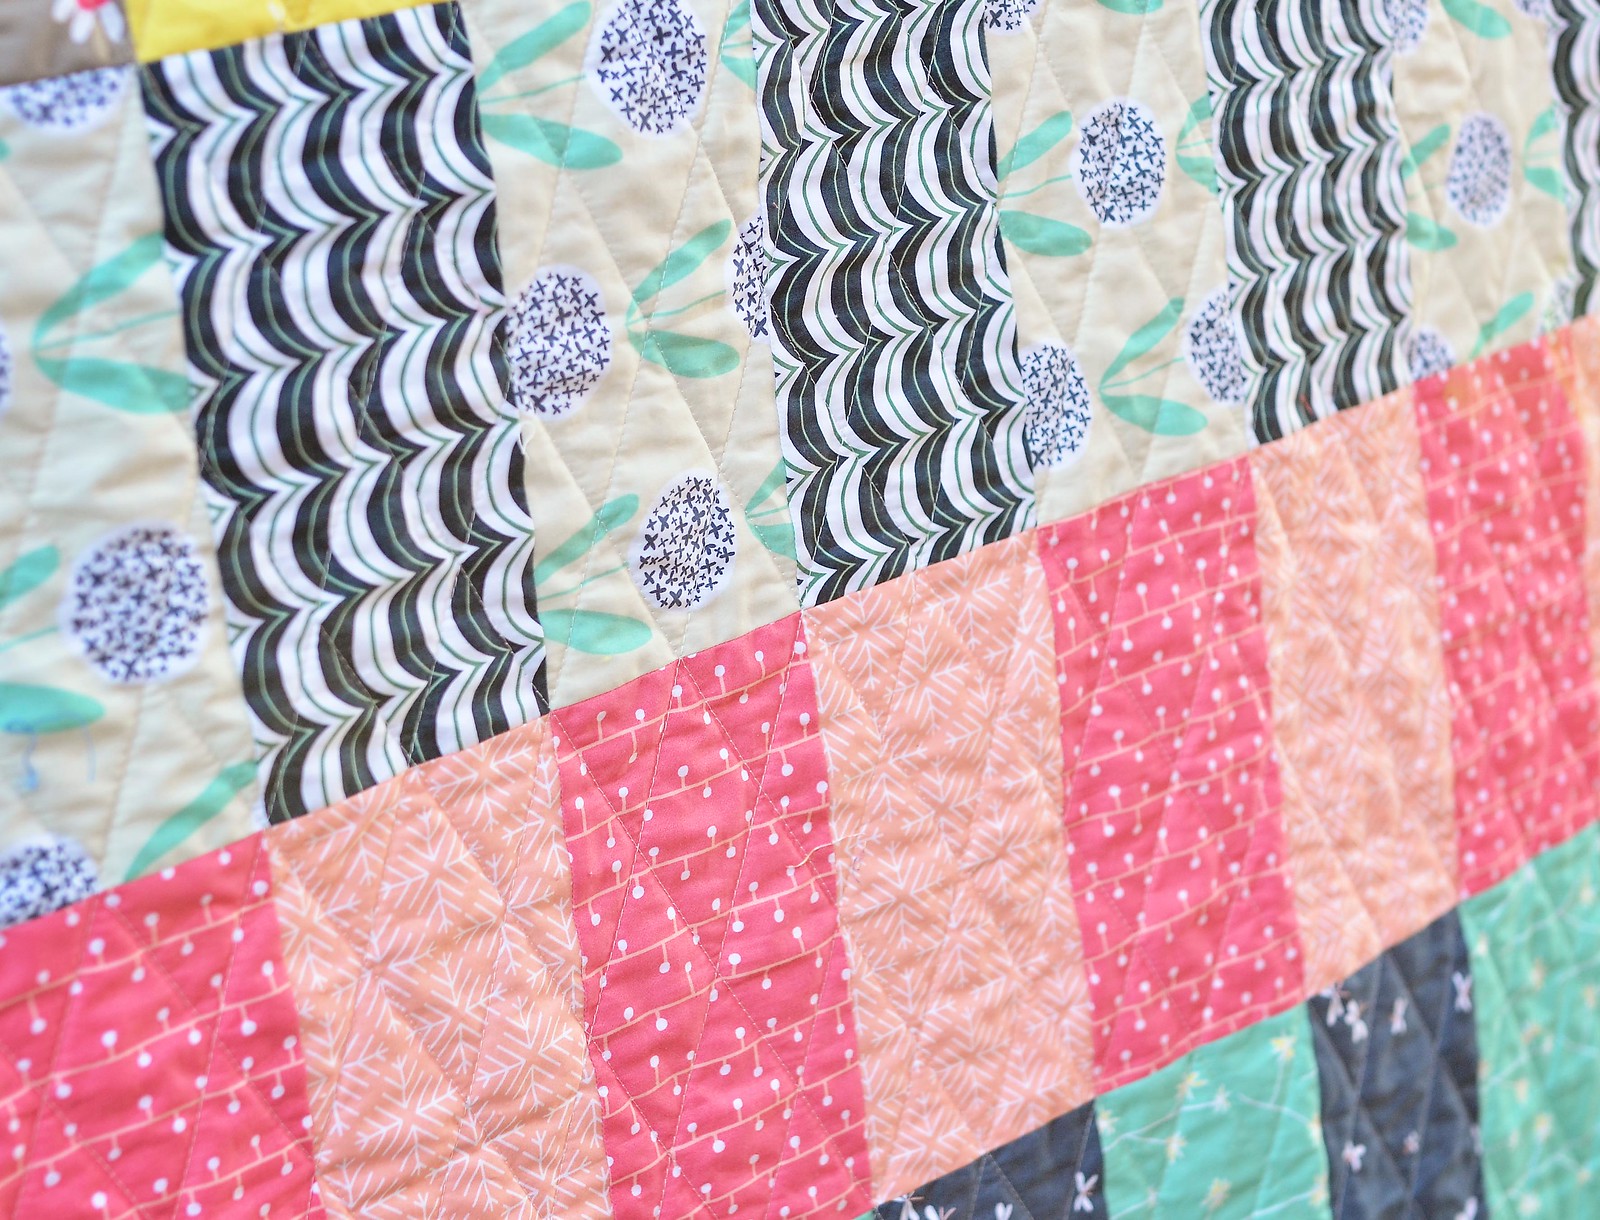
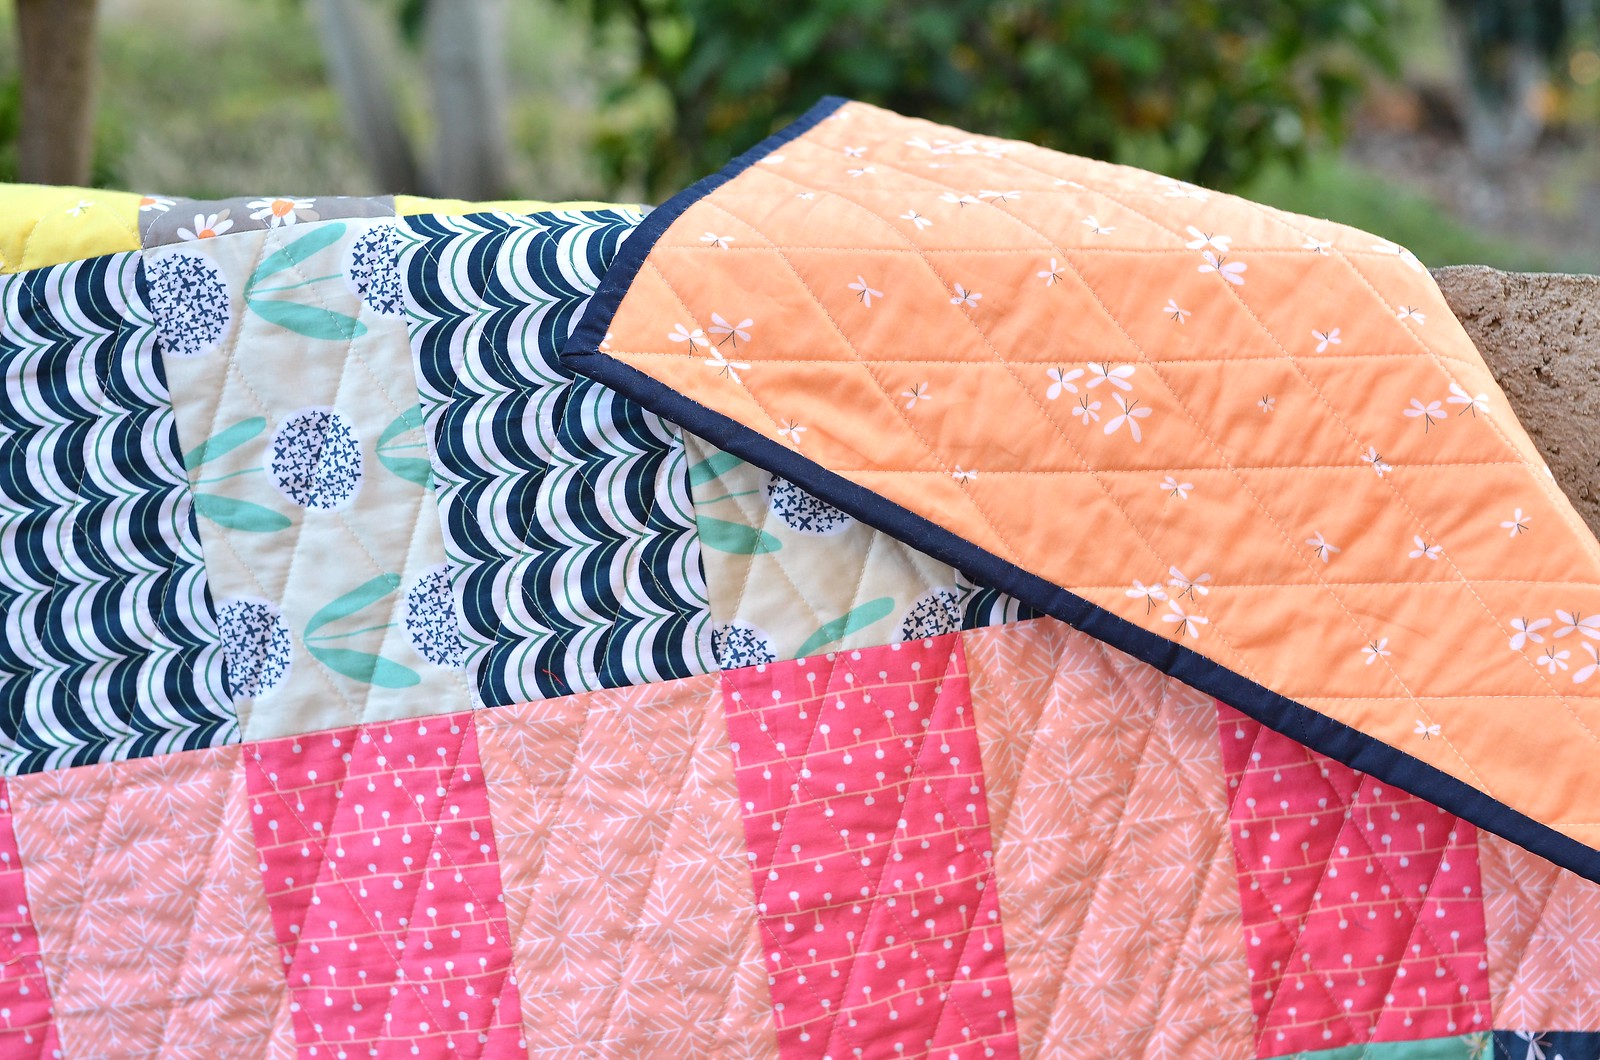
I quilted it with my favorite style - diamond crosshatch - and the voile on the back is just wonderful. Definitely worth a little extra effort.
Finished size: 40" x 48"




I can't imagine choosing to use voile as a backing fabric. It is usually thin, see through, and surely won't wear very well...aren't you going to end up with holes in your quilt?
ReplyDeleteIts really beautiful! Its such a great design for showing off those lovely prints.
ReplyDeleteSimple design yes, but wonderful! You have a great eye for color play. Thanks for the tip on using voile for a backing - I've been wanting to try it.
ReplyDeleteIt may be simple, but it sure is beautiful! I love that collection.
ReplyDeleteI love voile on the back of a quilt! When I get to the basting stage, I use wide masking tape, not painters tape. It has a little more tack, but won't damage floors.
ReplyDeleteVery pretty!
ReplyDeleteGreat pattern--I'd love to try it, but I don't see how much of each fabric is needed. Did I miss it? Will a straight 1/4 yard of each do? Or would a few extra inches help?
ReplyDeleteWondering the same thing!
DeleteYou need 9” of each fabric, so a couple inches bigger than 1/4 yard to leave room for squaring up your fabric.
DeleteYou wrote it very well, it is very nice to read this.
ReplyDeleteAriana
Such a beautiful piece of art. Very nice.
ReplyDeleteSee: www.techwhoop.com