


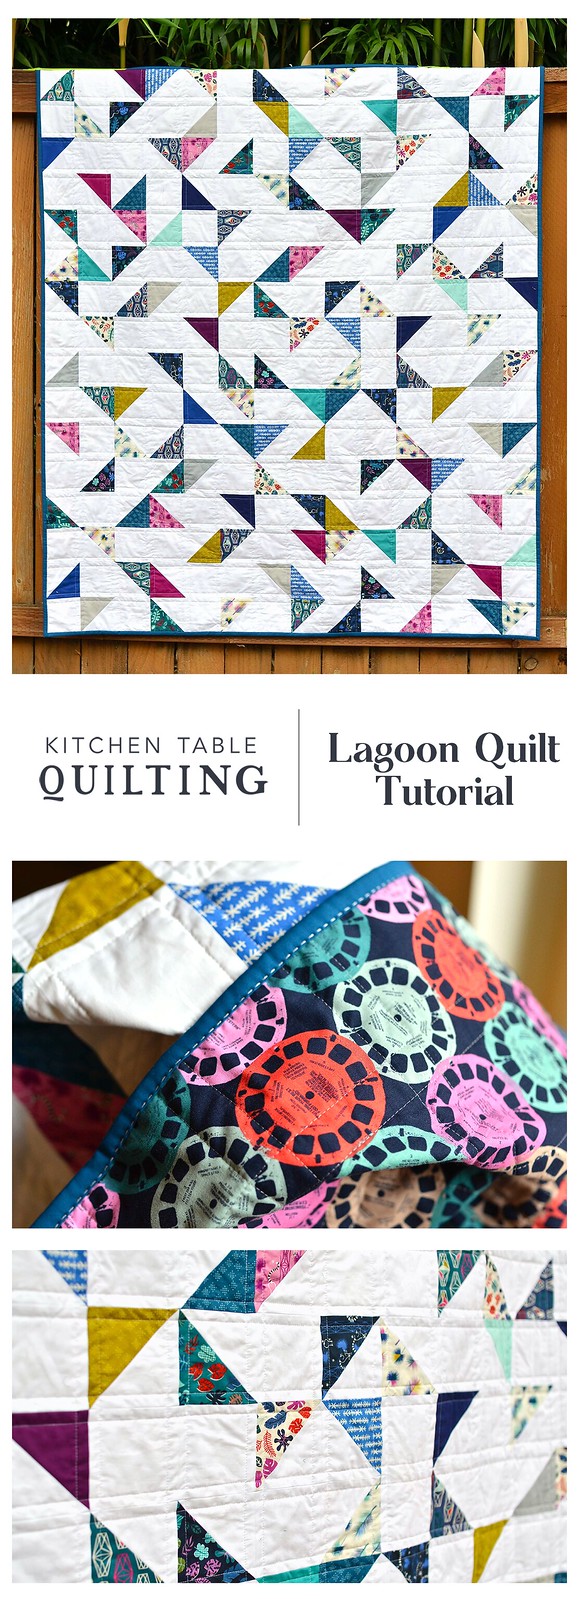
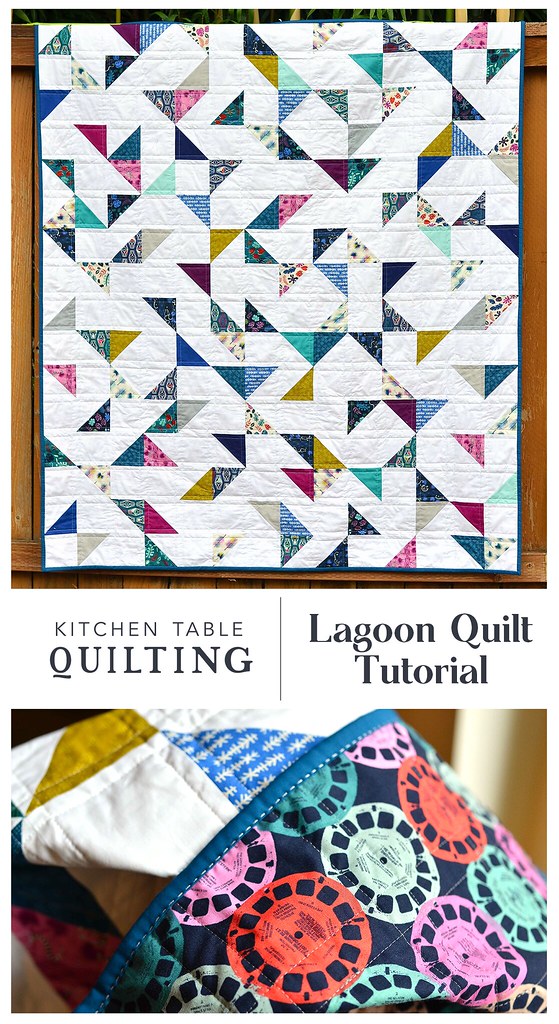
I have been meaning to write up a tutorial for this quilt for a while, and thought these Lagoon prints from the August Culcita Box would be perfect opportunity to write up some quick instructions.

It's pretty simple to put together since it is just squares and half square triangles (HSTs), so if you want to make something similar this should take care of the math for you.

- Draw a diagonal line onto the wrong side of each of the 5"background squares (if you aren't familiar with making HSTs, check out this link for illustrations).
- Place each print (or colored solid) 5" square right sides together with a 5" background square and sew along each side of your diagonal line.
- Cut along the diagonal line and press each HST open. Trim each HST down to 4.5" x 4.5".
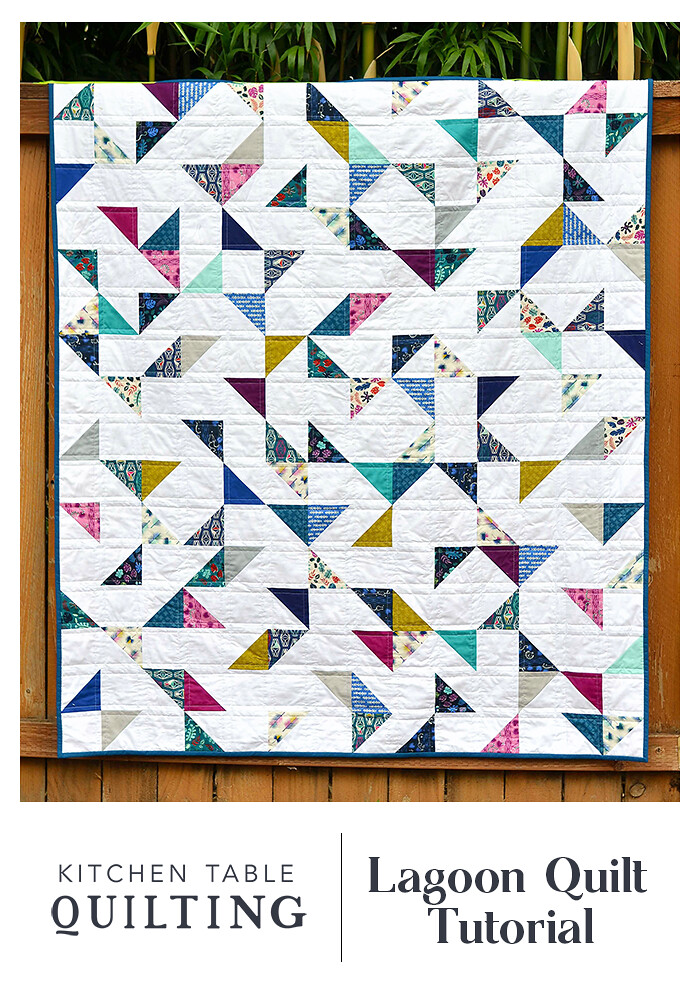
- Arrange the HSTs and 4.5" background squares randomly as desired (or use the sample layout below as a guide). This takes a little bit of work, getting things to look random is harder than you might think!
- Piece the squares into rows, then piece the rows together.

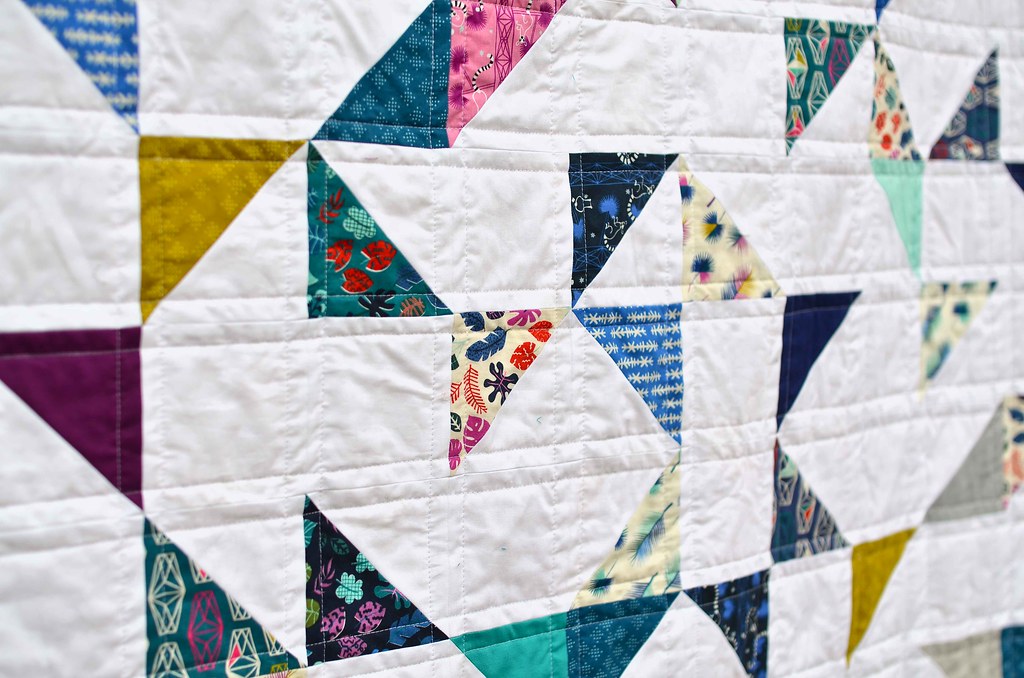
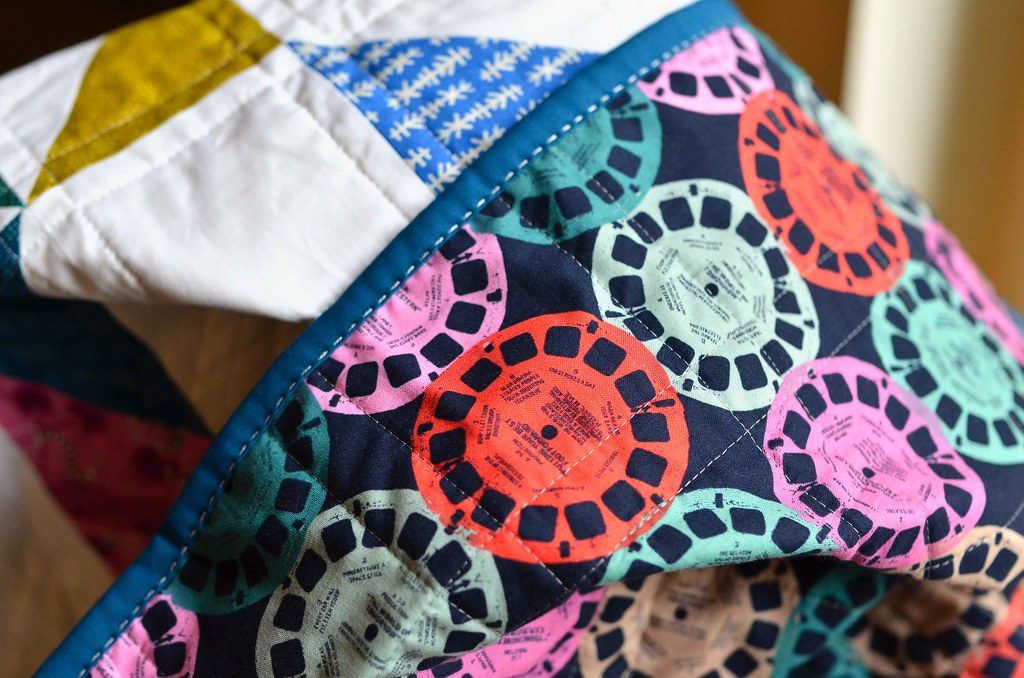
And that's all there is to it. This quilt is a great way to use up scraps or it works for prints or solids. To back my quilt I used this awesome Melody Miller Viewfinder print and did some big stitches to sew down the binding,
Finished size: 56" x 64"
Batting: Quilter's Dream Cotton Select
Backing: Melody Miller Viewfinders
Fabric collection: Lagoon by Rashida Coleman Hale from Culcita, mixed in with a few solids
A Printable PDF of the tutorial is available here.
Previous Culcita Box Quilts


This is a very handsome quilt. I've recently discovered the "call" of HSTs and this looks like a good project. Are you getting FQ bundles from Culcita? If I'm calculating correctly, it seems that would provide more than enough for the lap size of this quilt.
ReplyDeleteThank you! I am getting FQ bundles and that was plenty for this quilt. I ended up mixing in a few solids and I had a small bundle leftover so that I can use it for another project I have planned ;)
DeleteGreat quilt! I love how the use of the scattered solid blocks and rotating the HSTs create the lovely free form design. Thanks for the tutorial
ReplyDeleteThanks and you're welcome!
DeleteI love this quilt!!!! Thank you so much for the tutorial too!
ReplyDeleteThanks! It has been on my to-do list for a while so I was excited to share it!
DeleteI really like this quilt. Very fresh looking. It takes a lot of planning to get a random layout that actually looks random. Thanks for taking the time to do the tutorial!
ReplyDeleteThanks! The layout for my actual quilt turned out a little differently than I planned because I accidentally rotated a section of the quilt (oops!). It turned out ok, but I liked my original layout better so I left it in the tutorial!
DeleteI love this quilt, all that white space makes the prints pop out really well. And that backing, is that not the CUTEST??? I love viewfinders (child of the 60's)....... Love love love the quilt! Thanks for the tutorial and doing all the work for us!
ReplyDeleteThanks! I love the viewfinder print, it is brilliant!
DeleteAs with the others, thank you for taking the time to sketch this all out. It's so generous of you to do all the work for us! Love the look of this -great way to use up scraps. Love that backing fabric too!
ReplyDeleteYou're welcome! I figure if I am already doing the work for myself, I might as well share it ;)
DeleteThanks for taking the time to write up a tutorial!! LOVE this AND the baby quilt, too.
ReplyDeleteThanks and you're welcome!
DeleteI have had this open in my browser for a few days.
ReplyDeleteI love this quilt so much!!
You are the sweetest. Thanks, as always, for your comment!
DeleteThank you!
ReplyDeleteBeautiful quilt. How did you do the the big stitch on the binding? It's very effective and so evenly stitched.
ReplyDeleteYou are amazing as always. the value you put in the your blogs in really appreciateable
ReplyDeleteClick here
Amazing patterns.
ReplyDeleteSee: sc-downloader.net
I too love your Lagoon quilt. However, whereas you say in the tutorial, “ It's pretty simple to put together since it is just squares and half square triangles (HSTs), so if you want to make something similar this should take care of the math for you,” please recalibrate, as I’ve had to do.
ReplyDeleteThink it through: Take one background square, one print. Mark a diagonal line on the background square. Put the two right sides together and sew 1/4” away along both sides of the diagonal. Cut along the diagonal. You started with two squares. You end up with two squares.
The directions ask for half the number of background and print squares required to make the quilt top!