The party was princess-themed and even though my daughter can't stand pink, we decided that was probably the way to go. I used this tutorial.
And this one for the back. This is a slight variation on how I normally make the pillow closure, but it is my new favorite method because it doesn't involve switching to a zipper foot and it creates a flap to cover the zipper without having to sew on an extra piece of fabric.
The front of the pillow is quilt-as-you-go which helped speed things up, too.
We wrapped the pillow up with some chocolate and gifted it to my daughter's friend.
Finished size: 14" x 14"


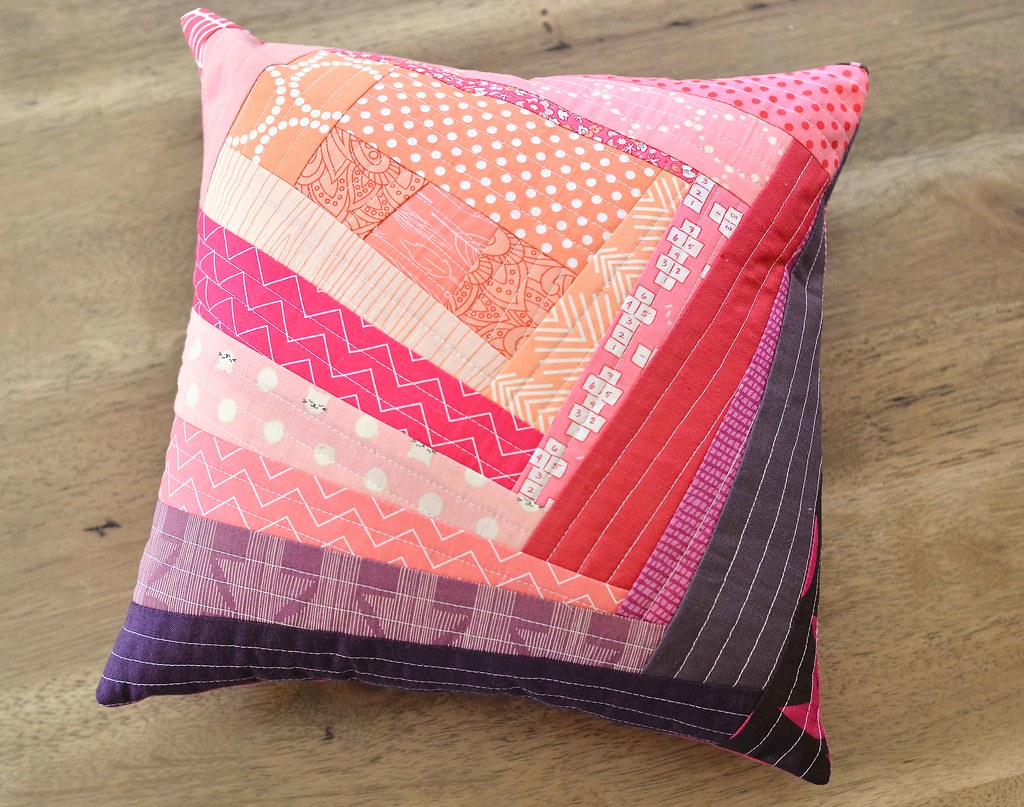
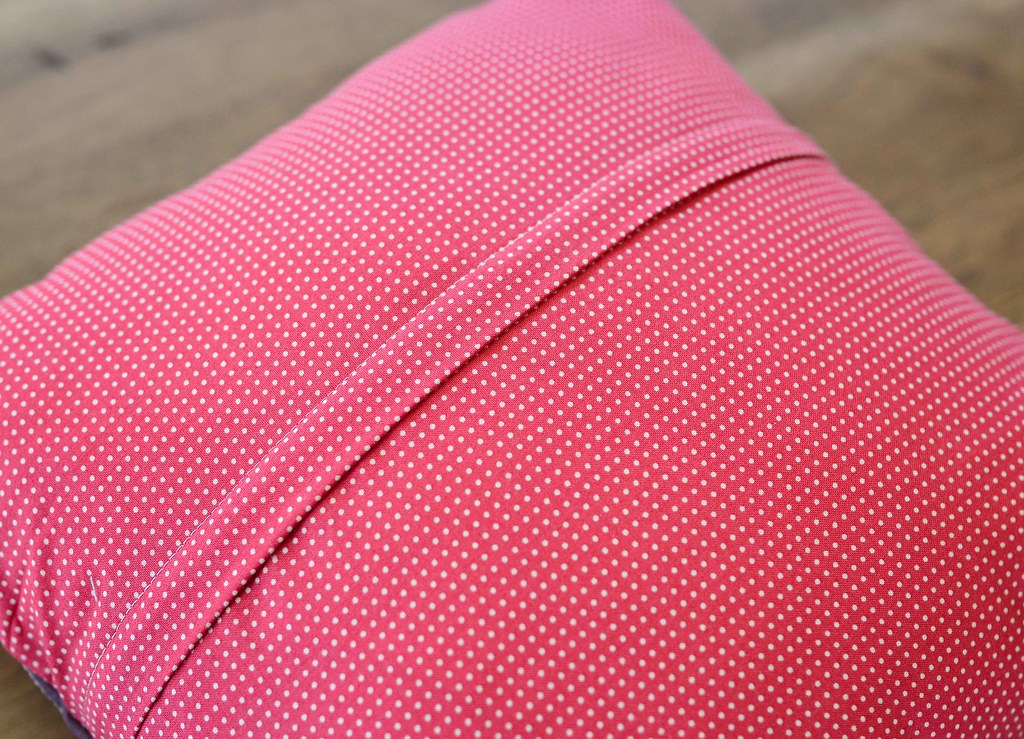
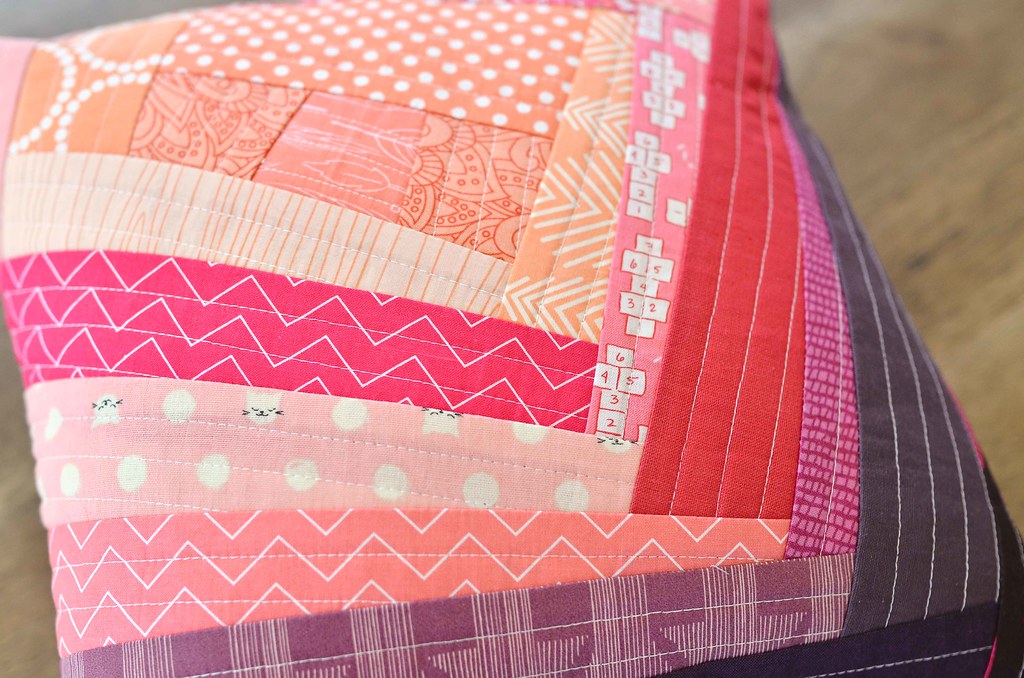

A glass slipper on that pillow and it is Princess Perfect. Love the closure for the back.
ReplyDeleteThanks! I really like it too, definitely the easiest zipper closure I've done!
DeleteReally cute pillow and I will have to check out that zipper method. I do mine with a flap but it does involve an extra piece of fabric so I think I'd like this.
ReplyDeleteThat is how I have always done mine too and I think that having a contrasting flap is fun, but this way is pretty cute too and it's easier!
DeleteWhat a fantastic idea! The pillow looks awesome and I am sure the birthday girl loved it!
ReplyDeleteThanks! I never know how people - especially 9 year old girls - will respond to things, but my daughter said she liked it!
DeleteThanks for taking the time to discuss this, I feel strongly about it and love learning more on this topic. If possible, as you gain expertise, would you mind updating your blog with extra information? It is extremely helpful for me. Gifts Ideas for 75 year old women
ReplyDeleteYou stopped me at "the day of the party!" I am always in awe of people who can finish a whole project in less than a day. I'm not a fan of pink, but your color combination with the purples and oranges is so appealing. What a wonderful gift!
ReplyDelete