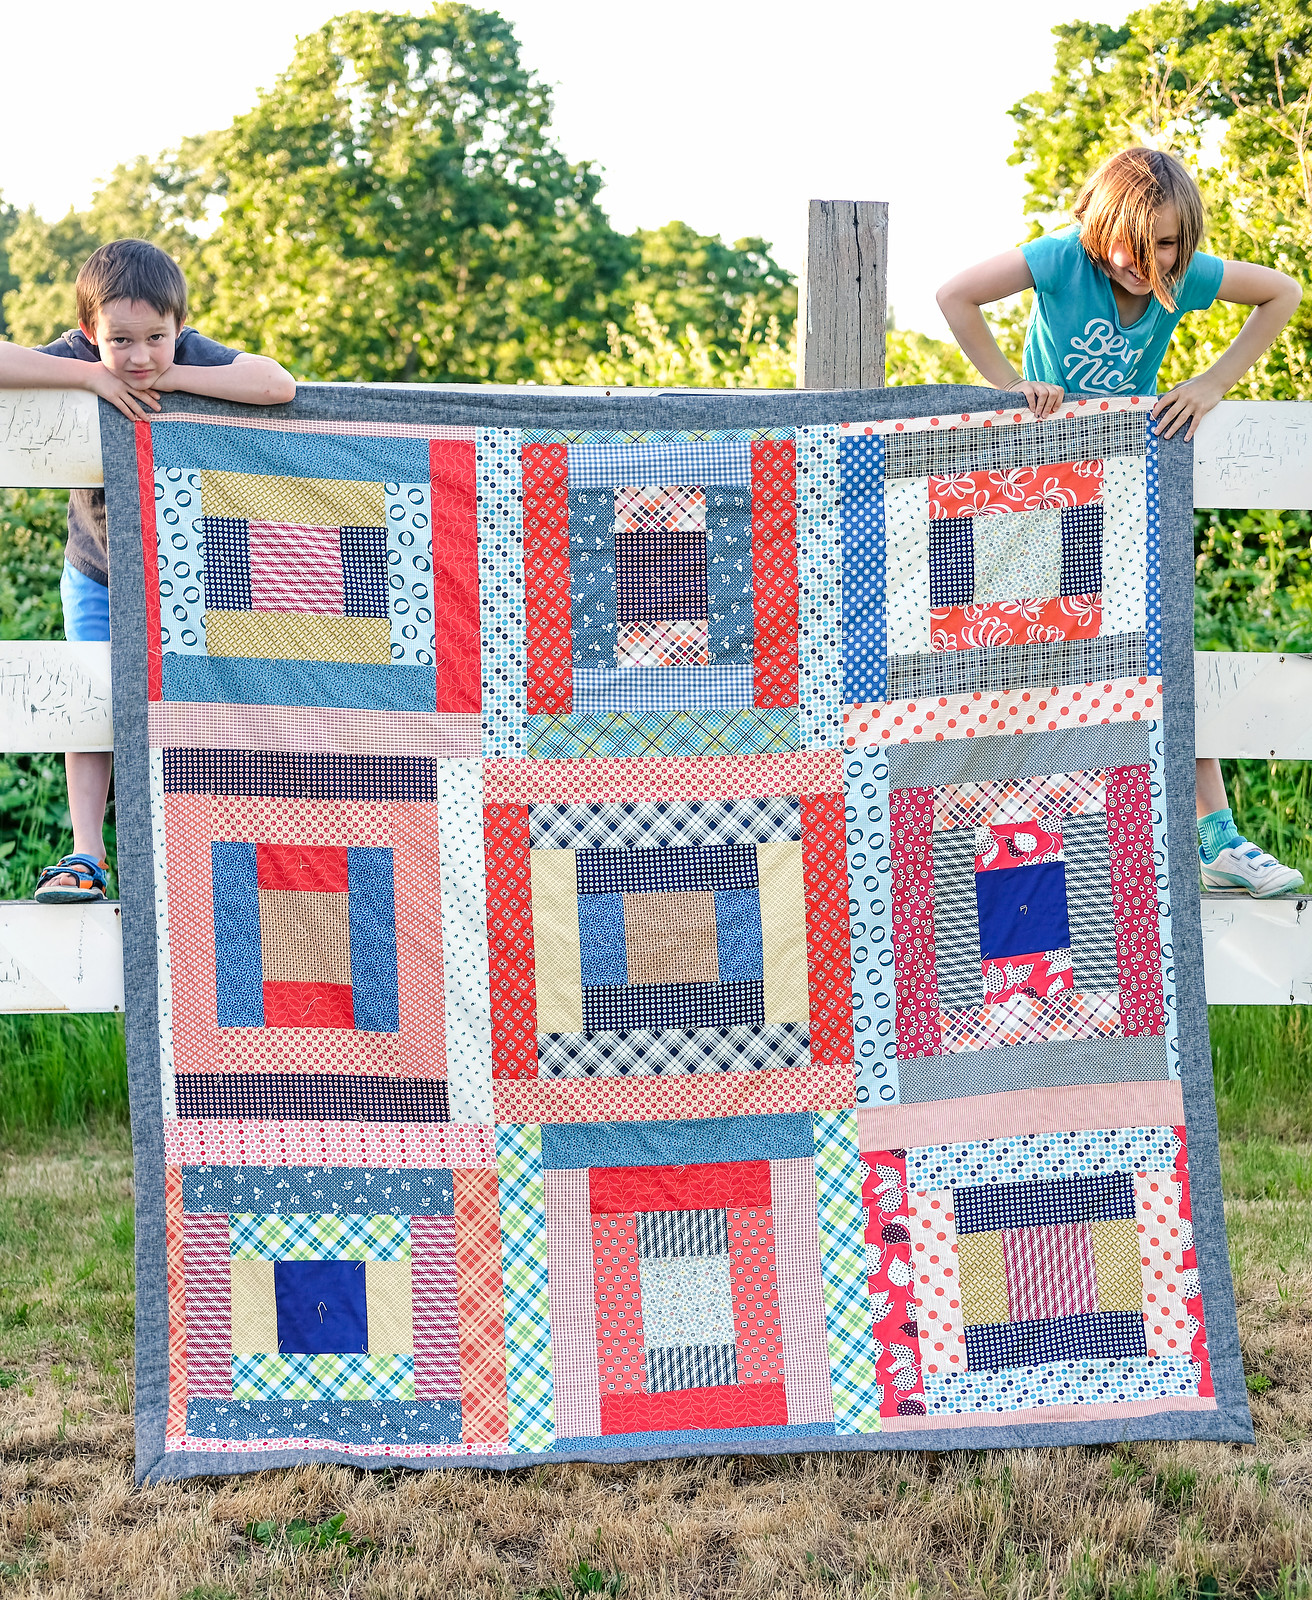
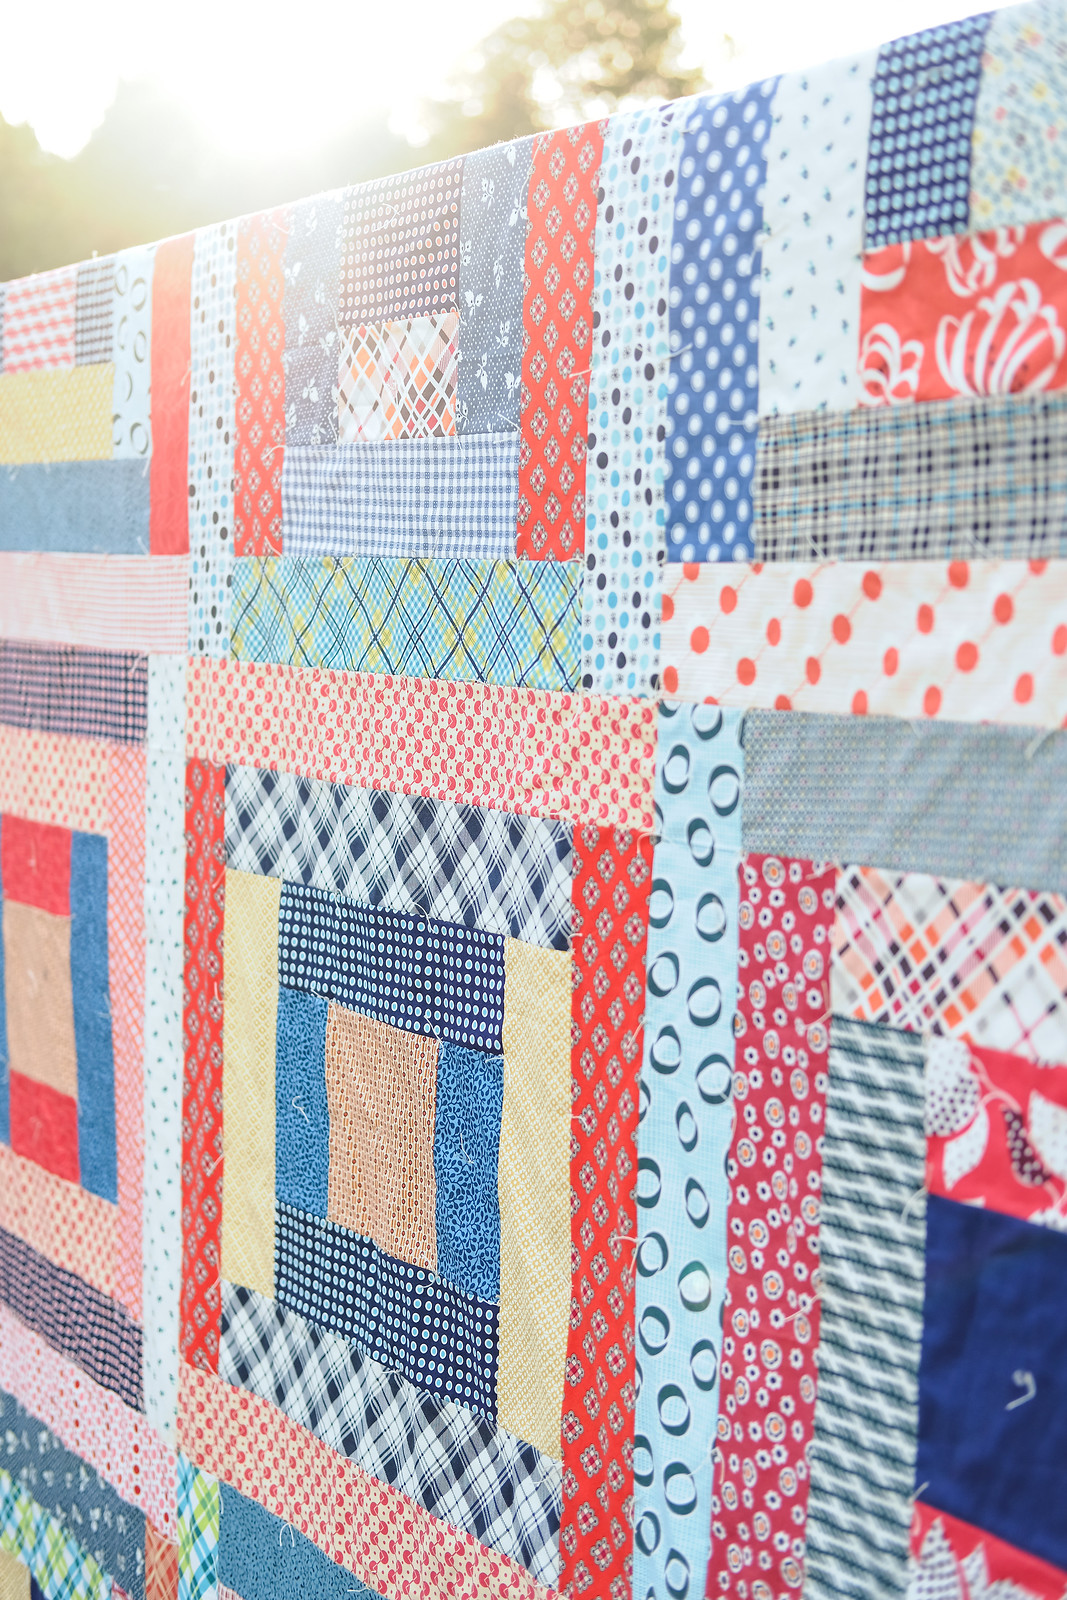
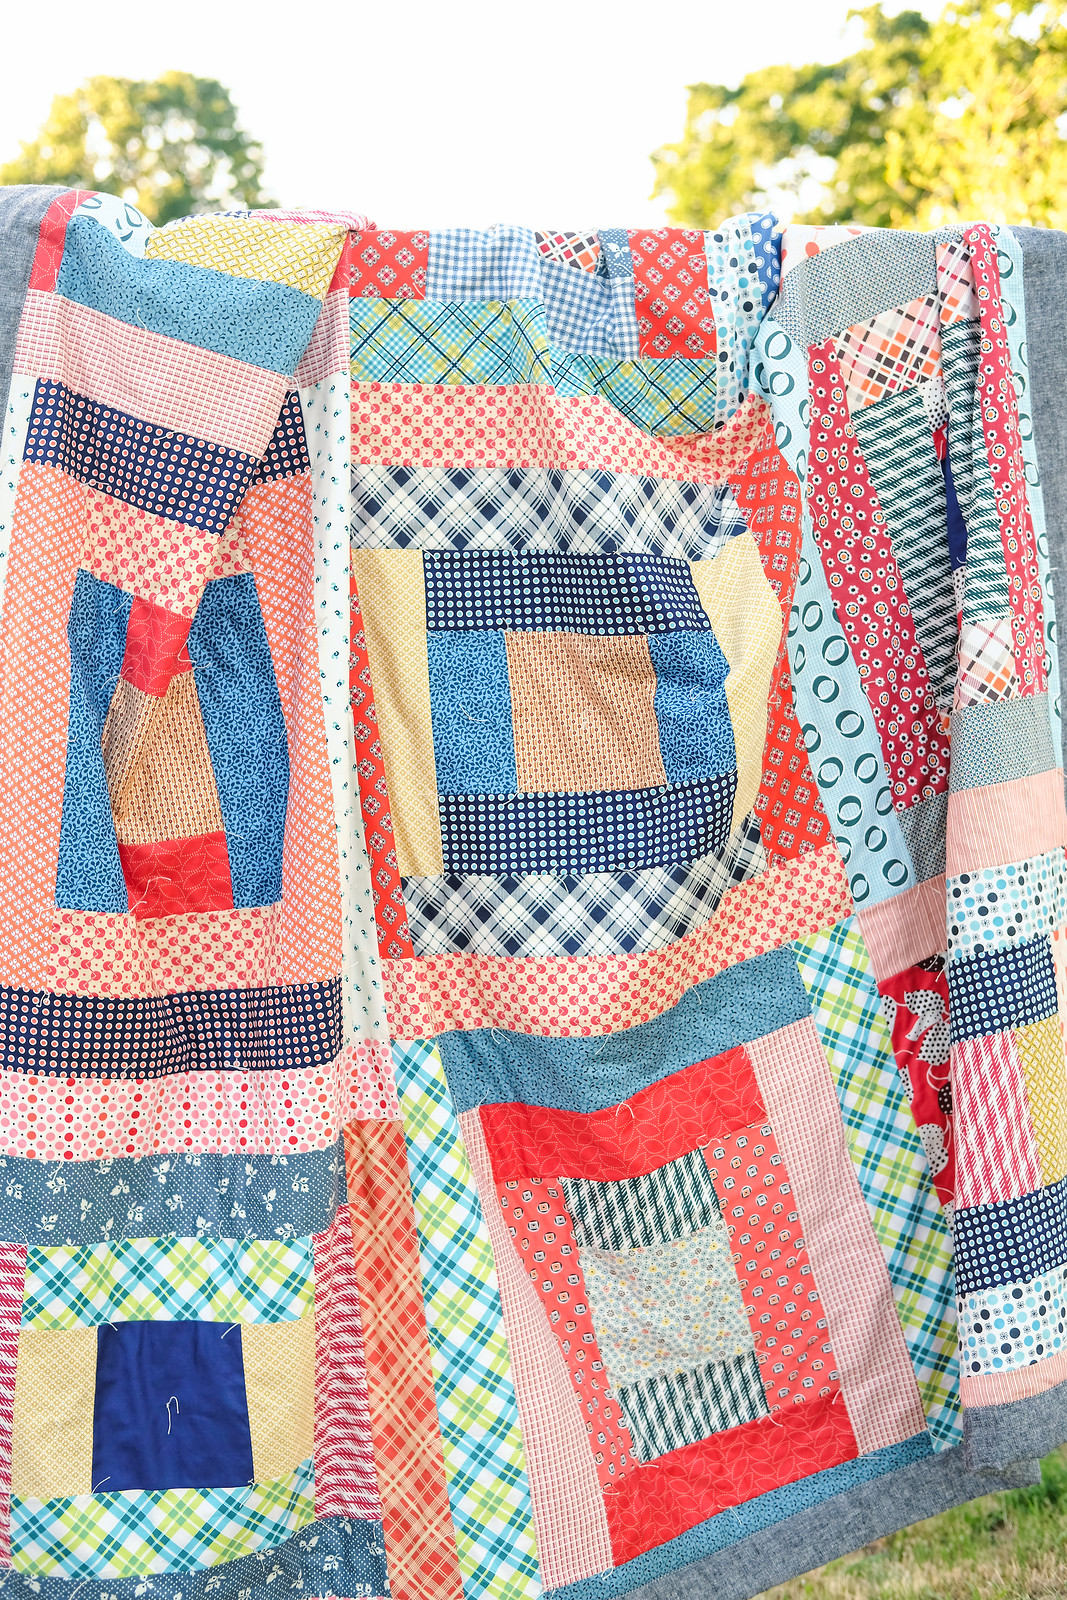
This month I decided to go a little more traditional with my giant block quilt. For the past few months I have taken my giant blocks in a more modern direction, but the May Giant Block Tutorial is also great in a more traditional quilt since it is a giant-ized version of a traditional Courthouse Steps block.
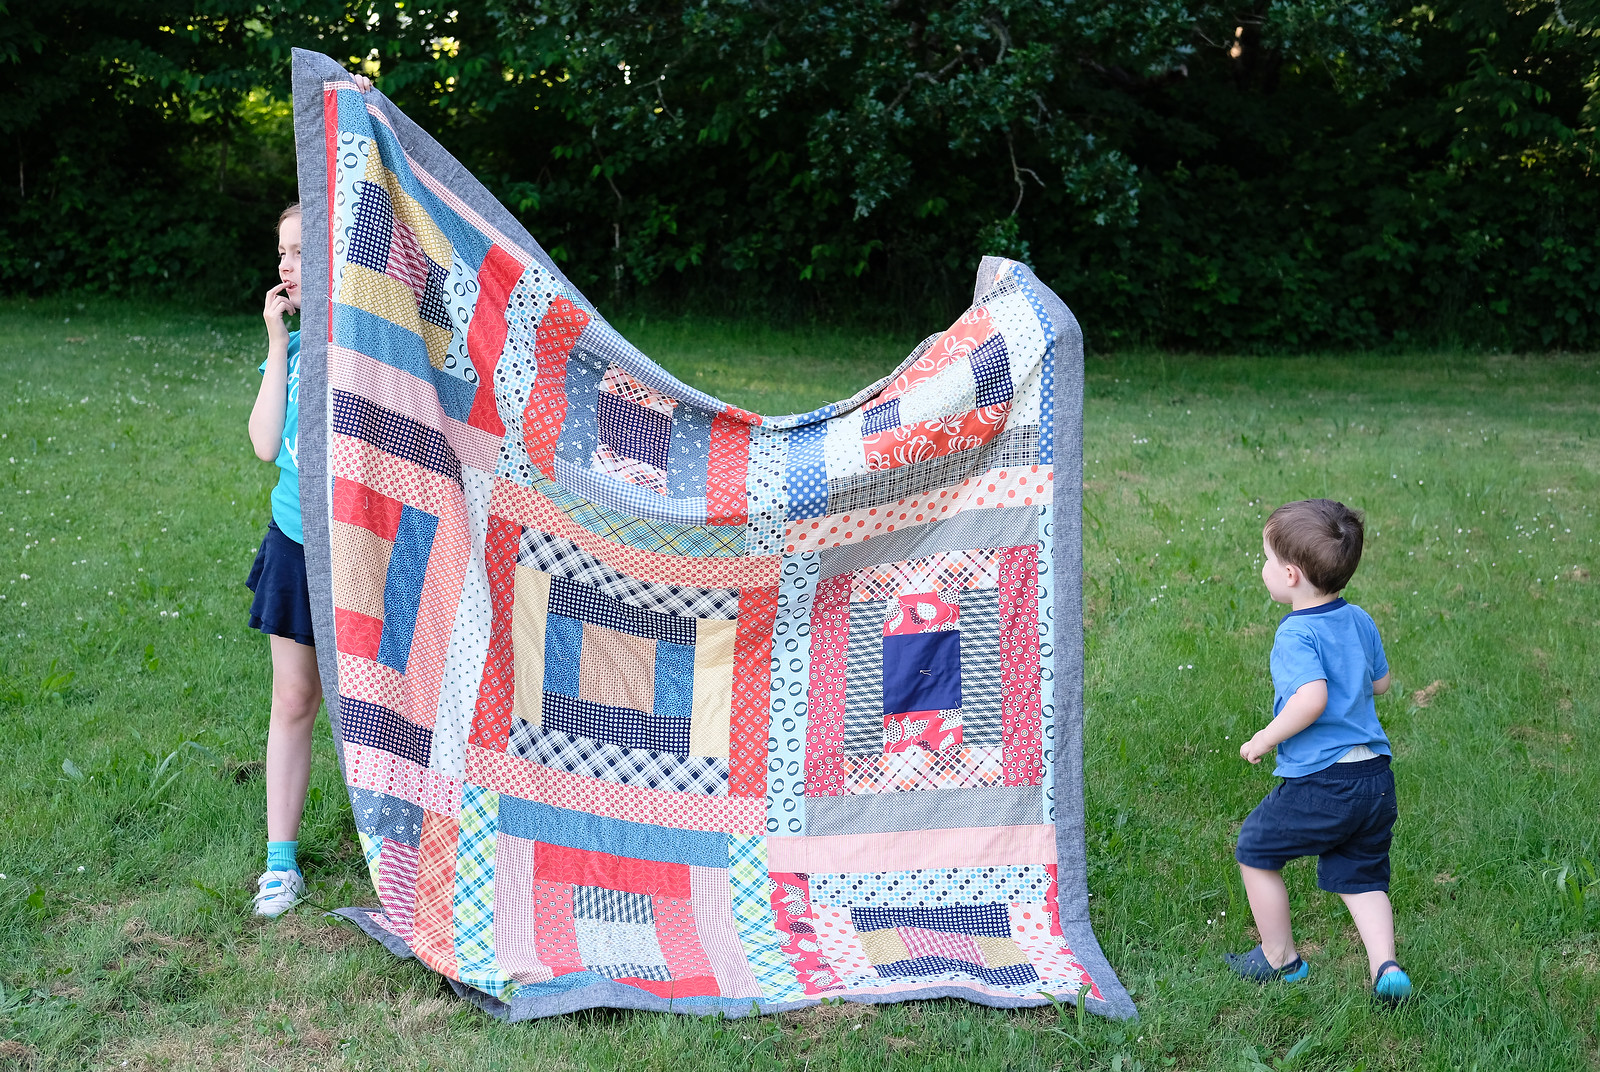
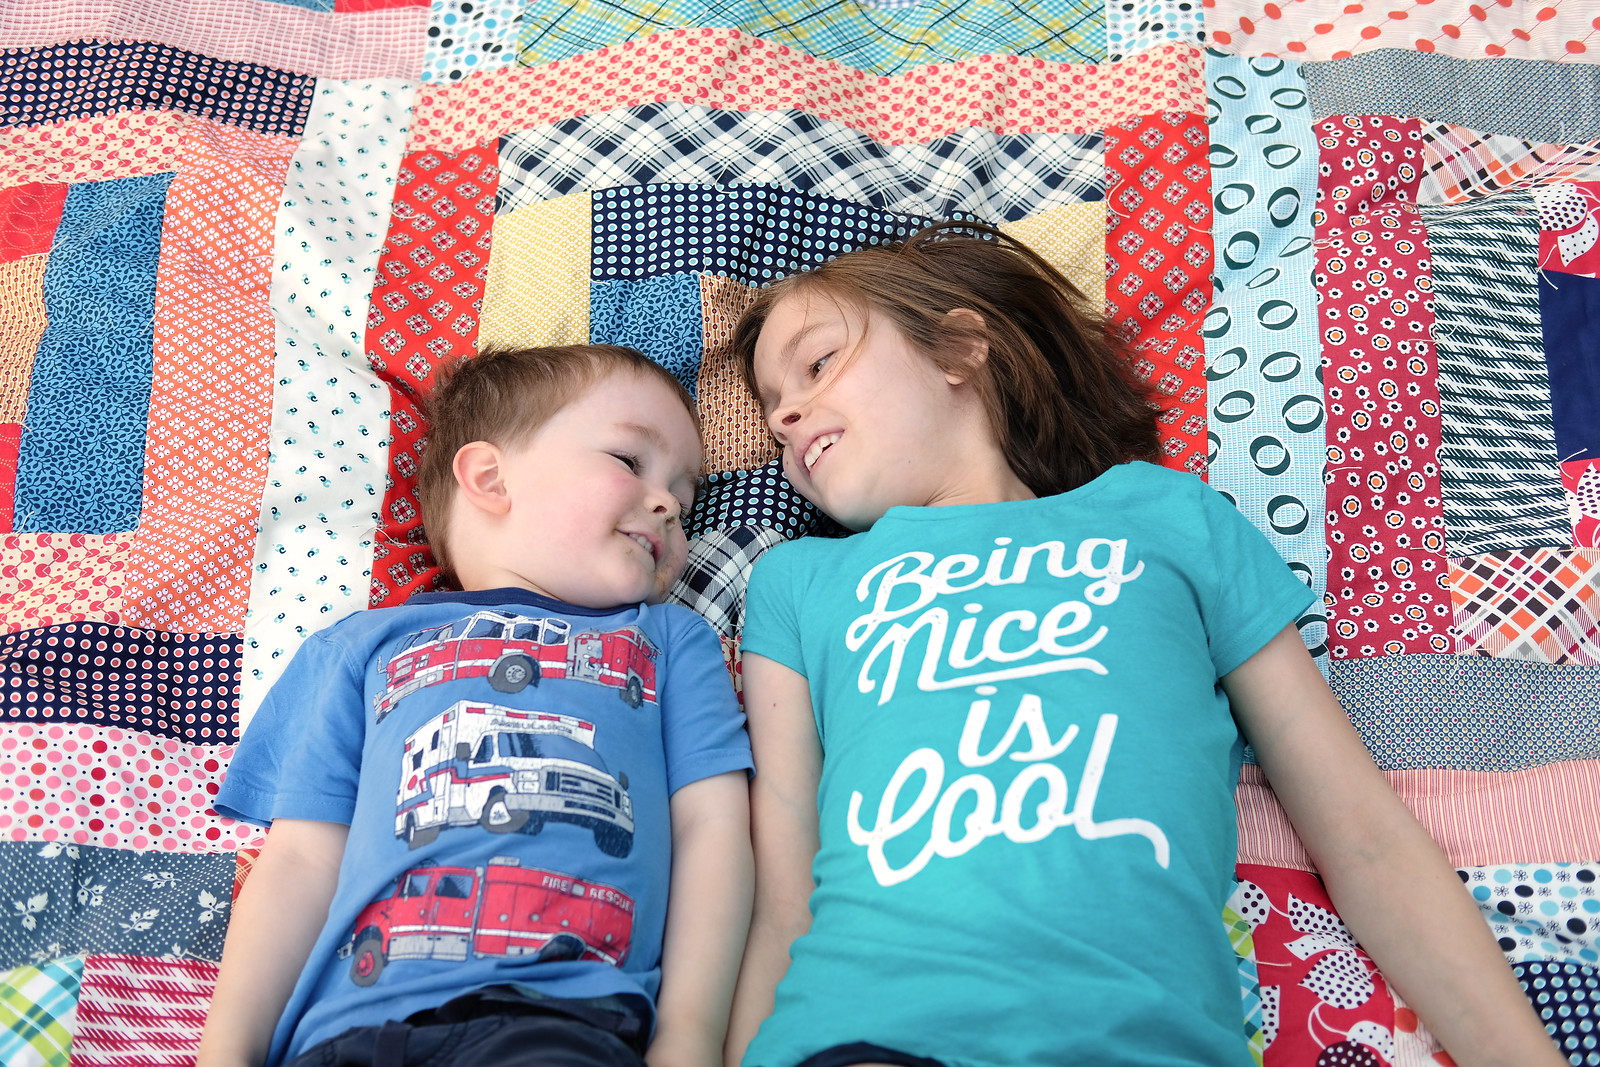
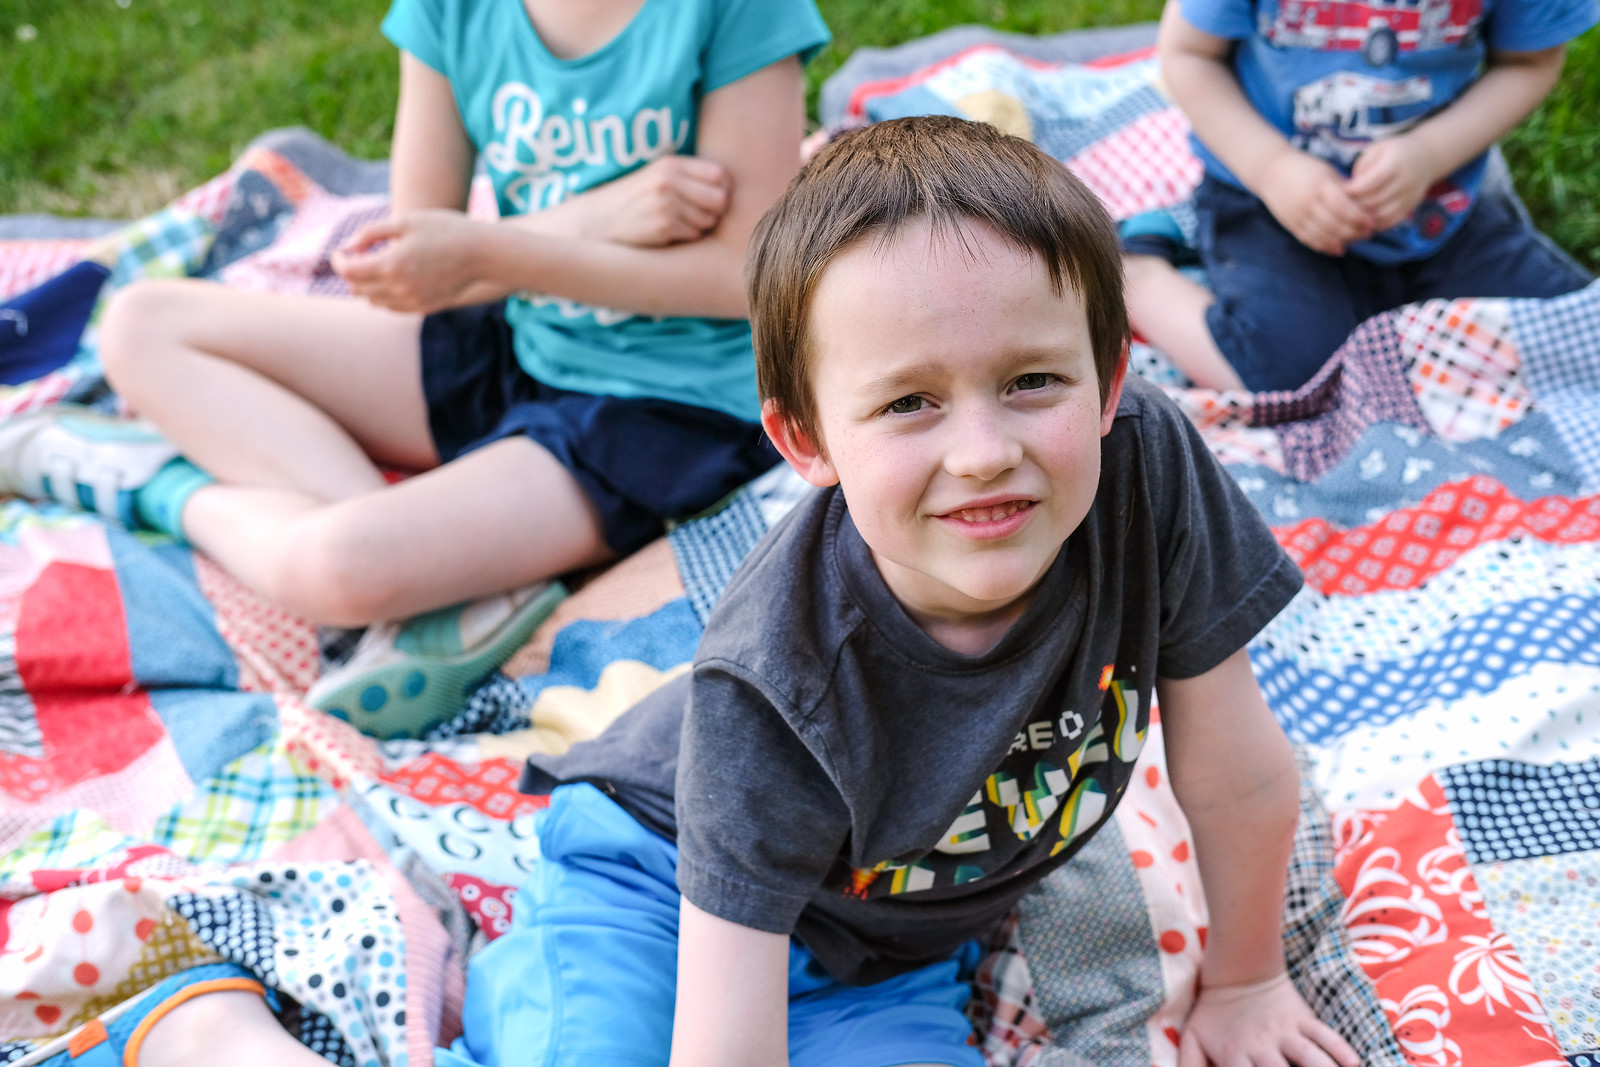
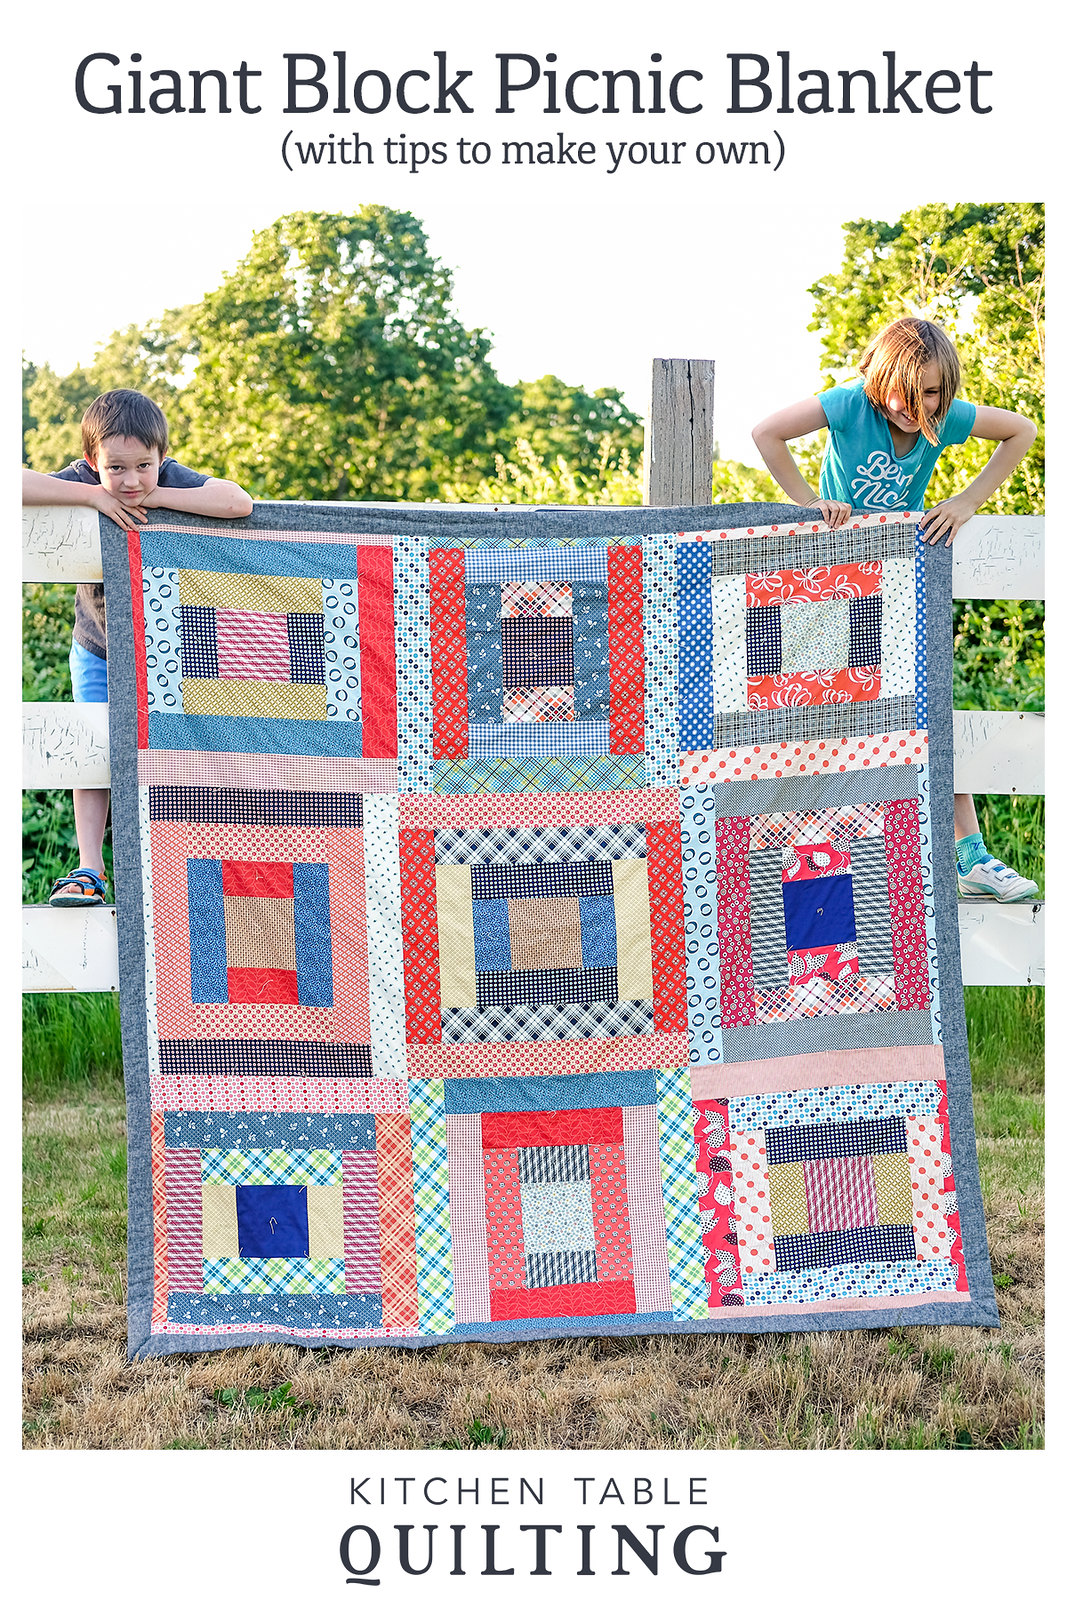
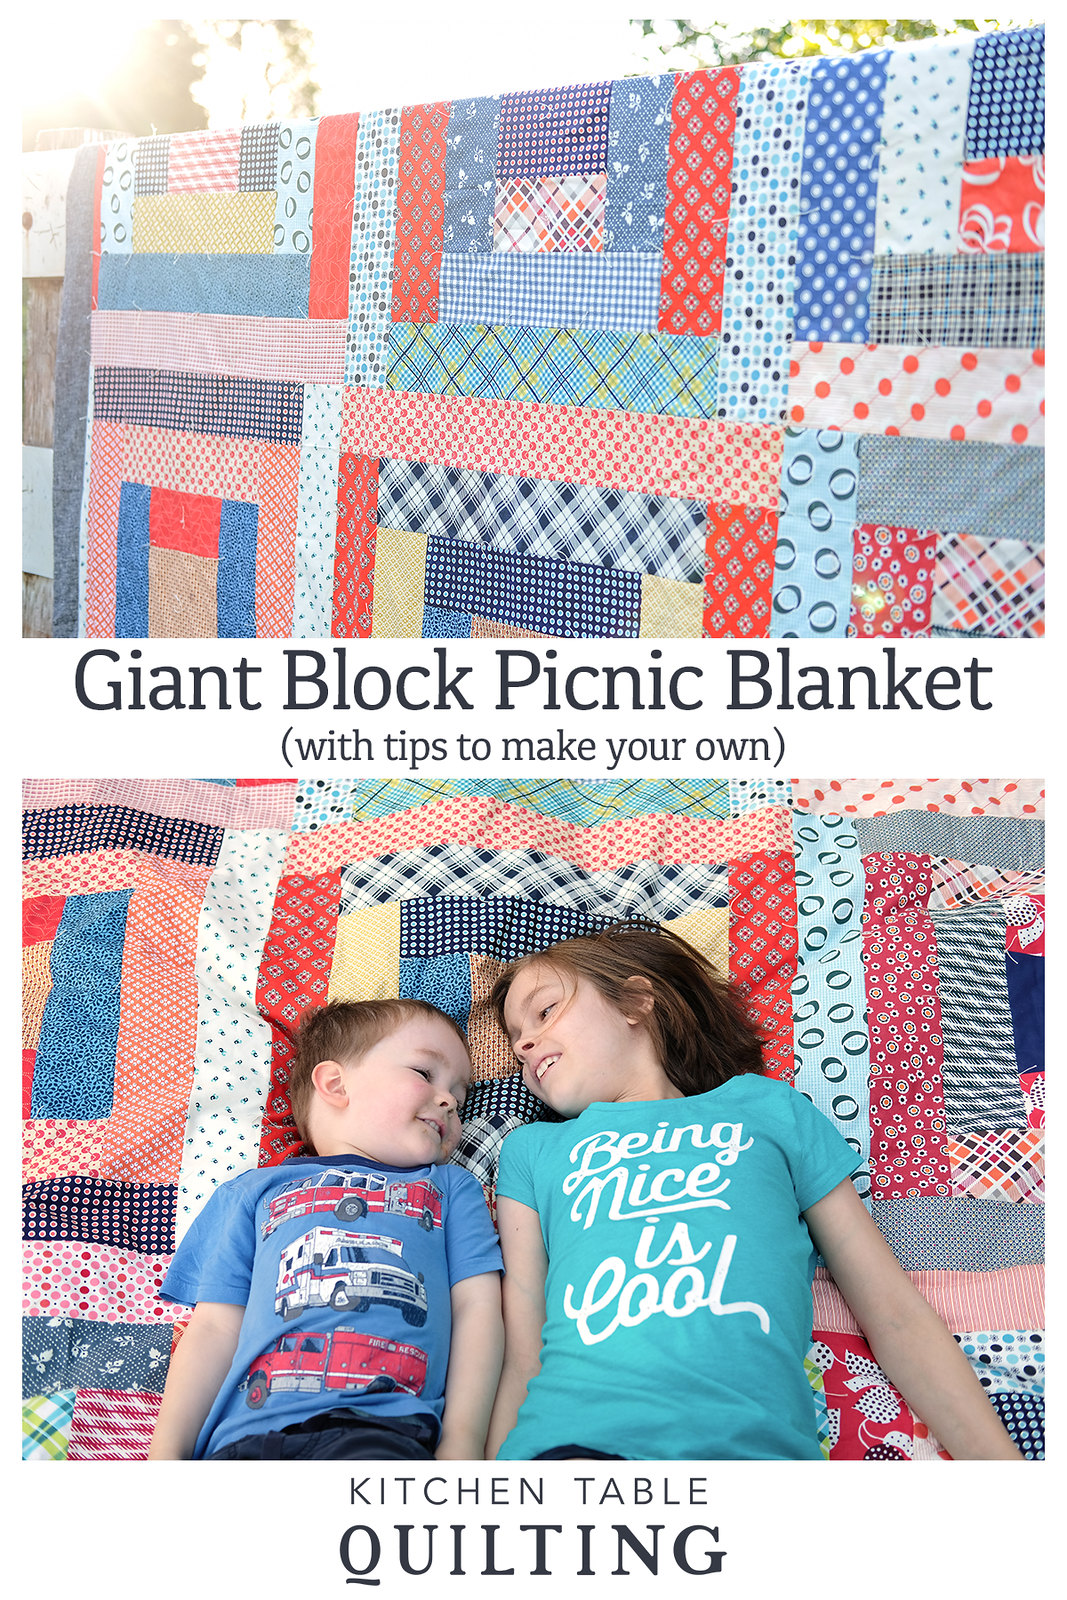
We have been needing a larger picnic blanket because my kids just keep getting bigger and the old one wasn't cutting it. This quilt uses 9 of the 24" May Giant Blocks and it was so quick to put together.
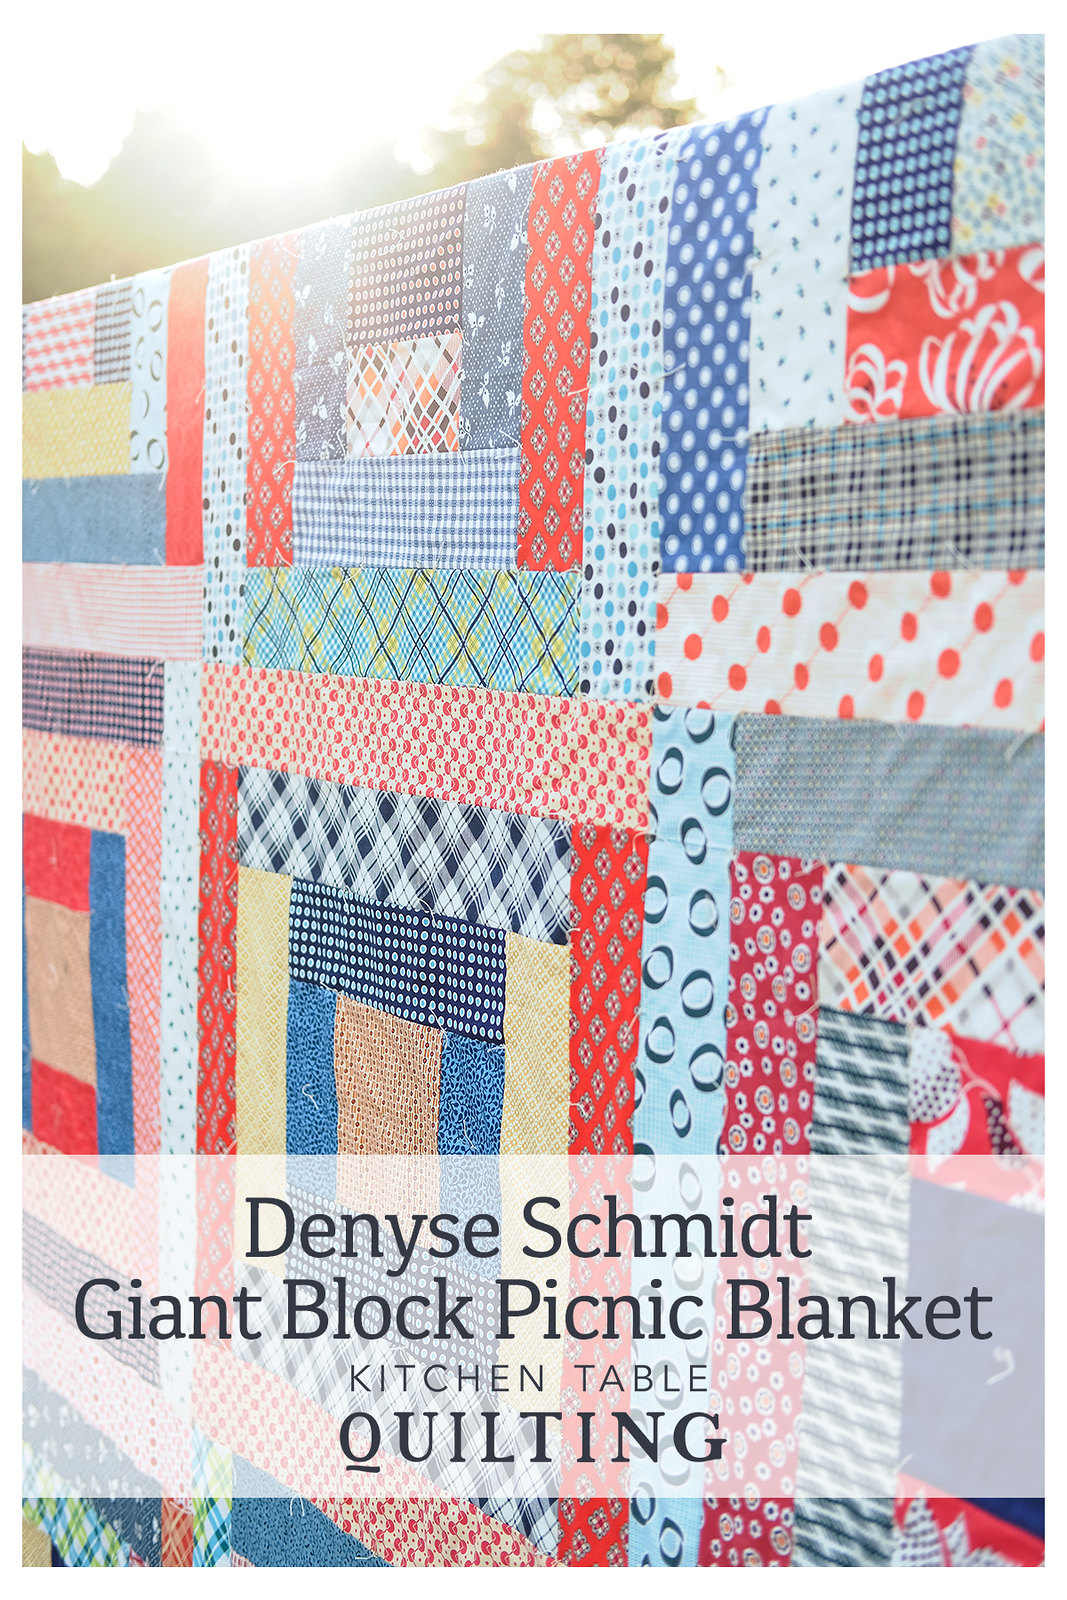
All of the fabrics in the quilt (with the exception of the dark blue solid) are from Denyse Schmidt.
I am pretty particular about picnic quilts so I thought I would share a few details about how I made this quilt. I have shared some of these on past quilts but I think they are worth sharing again.
1. Use a flannel sheet instead of regular batting. This is great because it still feels substantial, but it doesn't take up as much room as batting. If I am going to keep a quilt in my trunk all summer, I appreciate that it is a little more svelte.
2. Tie the quilt. This is a little bit retro and feels right for a picnic quilt. I also know that my kids are going to be rough on this quilt and, if I used traditional machine quilting, some of the seams would get popped open. This is not a problem with ties.
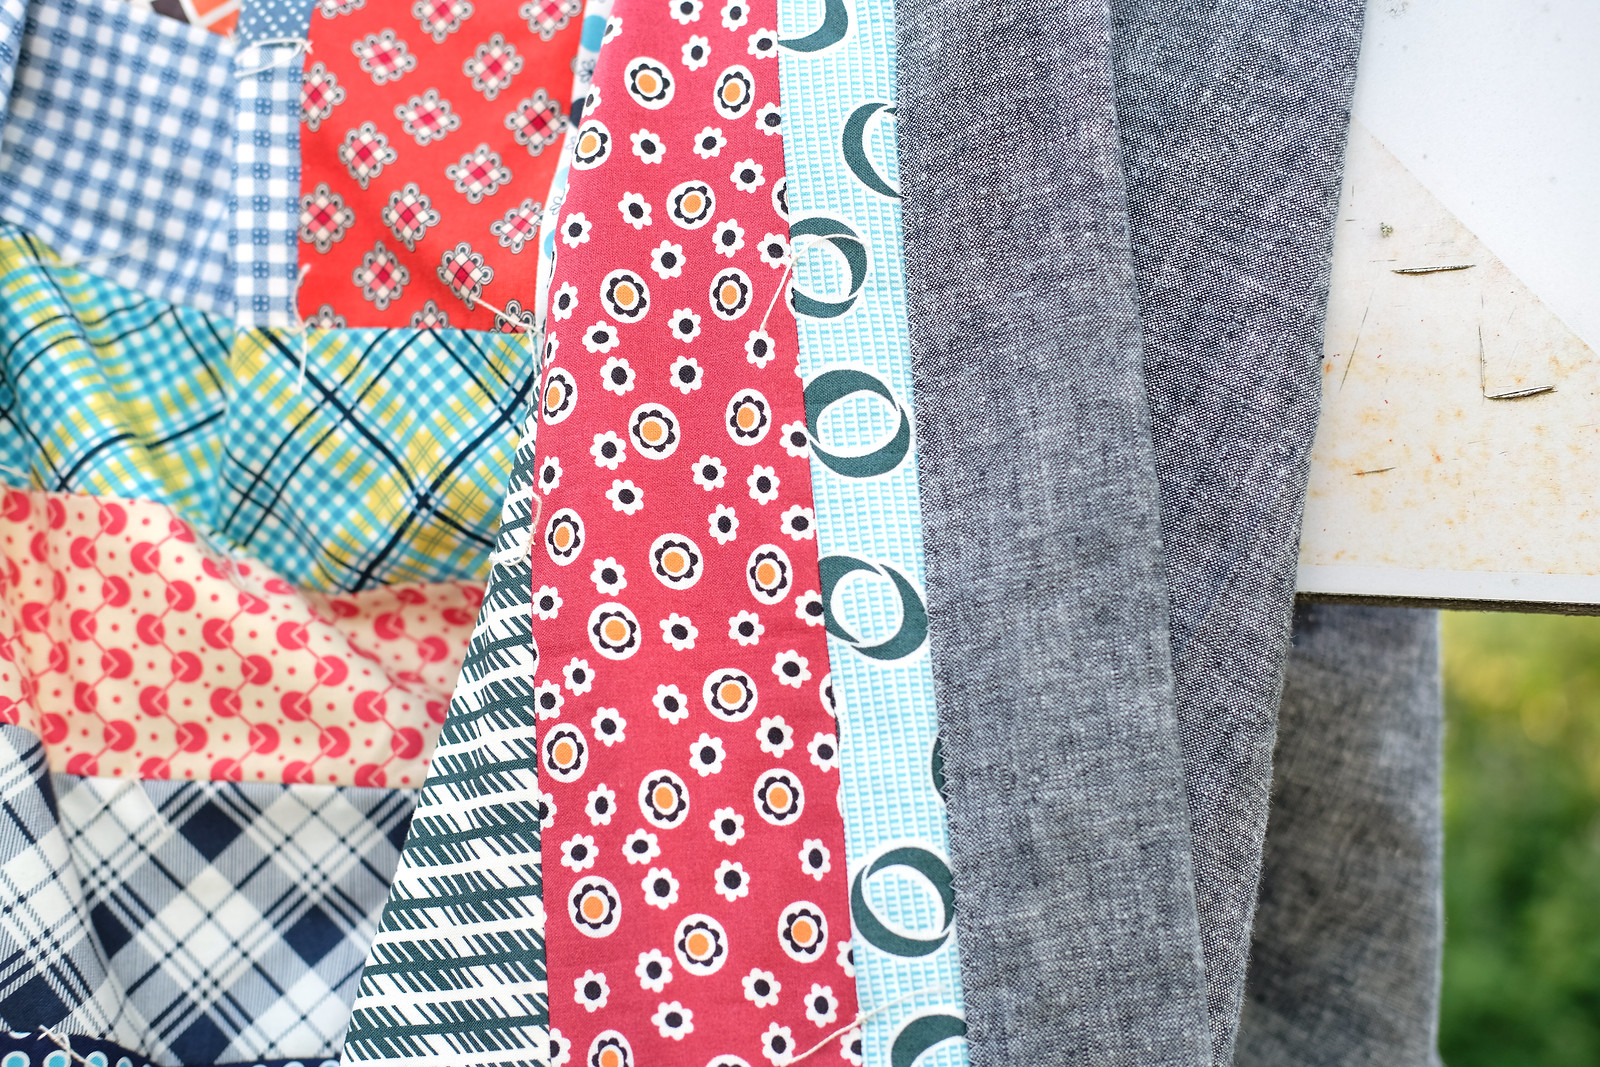
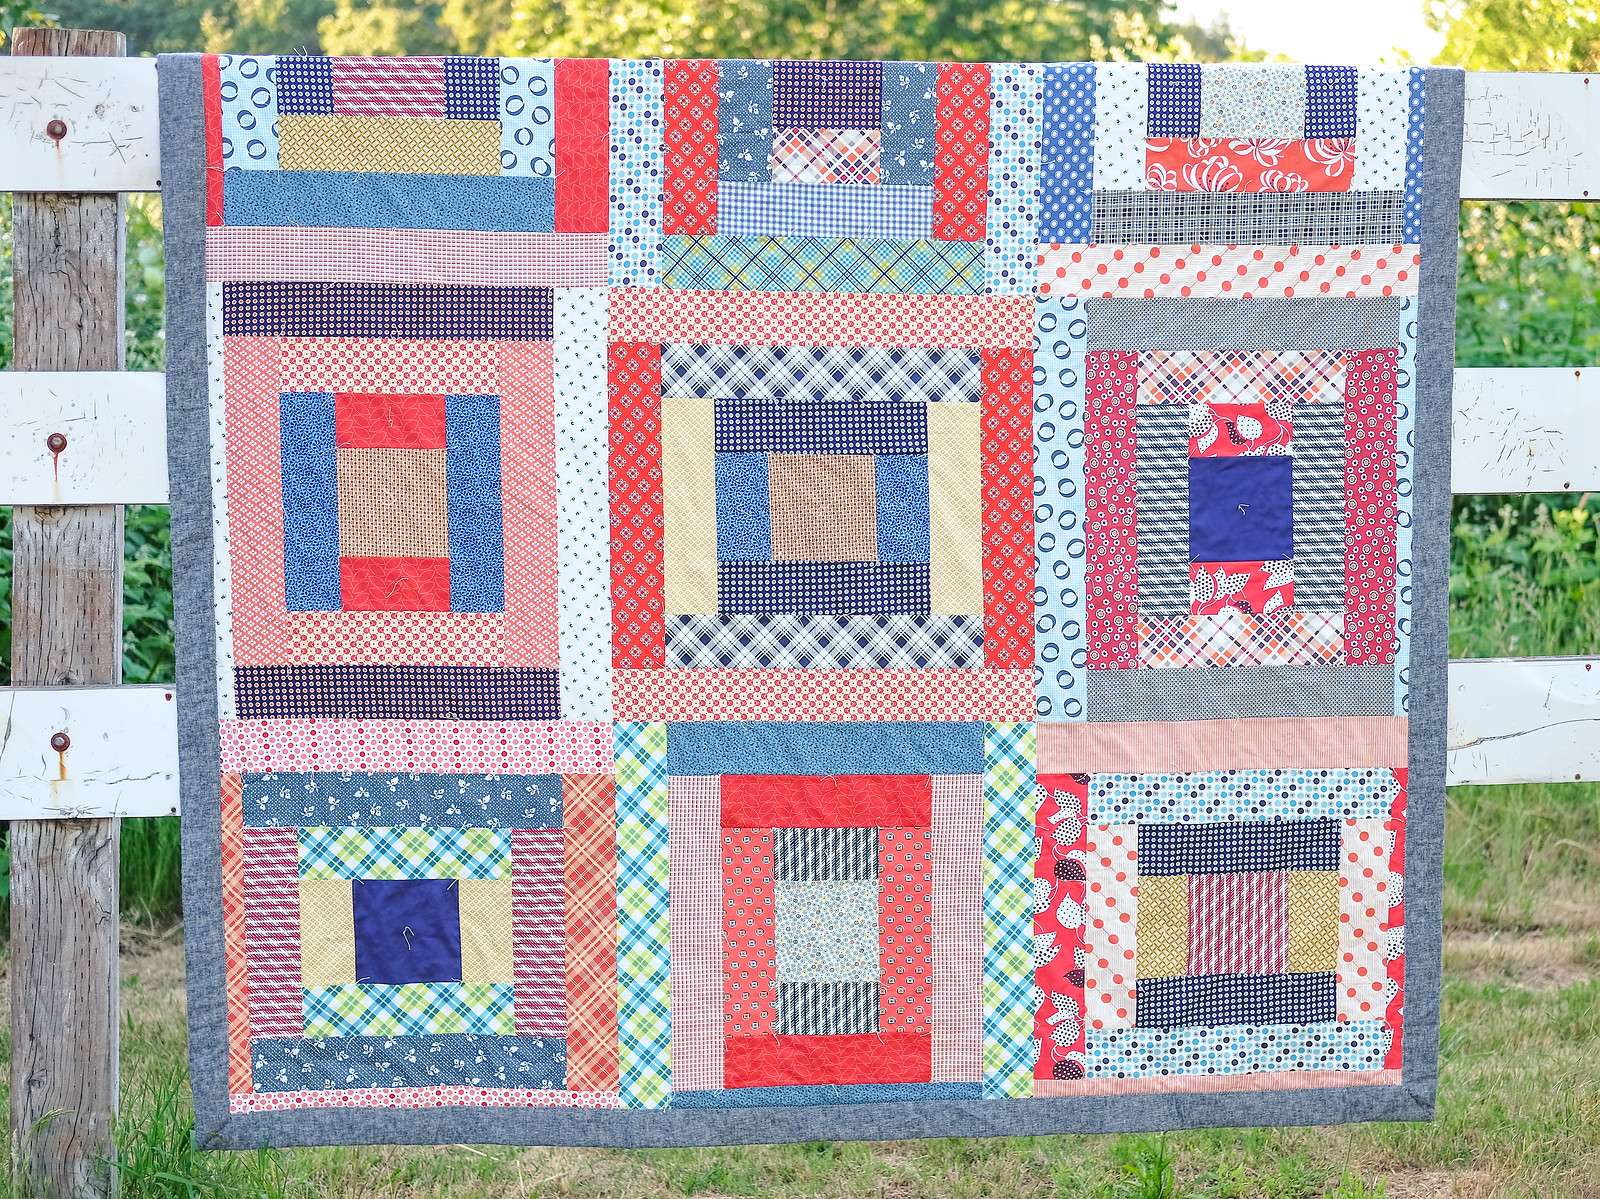 3. Use a wide, fold-over binding. If you have never used this method, Allison has a great tutorial. I did my binding just like the tutorial with a couple of exceptions. I like to make the binding extra wide because it adds weight to the edges of the quilt which helps weigh the quilt down so it isn't blowing up in the wind or getting shifted around. Instead of trimming the backing down to 1" around the edges, I trimmed it down to 4.5."
One caveat to this method is that (as you can see) you lose a little of the quilt top because the binding is so wide. This doesn't bother me, but keep it in mind. You could also add a border around the quilt top to keep this from happening.
4. Use a sturdier fabric for the backing. I used Essex Linen for this quilt and it is a little bit heavier and a little bit sturdier than other fabrics. Canvas is another great option.
5. Trim the batting (flannel sheet) to be the same size as the backing. This means that the flannel is folded into the binding, which helps add a little weight to the edges of the quilt.
6. Zig-zag stitch the binding down. I normally hand sew the binding, but the zig zag stitches hold up really well to repeated washing. They also help smooth out the transition between the quilt and the binding; because the binding has multiple layers of fabric and flannel, it is a little bulky. The zig-zag stitch helps to smooth it out.
If you would like to make your own May Giant Block Tutorial, you can find the tutorial and all of the past Giant Block posts here.
The June tutorial will be available on Friday!
Finished size: 72" x 72"
Tutorial: May Giant Block (24" block)
Backing/Binding: Essex Linen in Black
Fabrics: Various Denyse Schmidt
Batting: Queen size flannel flat sheet (I got mine on eBay!)




I love love love love love it. Really a lot ❤️❤️
ReplyDeleteThank you so much! I am really pleased with how it turned out.
DeleteThis is so cute! It definitely looks like the perfect picnic quilt (and thanks for reminding me to put my picnic quilt back in my car!)
ReplyDeleteThanks! And you're welcome for the reminder! ;)
DeleteGreat quilt to accompany many happy family outings. I especially appreciate your daughter's t-shirt. Such an important message. Good for her!!
ReplyDeleteThanks! She's a sweetheart ;)
DeleteThanks Alison, I love all the big blocks and intend to make something with them in the future, big blocks are so impressive and so nice when you only want a lap quilt, you can dress up the block to make the block special. THanks again love your work and look forward to the next few months
ReplyDeleteHugs happy days
Gayle Z
Love the scrappy picnic version of the May big block. Looks like all are having fun. Thanks for sharing.
ReplyDelete