Strip Piecing
If you haven't strip pieced a quilt before, it can really help speed things up. It isn't practical for all patterns, but it is very effective here.
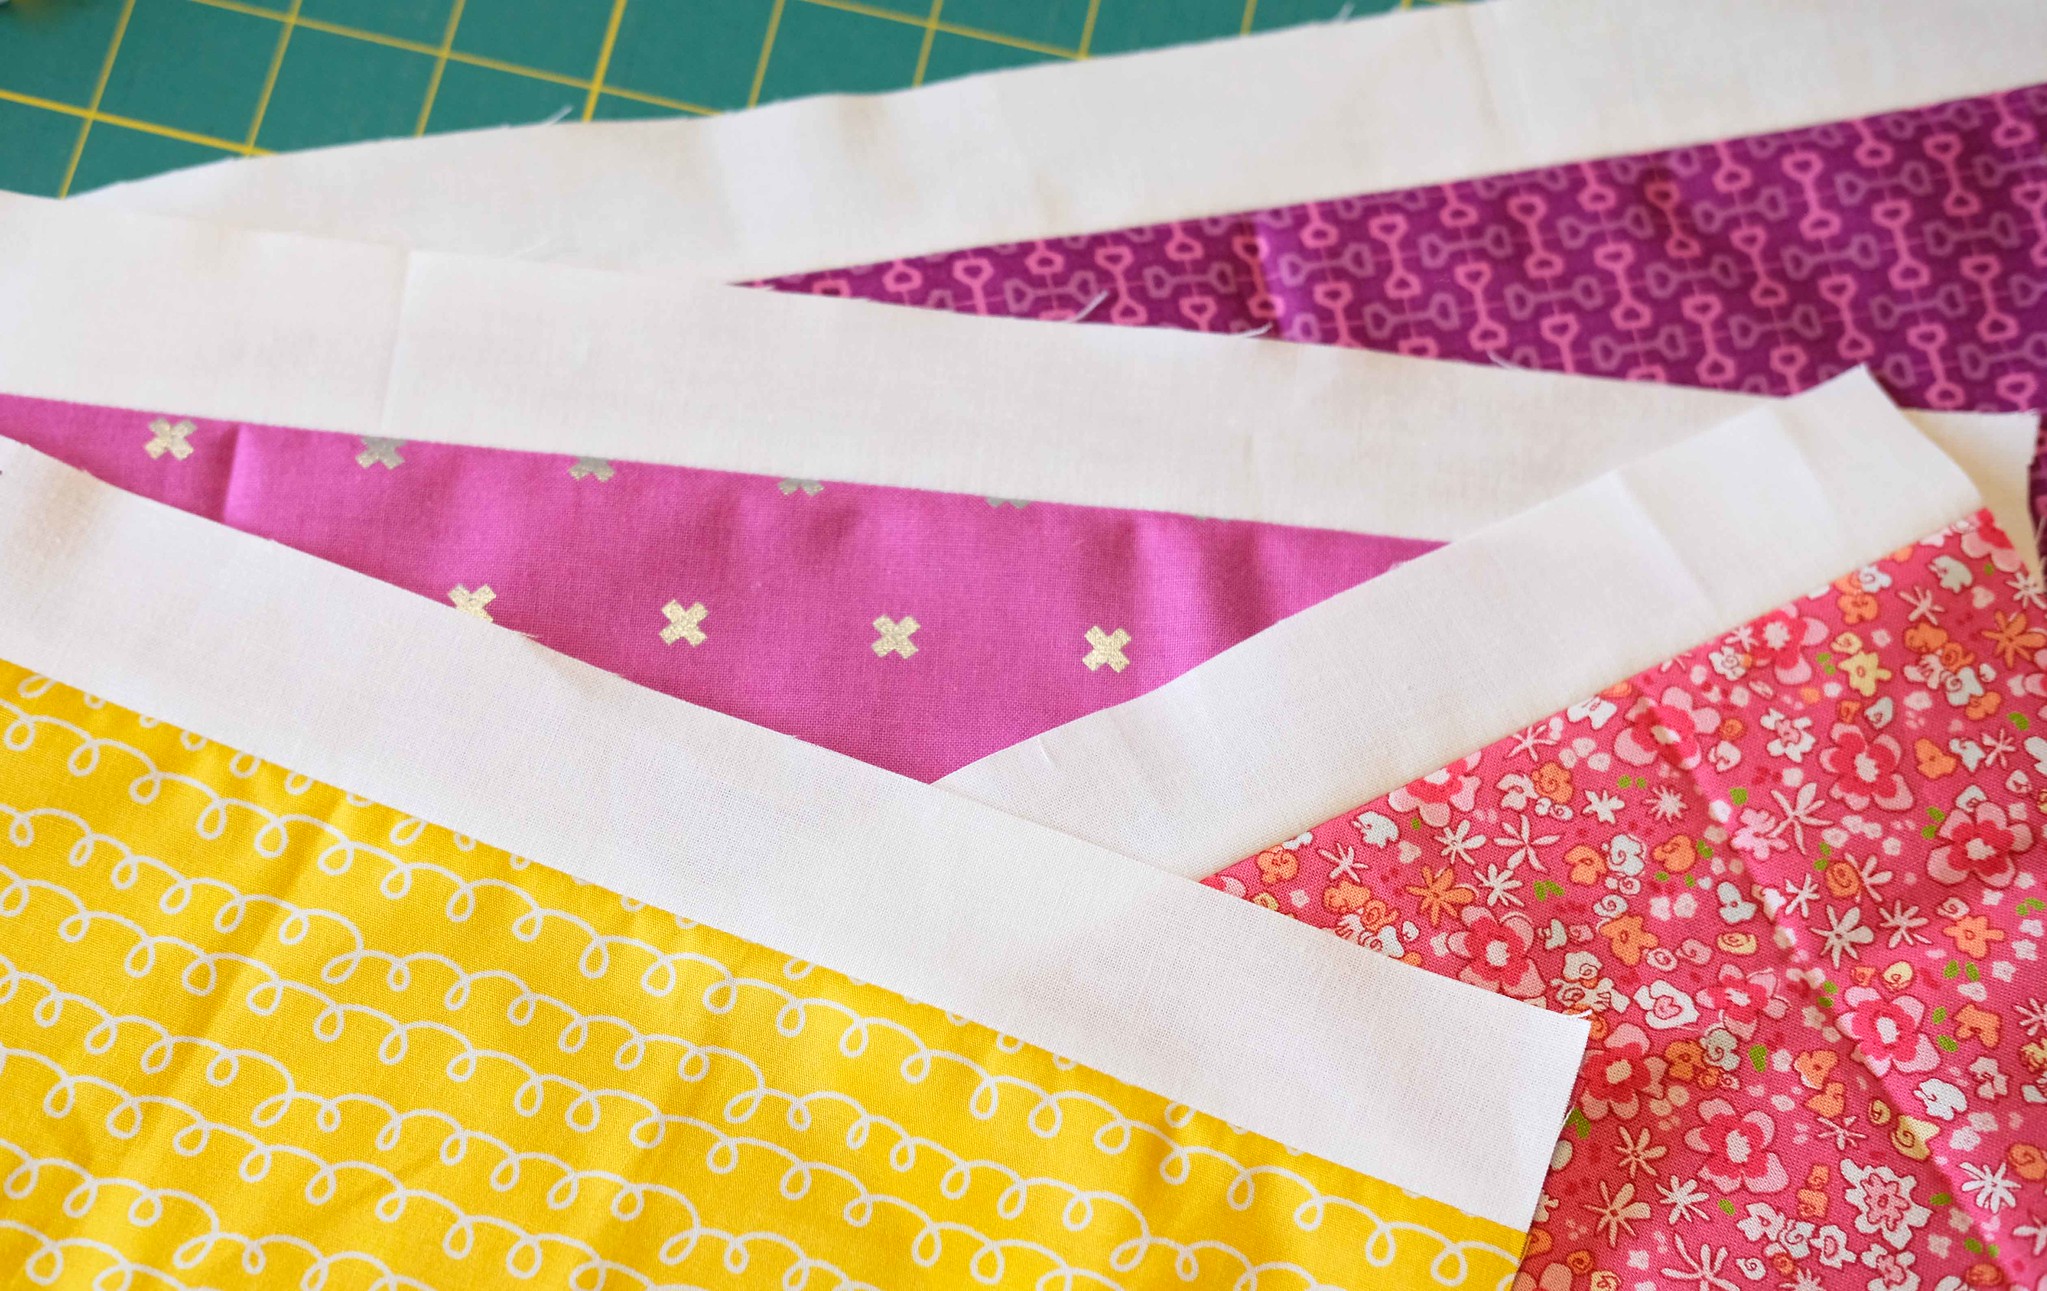
What this means is that we will be sewing our Fabric O strips onto each side of our larger strips and then we will cut them to the sizes we need for the pattern.
One of the biggest benefits here is that you do not need to pin the fabrics (in my opinion) and I am normally a stickler for pinning. You DO need to make sure not to stretch either of the fabrics as they go through the machine and you should take the time to make sure they are properly lined up - that will mean stopping every few inches to position your fabric.

Pressing
There are a lot of fancy quilting irons out there. Until about a year ago, I was a fan of the cheap iron you can buy at Wal-Mart - those are perfectly fine, but last year I discovered this mid-priced iron that I actually really like.
There are a lot of opinions out there about pressing fabrics, but I am a fan of pressing my seams open. I personally think that it helps you match your seams and it creates a nice, flat quilt top without any bulky seams. You can press your seams to the side for this quilt if you would like, but I recommend pressing them open.
Once I have pressed the fabric from the back, I flip it over and press the front to make sure it is nice and flat.
Tip: Some fabrics will stay flat better than others - if your fabric is being particularly stubborn about staying nice and flat, set it on your cutting mat with a large ruler on top and then pile a few books on top of that. After a day or two, your seams will flatten right out.


Do you have this in printed form? It's hard for me to get the video sometimes.
ReplyDelete