


A while back, I mentioned that I had designed a block for Summer Sampler 2020 and that I would be sewing along. I haven't posted my blocks here, but I have posted them over on Instagram and I have mostly kept up with the sew along (fell off the wagon for the past couple weeks, but I'm back on it!).
This week is the Orbit block which is the one that I designed - the concept behind the Summer Sampler this year was that the blocks would be easier to make than they appear.
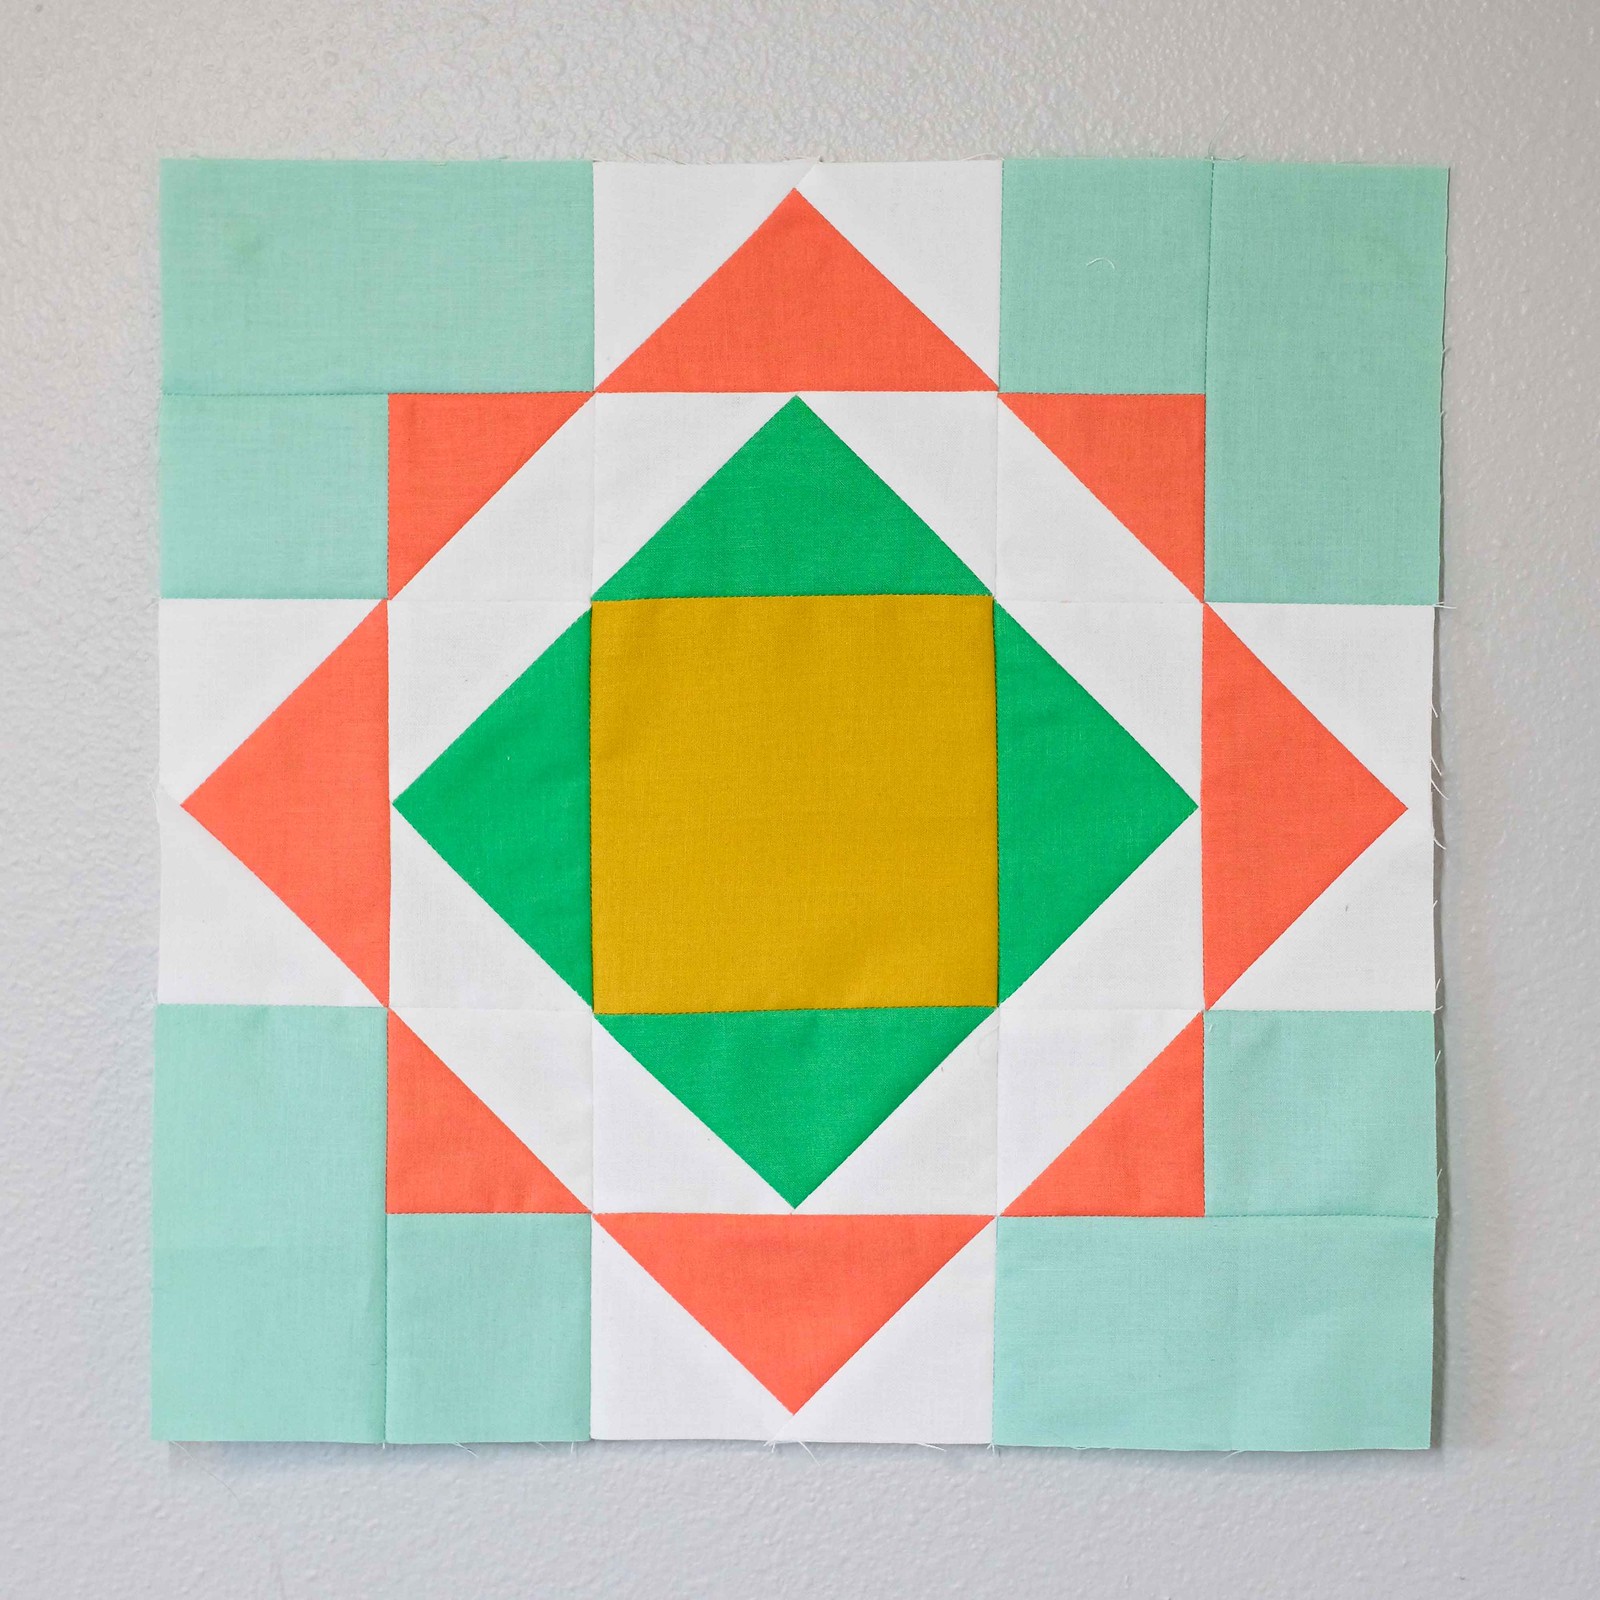
This was my test block when I first was working on design ideas - I love the circle shape that the blocks creates, but there are no crazy curves or paper piecing, just traditional shapes.

This is the block I made for my quilt - I am using shot cotton scraps that I had leftover from previous projects and I wanted to use some of my favorite colors for my own block. What can I say, I love pink and purple.
I know there are some newer quilters participating in the quilt along, so I wanted to give a couple of tips that might help you with construction.
- There are flying geese here - a lot of them! I know these are a little intimidating when you first start quilting, and I like to use this ruler to make my flying geese. The ruler creates no-waste flying geese and I have found that it gives me better results than other methods. There are other flying geese rulers out there and I haven't tried them, but I have been using this ruler for about 8 years and it has served me well.
- If you are fussy cutting as part of your project, the center square is a fun place to fussy cut.
- Depending on your quilt and your quilting aesthetic, you might want more white (or gray or whatever your background color) - feel free to make the corners white.
- Pin, pin, pin. I like to use these patchwork pins because they are very thin - pinning at each seam intersection will help give you better results.
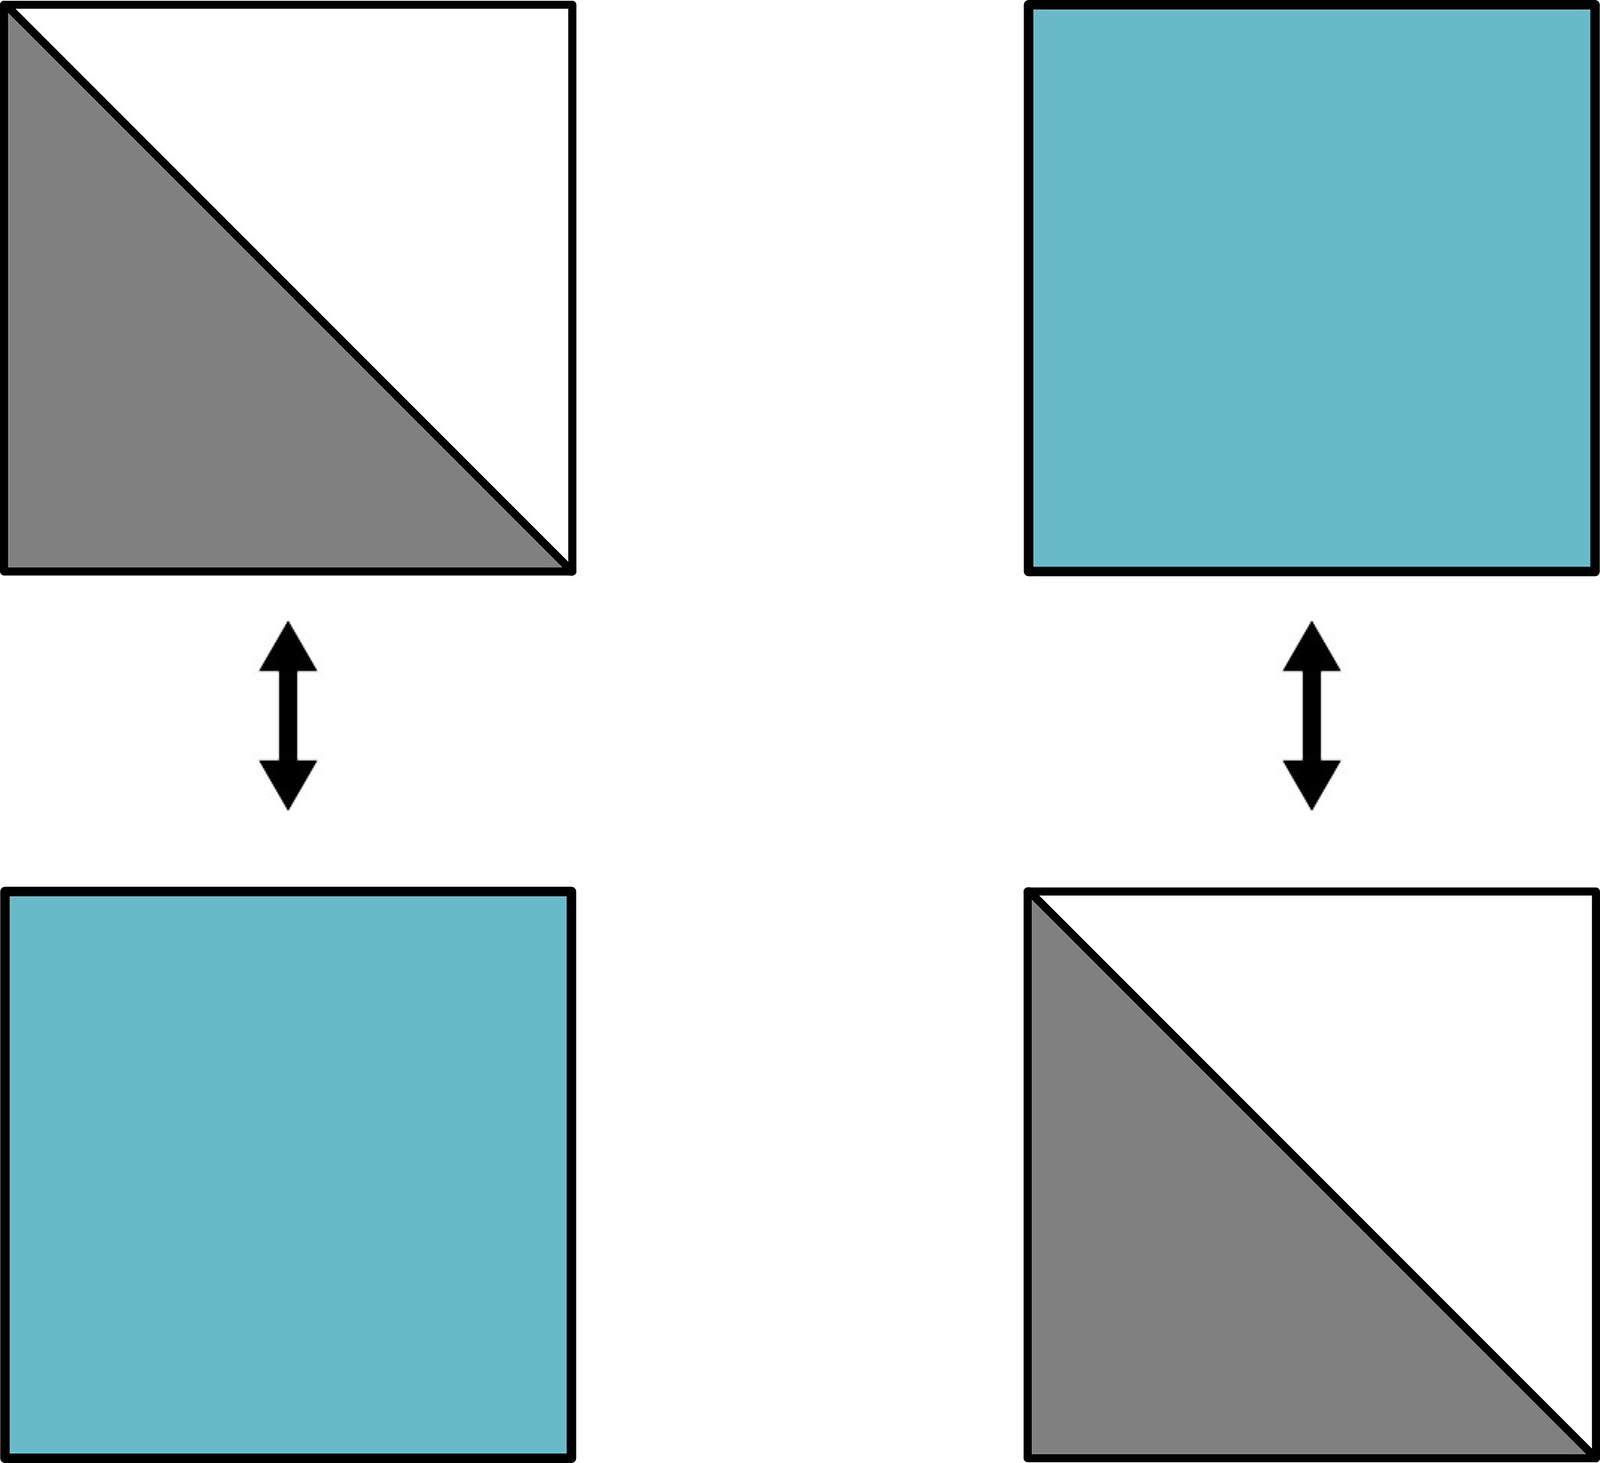
- This is a good tip for piecing with HSTs - once you have made your HST and you are sewing it to another piece, orient your fabric so that the corner with the HST diagonal seam goes through your machine first. For example, look at the image on the left: if I placed those fabrics right side together and then sewed from left to right, the corner of the HST with the diagonal seam would go through the machine last. For the image on the right, it would be the opposite, but both will give you the same result. Does that make sense? This will just help if your pieces aren't exactly the same size or if your machine isn't feeding through them evenly because it prioritizes lining up the diagonal seam.
Hopefully those tips help you! If you have any follow up questions, feel free to post them in the comments and I will do my best to answer.
And here are all of my blocks so far:

If you want to participate in the Summer Sampler - it's not too late! You can sign up here and all of the previous blocks will be sent.
If you would like to see more blocks, check out the #summersampler2020 hashtag on Instagram.


I understand your tip for sewing the HST from the seamed point but don’t think the two in the illustration will end up the same. In the left one blue seams to gray. In the right one blue seams to white. I think. It’s very early. Love the block.
ReplyDeleteYour block was a fun one to make even with those geese! ;-) Glad you joined this summer's sewalong as a designed. It's a fun group.
ReplyDelete