


If you are like me, you have a bin of scraps. They could make a beautiful quilt, but there is so much sorting and deciding and sorting involved that it can be a little daunting. I've got a few tips to help get you started.
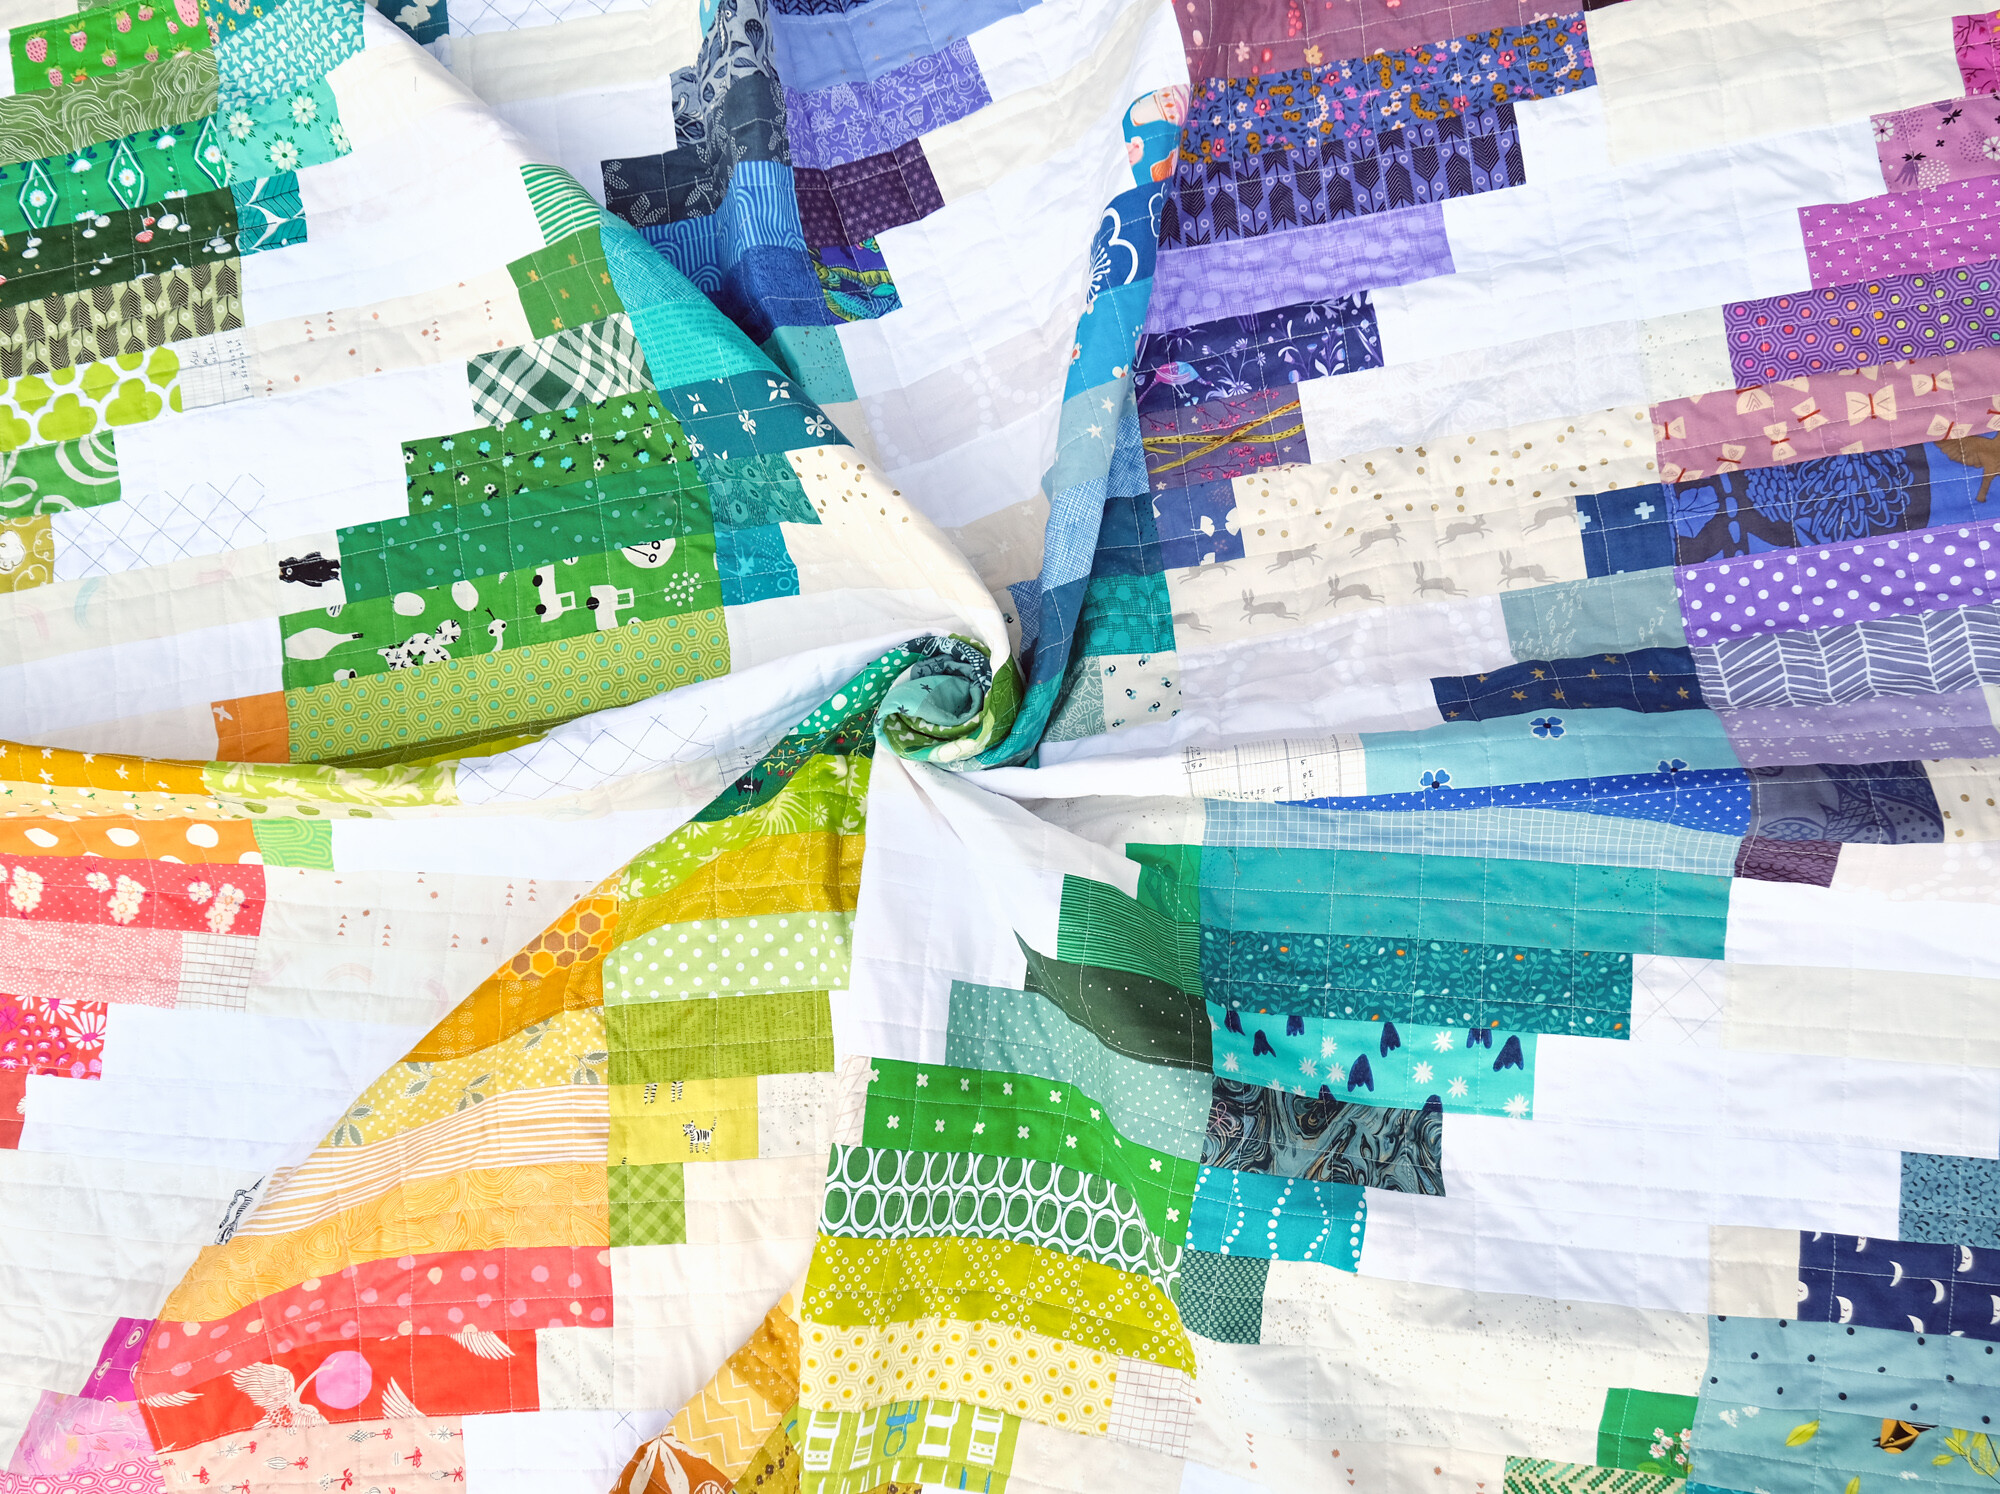
Recently, I have been enjoying making rainbow scrap versions of some of my patterns. They are fun projects for me personally, but they are also practical because they motivate me to start digging through the scrap bin. Since I most recently shared this scrappy, rainbow Luna quilt, I am going to reference that once in this post, but you can apply these same ideas to your own project.
- Make a list of each size and color that you will need before you even get started. I keep about a dozen pads of sticky notes scattered around my sewing room (I like these ones because they are lined and bright enough that I can spot them under a pile of fabric) just for this type of note.
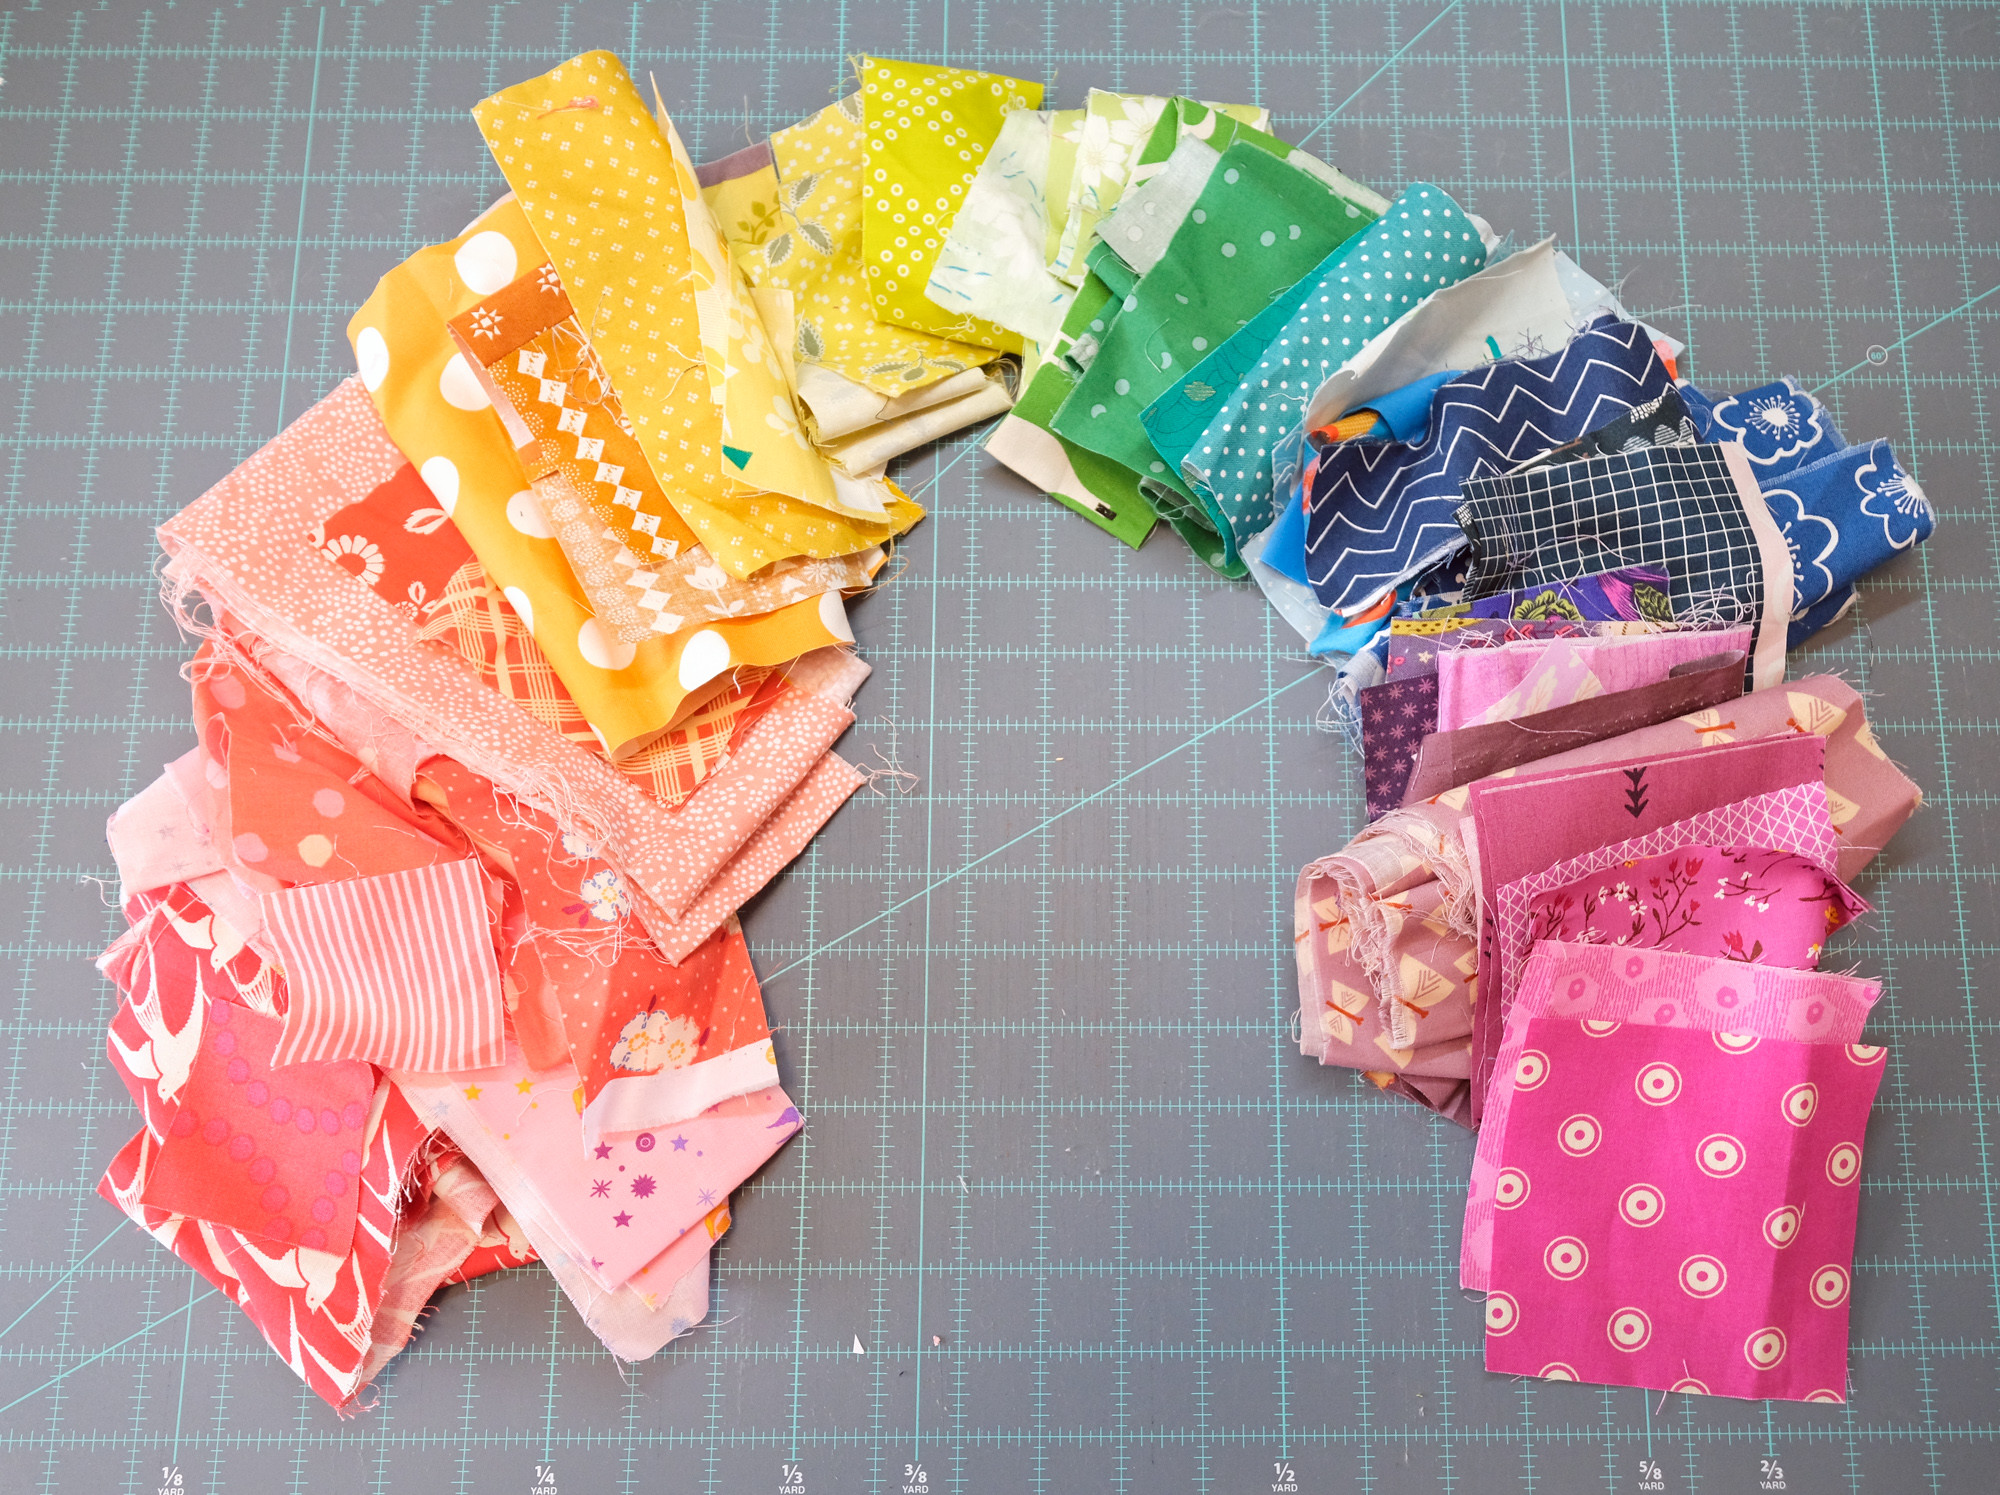
- Group your scraps roughly by color. If there is a scrap that is obviously too small, don't include it in your piles. Make a pile for red (or pink), orange, yellow, etc. You can narrow down your scrap selection and divide them into more precise piles once you get your initial sorting done.
- Discard scraps that won't work. Here are a few categories that I try to avoid when making a scrap quilt:
- Large scale prints - these tend to get lost in scrap quilts and the look of the print will vary a lot based on which part of the print you include. A couple of large scale prints that would probably work are this Tula Pink print or this Alexia Abegg print. They both have limited variation in color the colors in the prints are similar in value.
- Speaking of value, you will mostly want prints without much contrast within the print. If there are parts of the print that are really dark and parts that are really light, it will be distracting in the quilt. You want the the colors to blend into the rainbow, not have an individual fabric stand out. This dot print would probably not be great, but a smaller dot like this should be ok.
- Within each color, it is good to have variation in shade. One way to get this is to mix prints from different fabric designers and manufacturers. However, you don't want a fabric that is TOO much variation. While I used yellow/greens in my quilt, a neon print like this would probably call too much attention to itself.
- Try for variation. If you have some leftover backing fabric that is large enough to cut 20 pieces from, save some of that fabric for a future project. You can certainly reuse prints, but try for variation.
- Now it is time to sort your scraps into pickier piles. This is actually my favorite part. Make a pile of red/pinks, pinks, orange/pinks, oranges, yellow/oranges, yellows, etc. You want each major color and a pile of the color in between — I think of these as bridge colors. For example, this coral print (which I think would work in the quilt even though it's large scale) is between pink and orange. It bridges the gap between the two. Even if you aren't making blocks for each of these bridge colors, it is good to separate them out so you get some of the main colors + some of the bridge colors in your quilt. If you aren't sure if something is a blue/purple or a red/purple for example, hold the fabric up to a blue and a red and see which one it fits with.
- Start cutting! When cutting scraps, you can stack several together and cut them at once. If you have a sharp blade on your rotary cutter, I think it's pretty safe to cut 6 at a time. It doesn't matter if they are the same color, just make sure they are the same size! Make sure to keep your sticky note list close by so that you get the correct number.
- Now start assembling your block. If you notice that a color really doesn't fit your quilt, halt immediately! Don't use it just because you already cut it. Take the time to replace it with something that you will work.
- If you find that you don't have enough scraps, it's ok to dig into your stash a little. Cutting one little strip from a fat quarter or yardage will rarely create an issue with using it in the future (but please don't send me hate mail if it does).

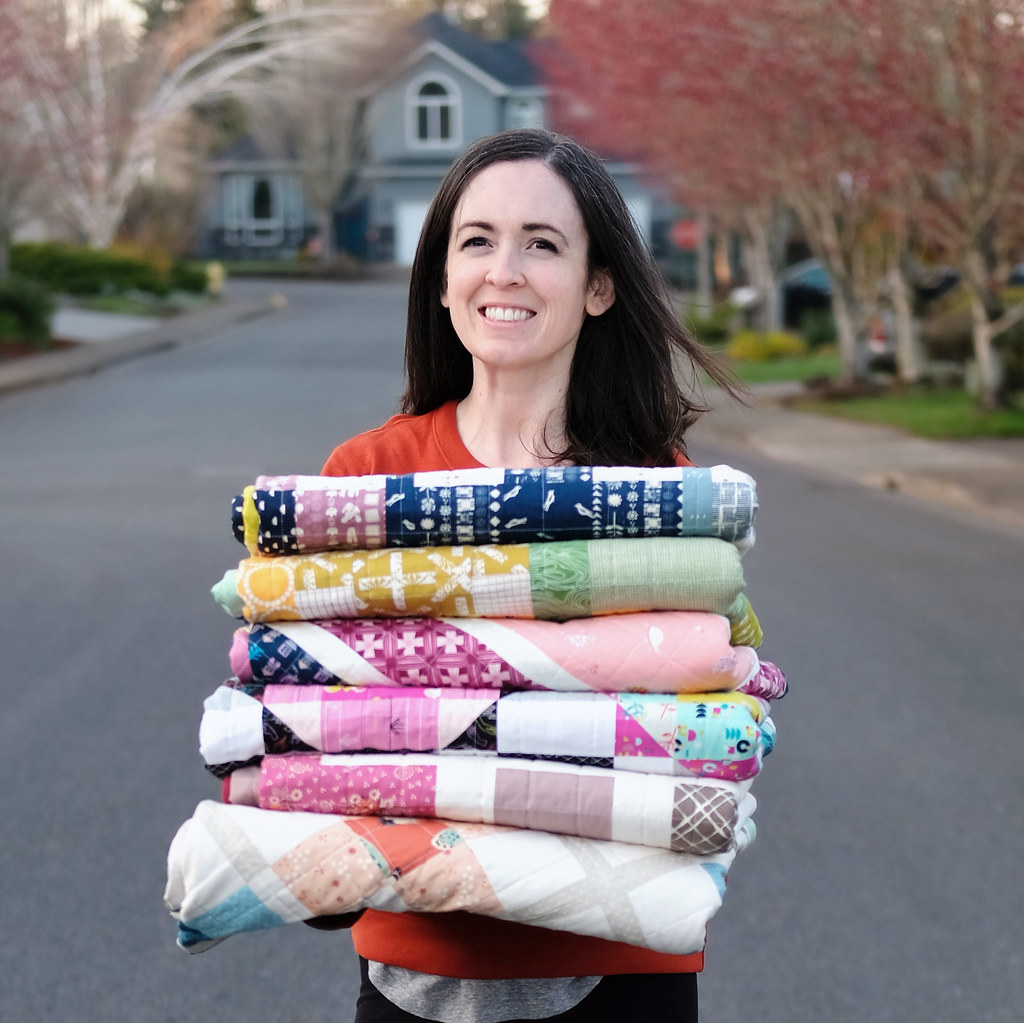
This is the type of project that gets easier (and more fun!) with practice. If you don't love your first effort, finish that quilt, gift it to someone who will adore it, and try again. The great thing about scrap quilts is that if you keep making quilts, you keep producing more scraps so you always have more.

I'm not announcing anything today, but let's just say that if you wanted to make a scrappy Luna Quilt or a scrappy, rainbow Luna Quilt or even a regular old Luna Quilt, there may be something coming up that you will enjoy!
I hope you found this helpful! This is such a great project if you are looking to try a scrappy rainbow quilt.
As a side note, I have had to turn off commenting on the blog because I was inundated with spam posts. Hopefully I can turn them back on after a little while!

No comments
Unfortunately I have had to turn off commenting due to an overwhelming number of spam posts. If you have any questions, please contact me using the contact form at the top of the page or comment on an Instagram post.
Note: Only a member of this blog may post a comment.