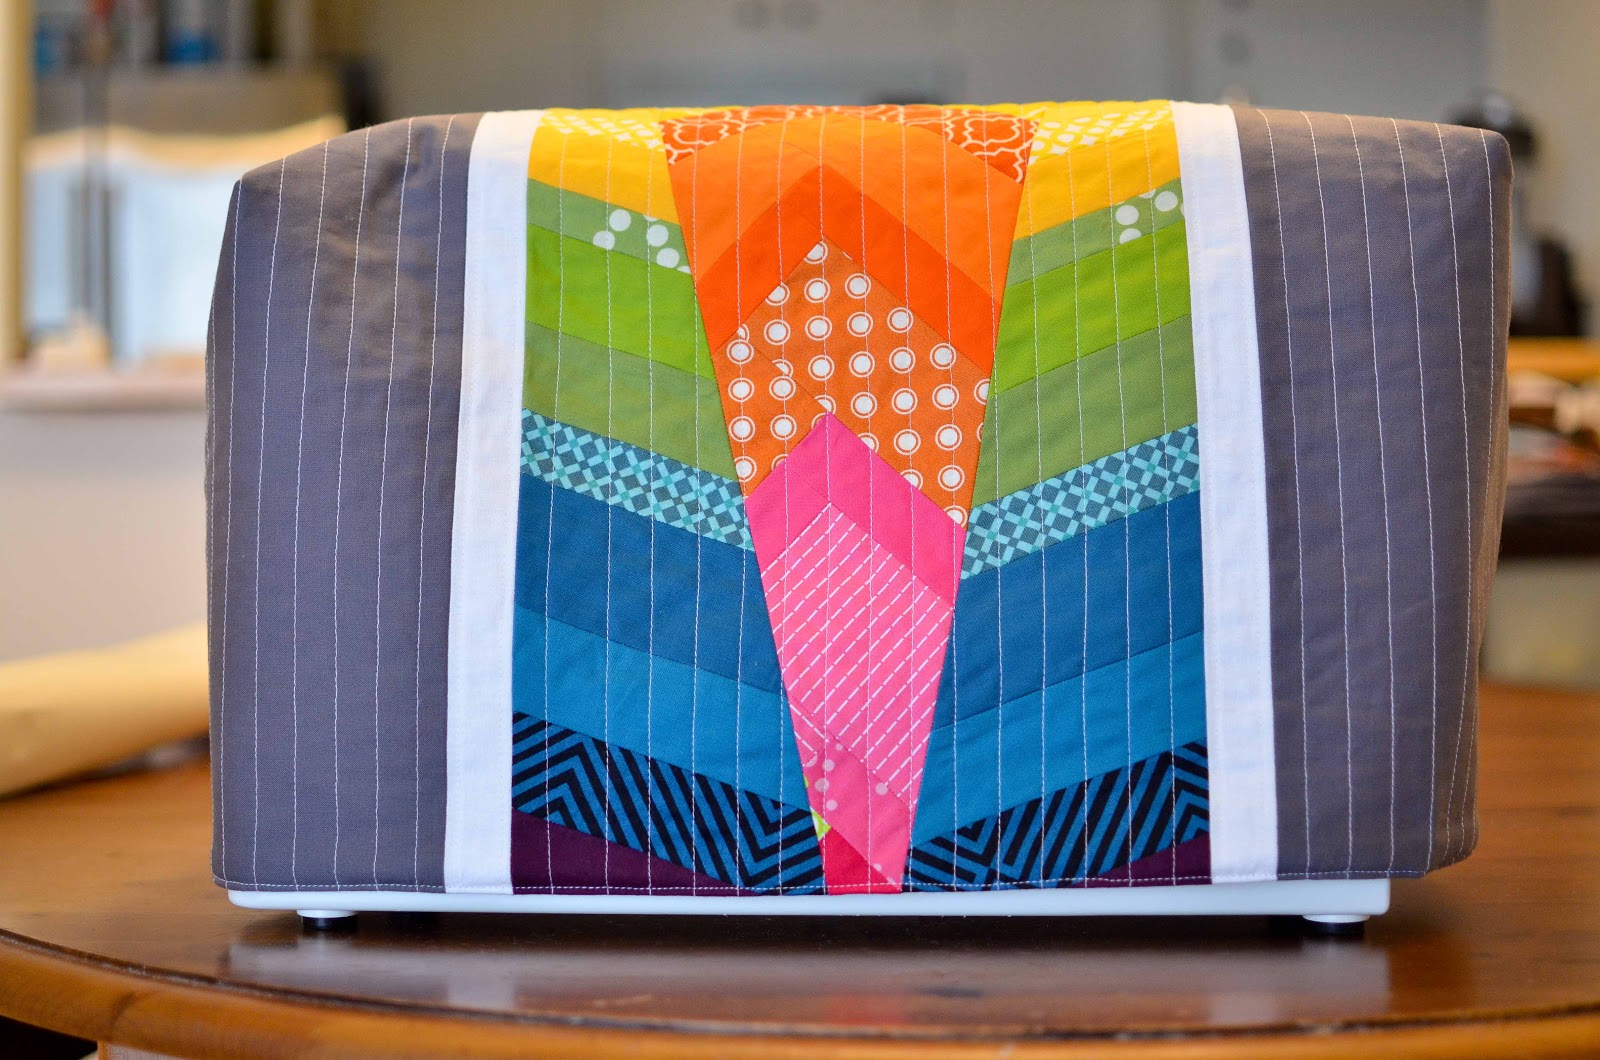
A few weeks ago, do. Good Stitches set up a swap for all of the circle hosts. I have never participated in a swap, so I was excited but a little nervous. I decided to make a sewing machine cover using
this pattern from Empty Bobbin. I have had it sitting around for a while with the intention of making a cover for myself, but it was pretty far down on the priority list.
I was initially inspired by the colors in
this quilt and I decided to make some string blocks using similar colors. The pattern came together easily and I was happy with how everything was going.
Until it came to cutting the holes in the cover to make it deeper (I don't know what they are called). I totally cut them on the wrong side. I was so sad. I remember thinking, "That doesn't really make sense, but maybe it will make more sense once I cut them." Ha ha, nope.
Oops. Maybe I could have made it work, but I didn't think I would be very happy with the results so I decided to start over. At first I thought I would just replicate the original, but then I thought maybe I would try something new. I am glad that I did because I think I like version 2.0 better.
I made the center panel using a giant improv chevron (tutorial here). After I trimmed the chevron in the center down to the right width, I flipped the leftovers over and sewed them back on. I wasn't sure how well this would work but I am pretty happy with the results.
My partner's machine isn't exactly the same size as mine so it should fit hers a little differently. But you get the idea.
The pattern is great and I would definitely recommend it. I did make the center panel a little wider than the pattern calls for (mine was 10.5" unfinished). My only complaint is that the cover doesn't go all the way down to the table. I guess a little short is better than being too long, but next time I would make the pattern an inch or so longer.
loading..


Erica, that is stunning!
ReplyDeletei love what you did with the chevrons! Looks amazing!
ReplyDeleteVery cute design and fabrics!
ReplyDeleteLove your cover. I too increased the size of my cover over what the size should have been! You can always make it smaller right? My thought was that the quilting will draw it in a little anyway so when I was done with mine it fit perfectly!!
ReplyDelete