


There are some photos and info listed in the post below - if you would like more info about the process of finishing your quilt, I have added some links at the very bottom of this post that will take you to my Instagram story highlights where I have more information.
If you do want to wait until after quilting, here is a video. I do not walk you through the entire process since it takes me about 15 minutes and it is no different than trimming before quilting - watch the video above if you want the full process.
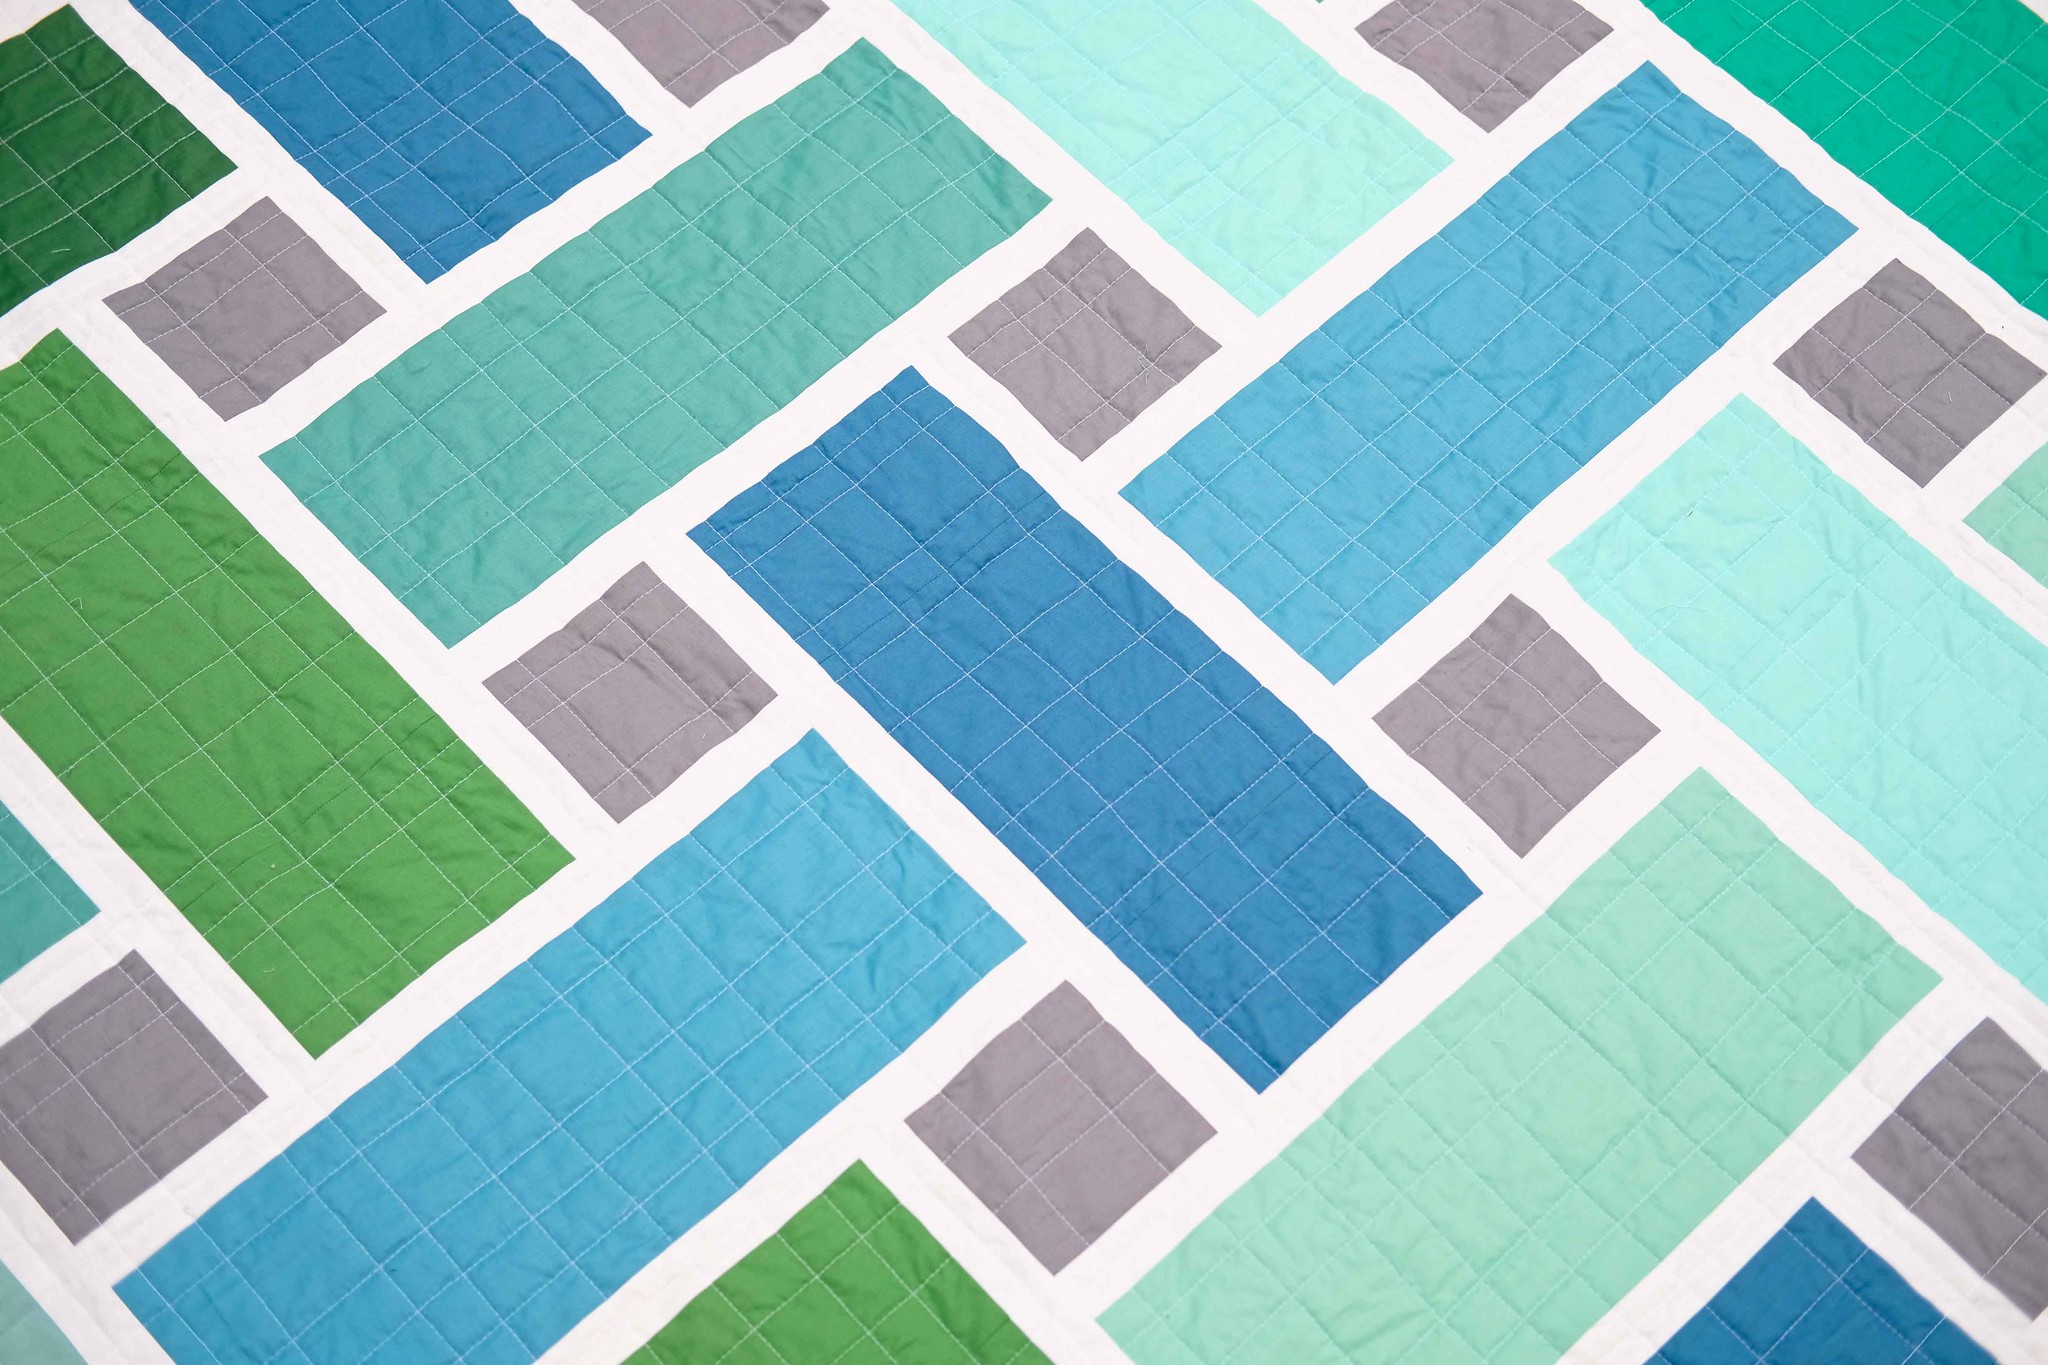
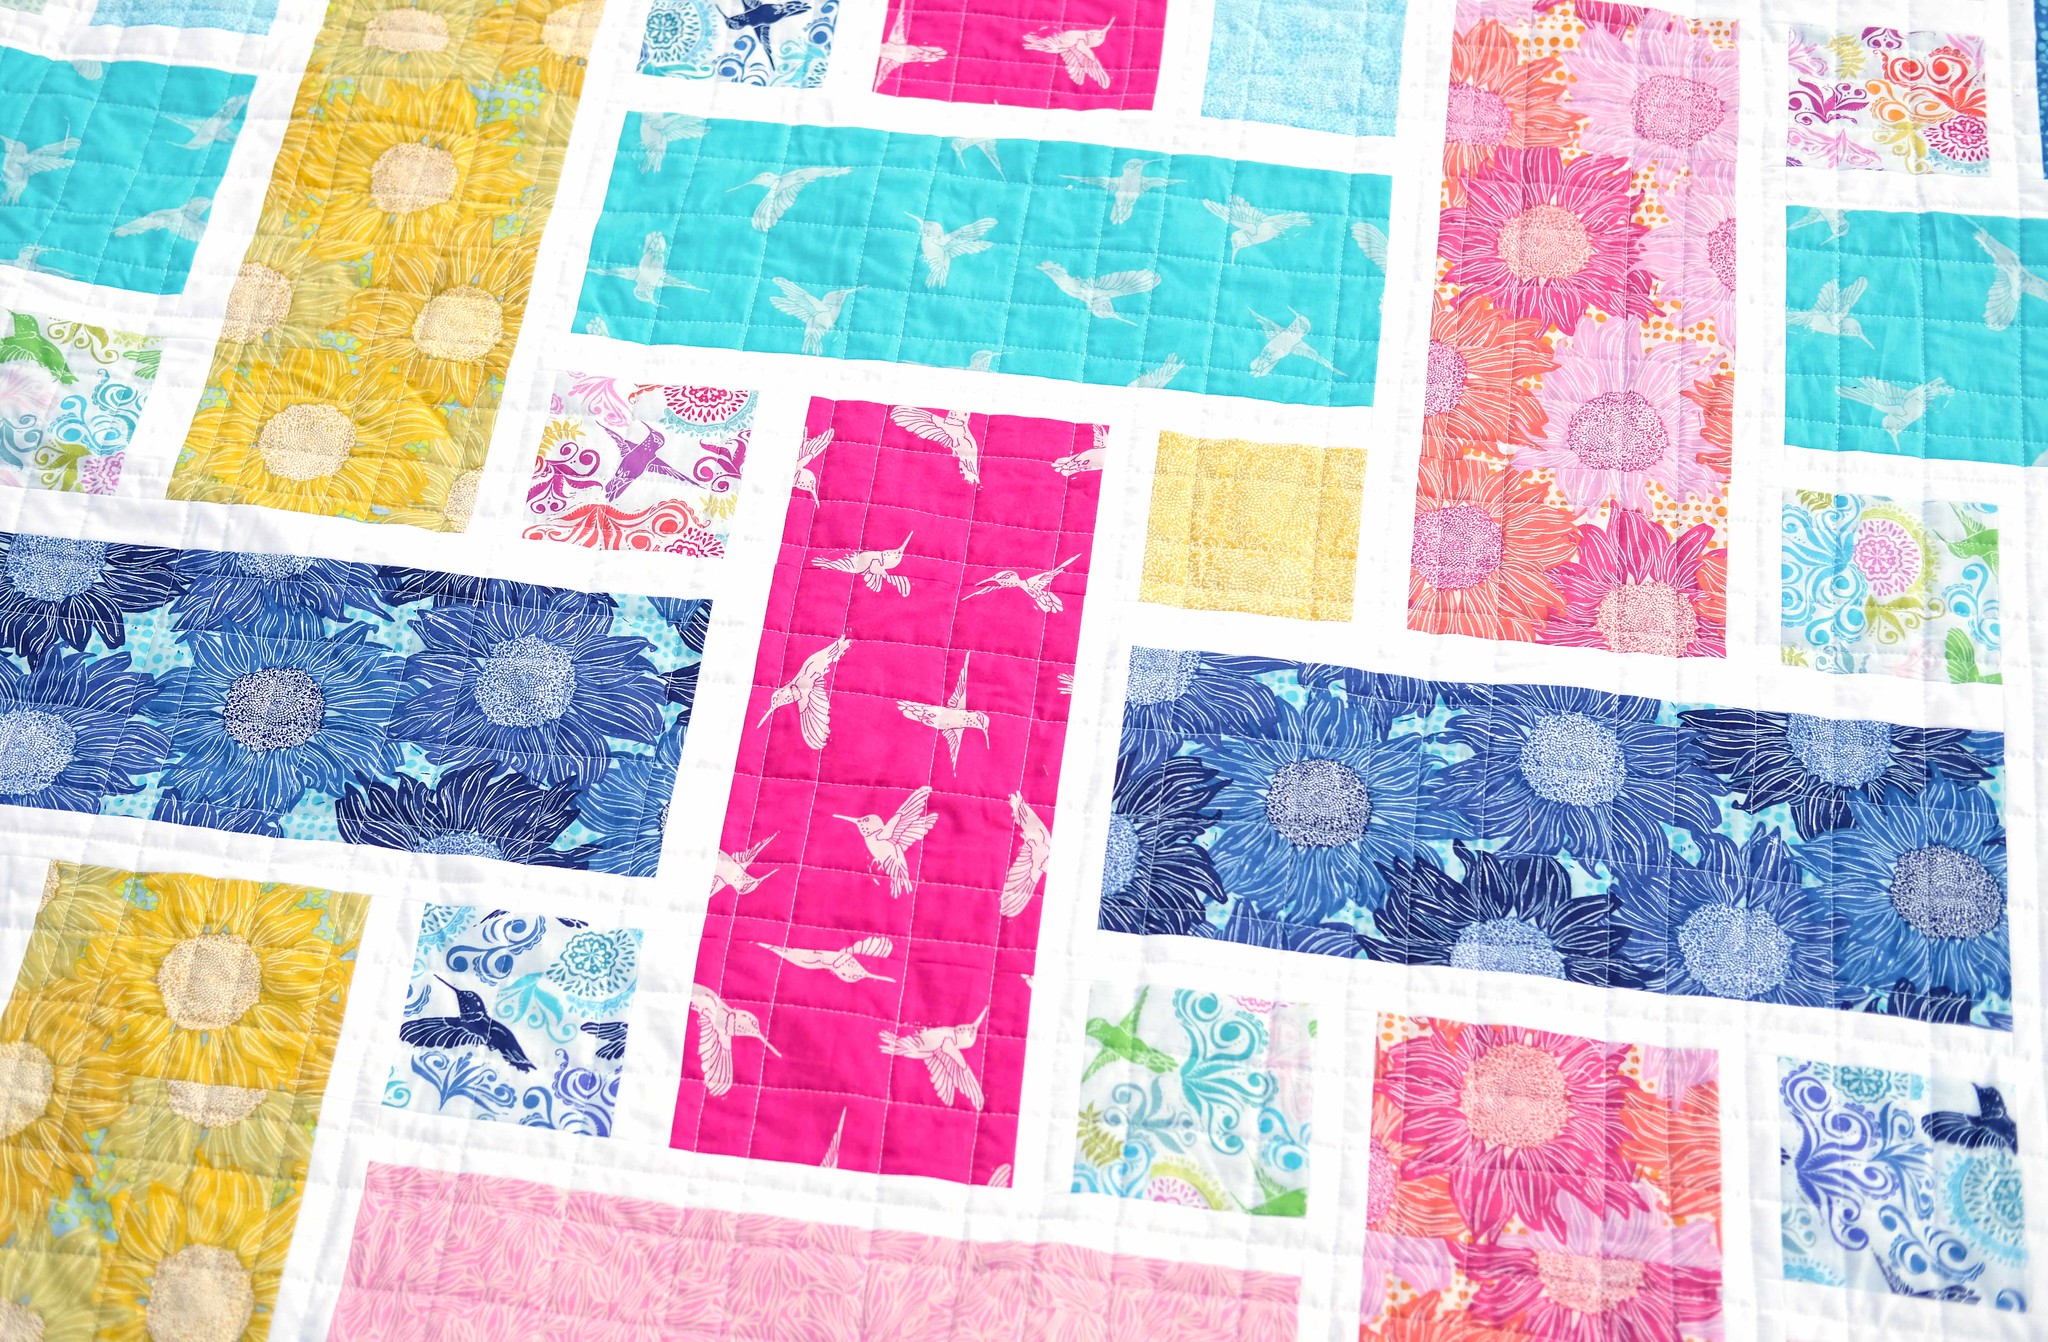
There are so many options for quilting your quilt - pretty much anything will work. My very first Tessa quilt was quilted for me by Heidi using a Baptist Fan pattern. She is one of the quilters offering a discount for participants in the QAL (you can see the full list here).
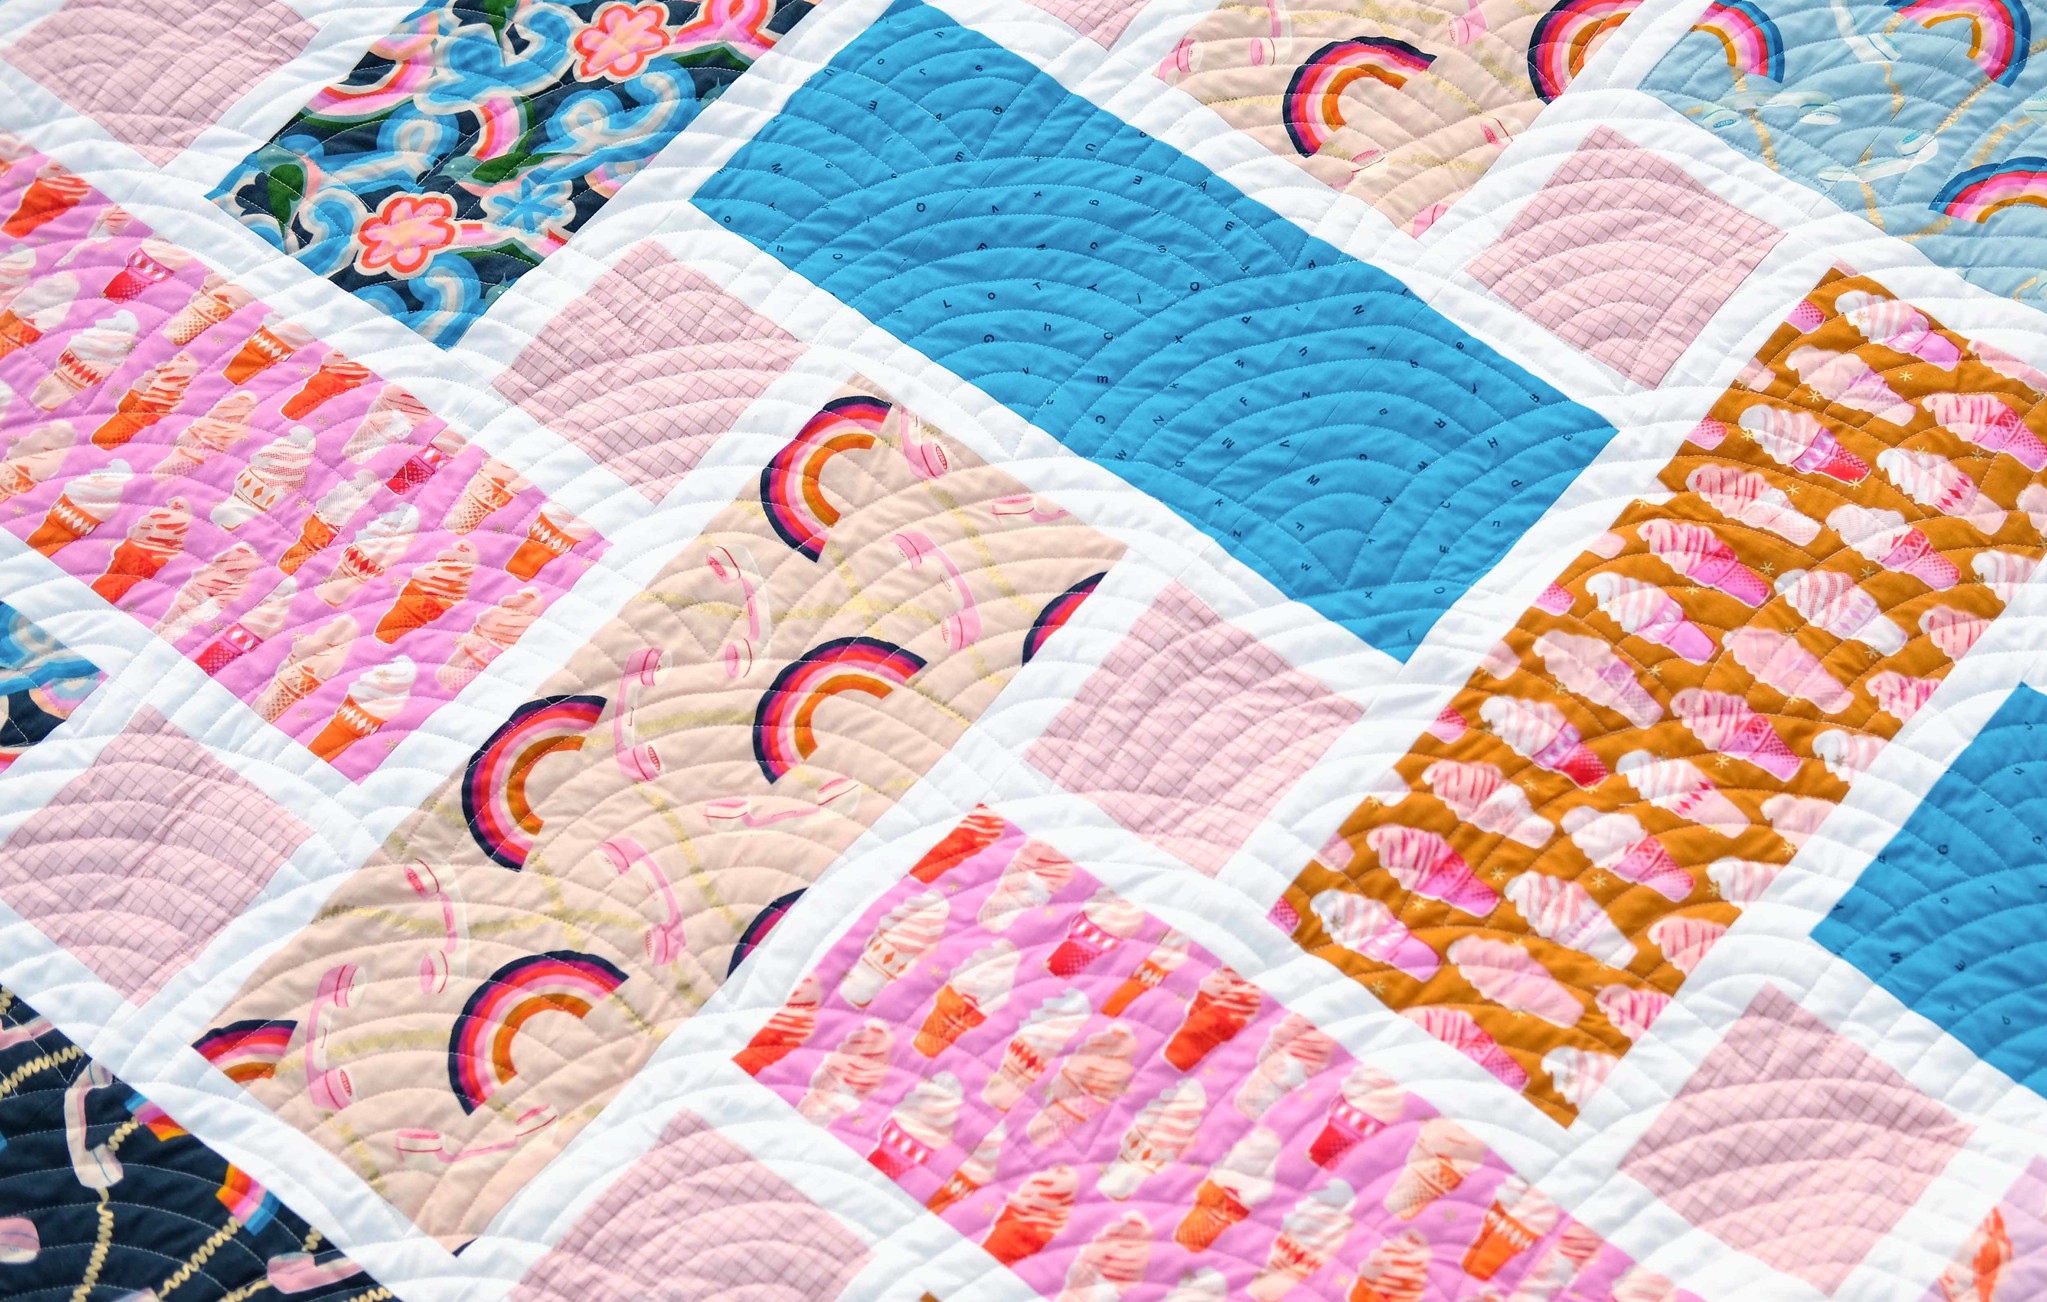
Every other time I have made this pattern, I have used my normal quilting method which I call an "organic grid." This is just a grid of unmarked, slightly wavy lines. I do this on 99% of the quilts that I make because I enjoy the process and love the texture it gives my quilts.
If you are looking for further inspiration, make sure to see how other QAL-ers are finishing their quilts in the #tessaqal hashtag.
If you would like some additional tips about finishing up your quilt, I have several different video tutorials in my Instagram story highlights. You can find them by clicking the links below. Quilt Basting Grid Quilting Quilting Tips Trimming Your Tessa Quilt Joining Your Binding Strips
Thank you all SO MUCH for participating in the QAL. Over the next couple of weeks I am planning on sharing your photos in my Instagram stories so make sure to post them on IG and use the #tessaqal so I can see them.
Several people have asked if I will be doing another QAL and yes I will! I do not know when (probably this fall) or which pattern it will be (I was thinking Violet but several people have requested Zola) so if you have a pattern in mind, make sure to let me know in the comments.
Video Meetup
We will do one last video meetup. In addition to asking questions, I would love for this to be a time to share your quilt. It will be on Thursday at 1pm PST. Click on the following link at the meetup time to join in: https://meet.google.com/qsw-wyqe-zru
Recommended Supplies
You do not need anything fancy to finish up your quilt, but here are some things that might be helpful. Note: I am linking to some nice rulers - you do not have to buy expensive rulers, but I personally think that Creative Grids rulers are worth the investment and have been upgrading my ruler collection over the past few years. There are plenty of less expensive rulers that will get the job done!
For trimming
For basting
Trimming
If you are sending your quilt to a longarm quilter, that choice has been made for you: trim first. Since I made 2 different quilt tops during the QAL, I thought I would give you a little info about each. This first video will show you how to trim your un-quilted quilt top and then talk a little about stay stitching around the edge of the quilt (I highly recommend this if you are sending your quilt out to be quilted).
Quilting

Thank you for these helpful videos! For the next quilt along I'd like to do Violet.
ReplyDeleteYou are welcome! I think we will likely do Violet, I think it would be a lot of fun.
DeleteThese quilts turned out realllly pretty
ReplyDeleteThank you Rosemary!
DeleteI'm excited about my quilt. What do you do with all the trimmings? I just hate throwing anything away. :-)
ReplyDeleteI don't throw away fabric unless it is really tiny - what I generally do with mine is cut the trimmings down into squares. If I can get 2.5" squares out of them that is ideal, otherwise I will cut them even smaller.
Delete