


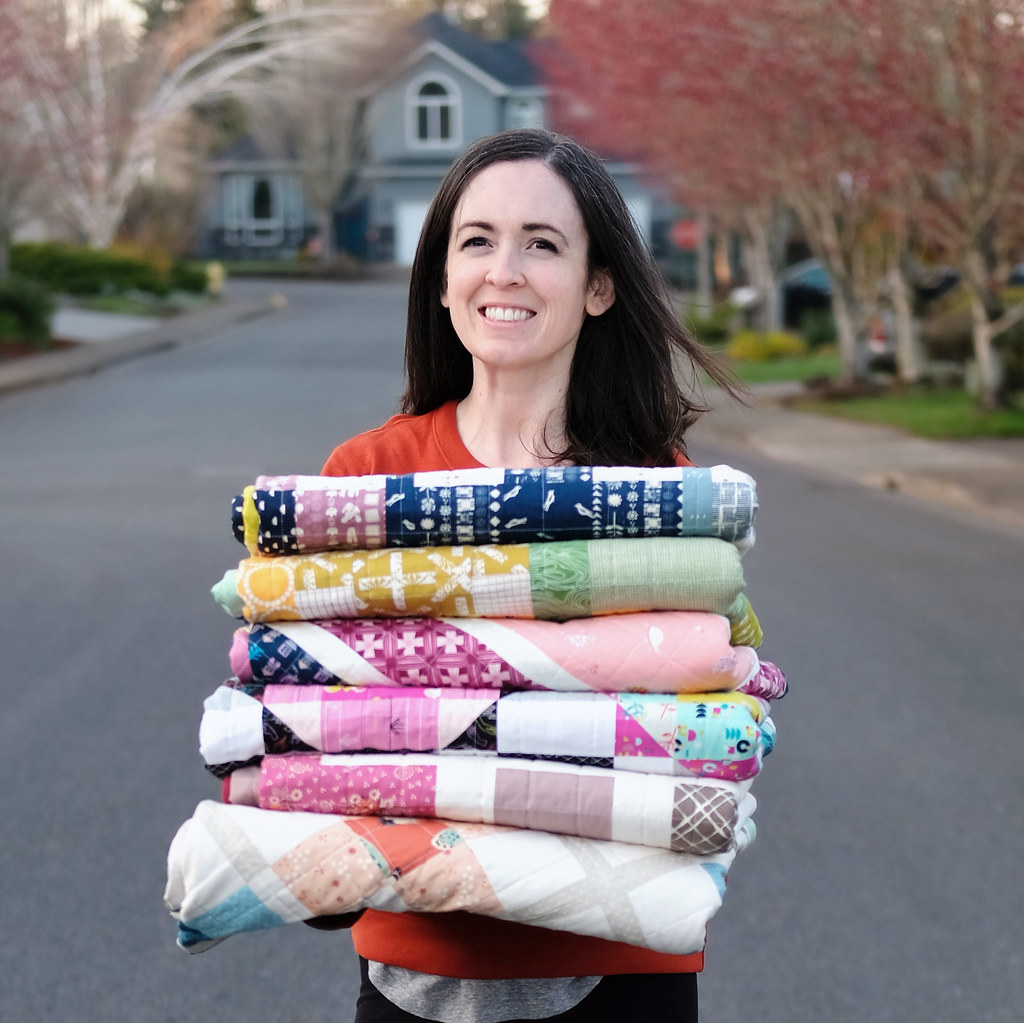
We have made it to Week 3 in the Violet QAL! Things are about to get a lot more fun as we see our quilts start to take shape. This week I will walk you through fabric placement, making your corner pieces, pinning, and pressing. If you already know what you want to do, go ahead and start sewing!

Figuring out fabric placement before piecing your blocks is more important with this pattern than with normal patters. Generally you make a bunch of blocks, and then you can figure out where to put them. Since we will be using some of our "plus" shapes in blocks and some in the sashing, we need to at least have a general idea of which ones will end up where.


Here are a few of the things that I try when I am working on fabric placement:
- Create a digital mockup in EQ8 - this isn't always to do because image files for older fabrics are basically impossible to find. EQ8 has a decently steep learning curve, so it can be a little intimidating. I have been using Electric Quilt for about 5 years and it has become increasingly user friendly and ends up saving me a lot of time because I am able to play around with the layout at my computer instead of on my design wall. Most fabric companies have a place on their website where you can download images of current fabric selections.
- Find a space to lay out the quilt on the floor - I will always try this if I am struggling with layout because it gives me a little more room than my design wall.
- Take a black and white photo of your layout - I mentioned this when I talked about picking your fabrics, but once you have your fabrics chosen, you want to make sure that the values are distributed evenly (if you are making a rainbow or ombre quilt, this doesn't really apply to you).
Check out the two quilts above - they are both made with exactly the same fabrics. I made the images black and white so we can compare value. In the quilt on the left, the darker value fabrics are distributed throughout the quilt. Are they perfectly distributed? Probably not, but they look pretty good. The quilt on the right has most of the darker valued fabrics in the top half of the quilt - this draws your eye to that area instead of encouraging your eye to roam around the image.
Some things to check for with fabric placement:
- Are blocks made with the same fabric too close together?
- Are blocks that are the same color too close together?
- Is value evenly distributed?
- Is color evenly distributed?
- Do you feel good about the layout?
That last one is the most important question to ask yourself because YOU are making this quilt and YOU should feel good about where it is going. If you want to put all of your dark prints in one corner - it's your quilt and I am not the quilt police.
If you are making the rainbow or an ombre version of the pattern, you had to figure out your fabric placement before you cut your fabric so you are already ready to go. Yay!
If you are feeling frustrated with this step in the process, lay your fabrics out and take a day or two to slowly rearrange things. I find that giving myself some space can really help.

No comments
Unfortunately I have had to turn off commenting due to an overwhelming number of spam posts. If you have any questions, please contact me using the contact form at the top of the page or comment on an Instagram post.
Note: Only a member of this blog may post a comment.