


It's time to baste our Violet Quilts! It seems like this is the most hated step in the entire process for lots of people. Basting can be tricky, it can be a little exhausting - I can see why people don't love it. But is it weird if I kind of enjoy this step? This post is going to be kind of long, but I wanted to really break down the steps so I could make it easy to understand for all skill levels.
Recommended Supplies
- 1.88" wide painter's tape for hard to stick surfaces - I have tried many, many different tapes and this one works well because it is wide and is very sticky. Another good option is gaffer's tape, but it is quite a bit more expensive.
- Basting pins - I like these Dritz size 1, curved basting pins.
- Kwik Klip - this a tool used for opening and closing pins and it will save your fingers/fingernails. Totally worth it. If you don't have one, I have heard that a butter knife works in a pinch.
- Batting - The type you use depends on your personal preference. I like to use 100% cotton batting and prefer mine to be a little thicker. My favorite kind is Quilter's Dream Cotton Select.
- Hera marker + a long ruler - if you are going to mark lines on your quilt for quilting (I almost never do this, but these are the tools I use when I do), I recommend that you mark them after Step 7 below.

There is more than one way to baste a quilt.
- Spray basting - a lot of people prefer this method because it is the fastest way to baste a quilt and it means that when you are quilting, there aren't any pins remove. While I almost never use spray baste, I keep a bottle of it around in case I am in a really big hurry to finish a project. This Odif brand works well and doesn't smell too chemically. A lot of people ask me why I don't spray baste my quilts since it is quicker - here are my reasons:
- Spray baste costs money and I am cheap. I baste a quilt almost every week and a bottle of adhesive costs close to $20 - it is enough to baste a few quilts. I can buy basting pins that will last me years without having to be replaced. Over time, it adds up.
- I do not like the chemicals. No matter which kind you buy, it will involve chemicals (there are recipes out there to make a spray adhesive that doesn't use chemicals, but I haven't personally tried them).
- I don't like the sticky residue it leaves on my floor if I accidentally overspray my quilt.
- Before I baste a quilt, I trim extra threads on the back of my quilt so that they don't show through - especially if there is a lot of white on my quilt. Sometimes I will end up missing some threads and need to fold the quilt top back to trim the thread - this is much trickier if you have adhered your quilt top to your batting.
- And really the main reason is that I don't feel like my results are as good with spray baste. There are lots of people out there who swear by it and maybe if I kept trying, I would get better results. My method works consistently well for me so I stick with it.
- Pin basting - this is my preferred method! I will go into further detail regarding my process below.
- Thread basting - this is a traditional method and I know virtually nothing about it, but it is an option.
- You can have a long armer baste your quilt. I have never done this so I am not sure if it is a service that most long armers even offer, but some do - I think it is usually done for hand quilting projects.

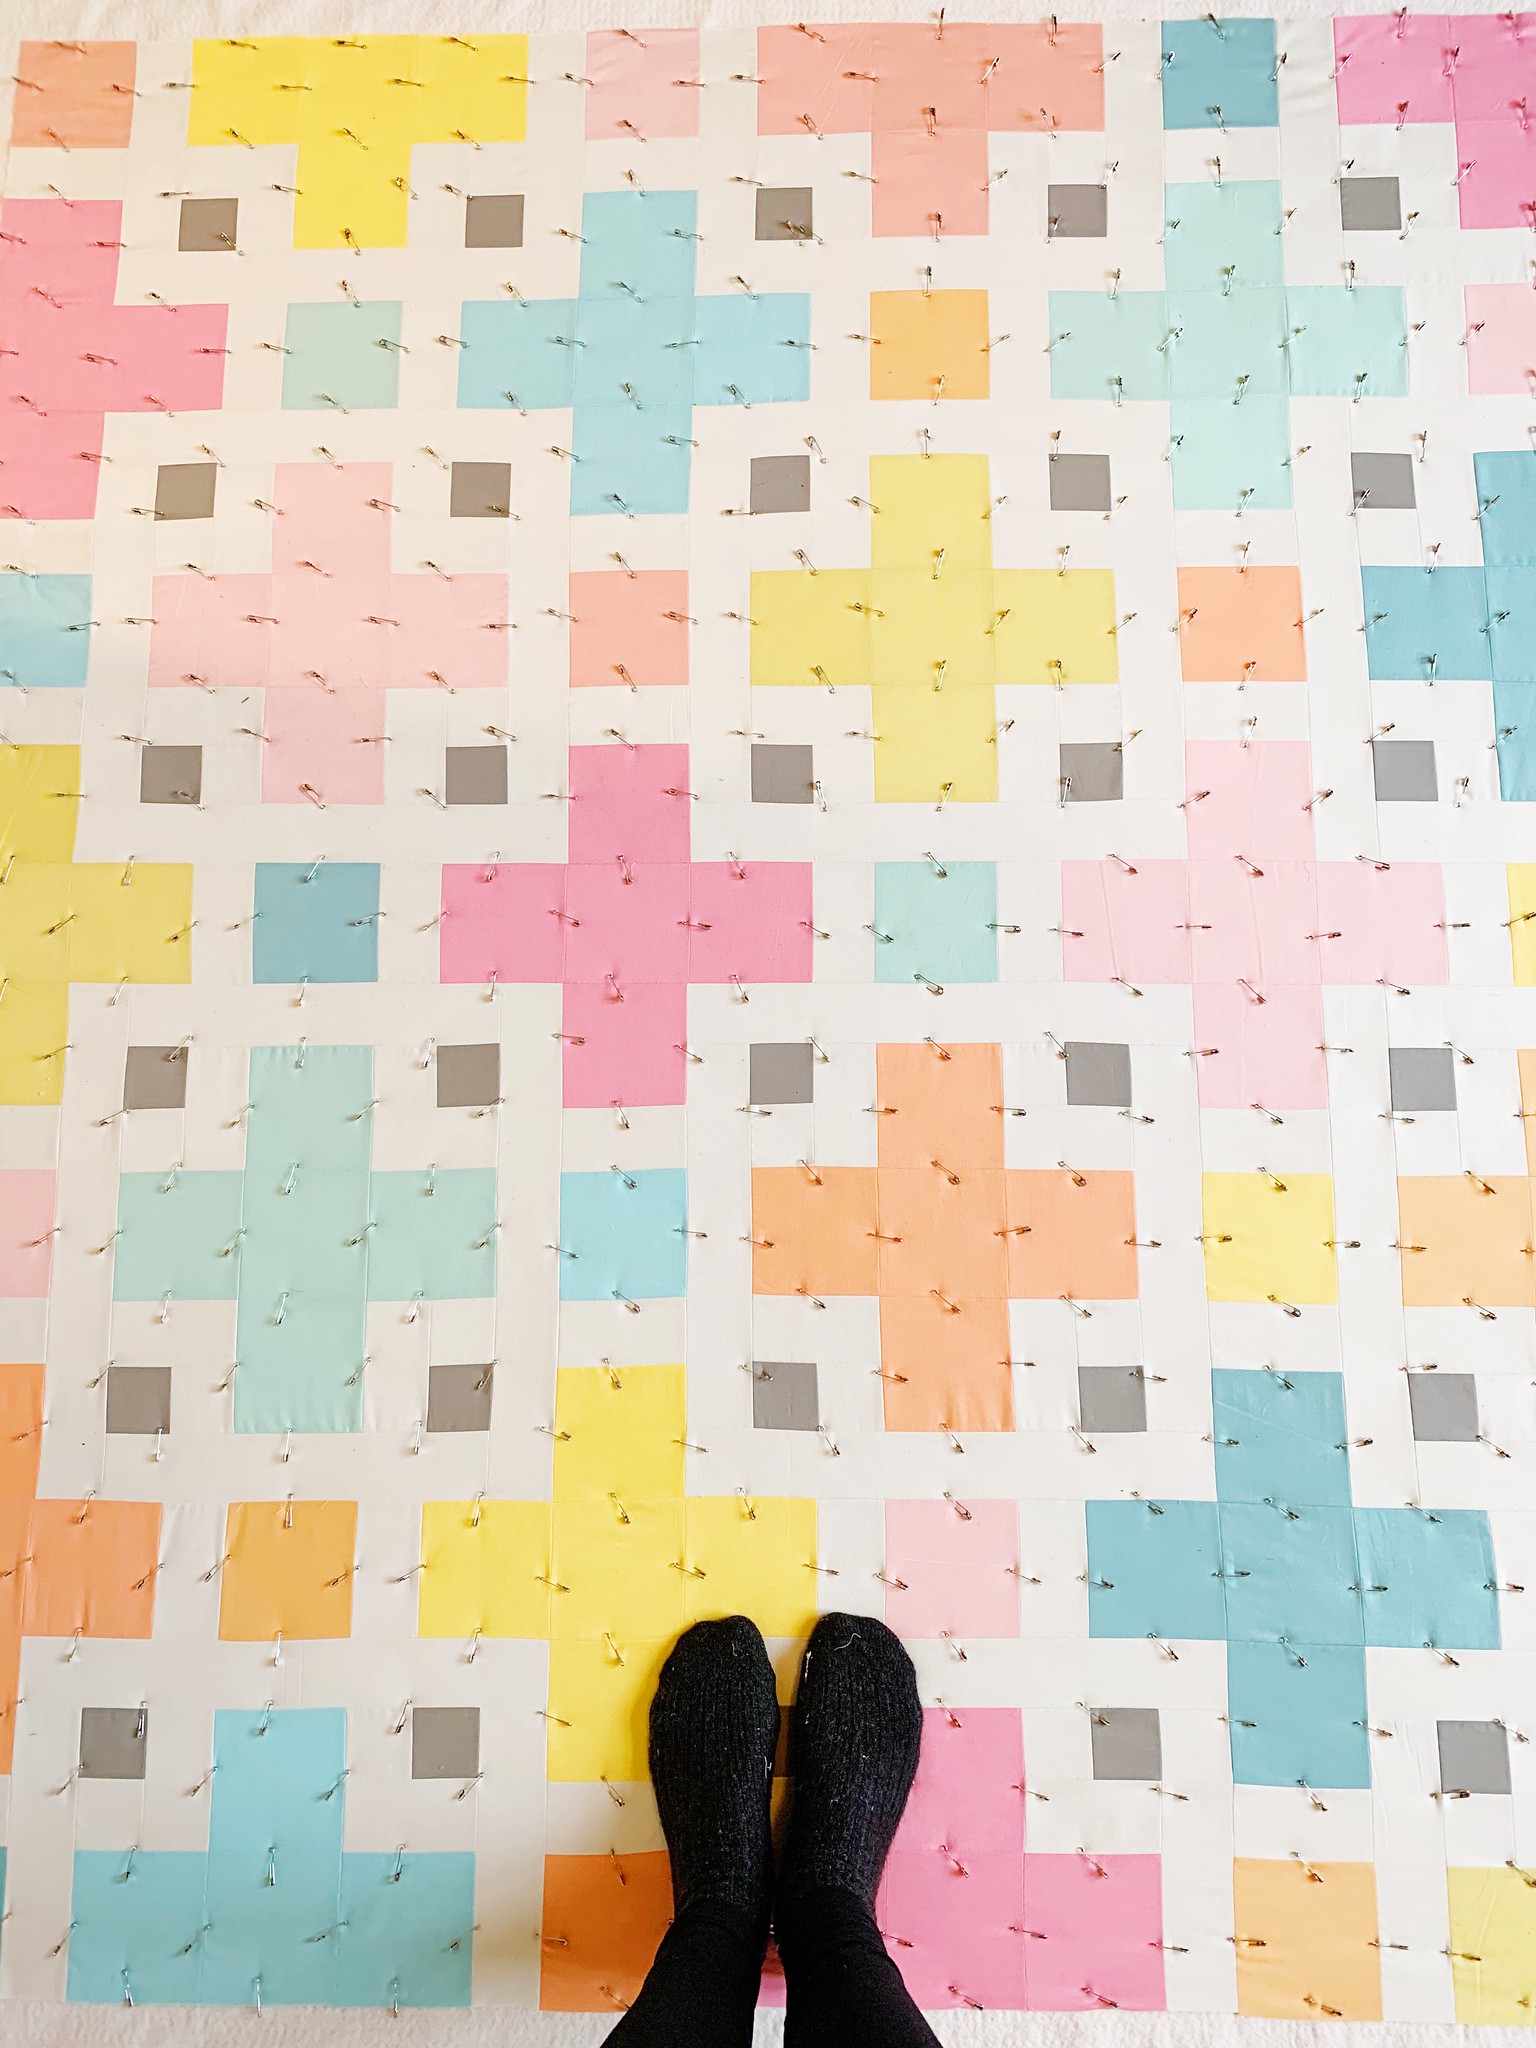
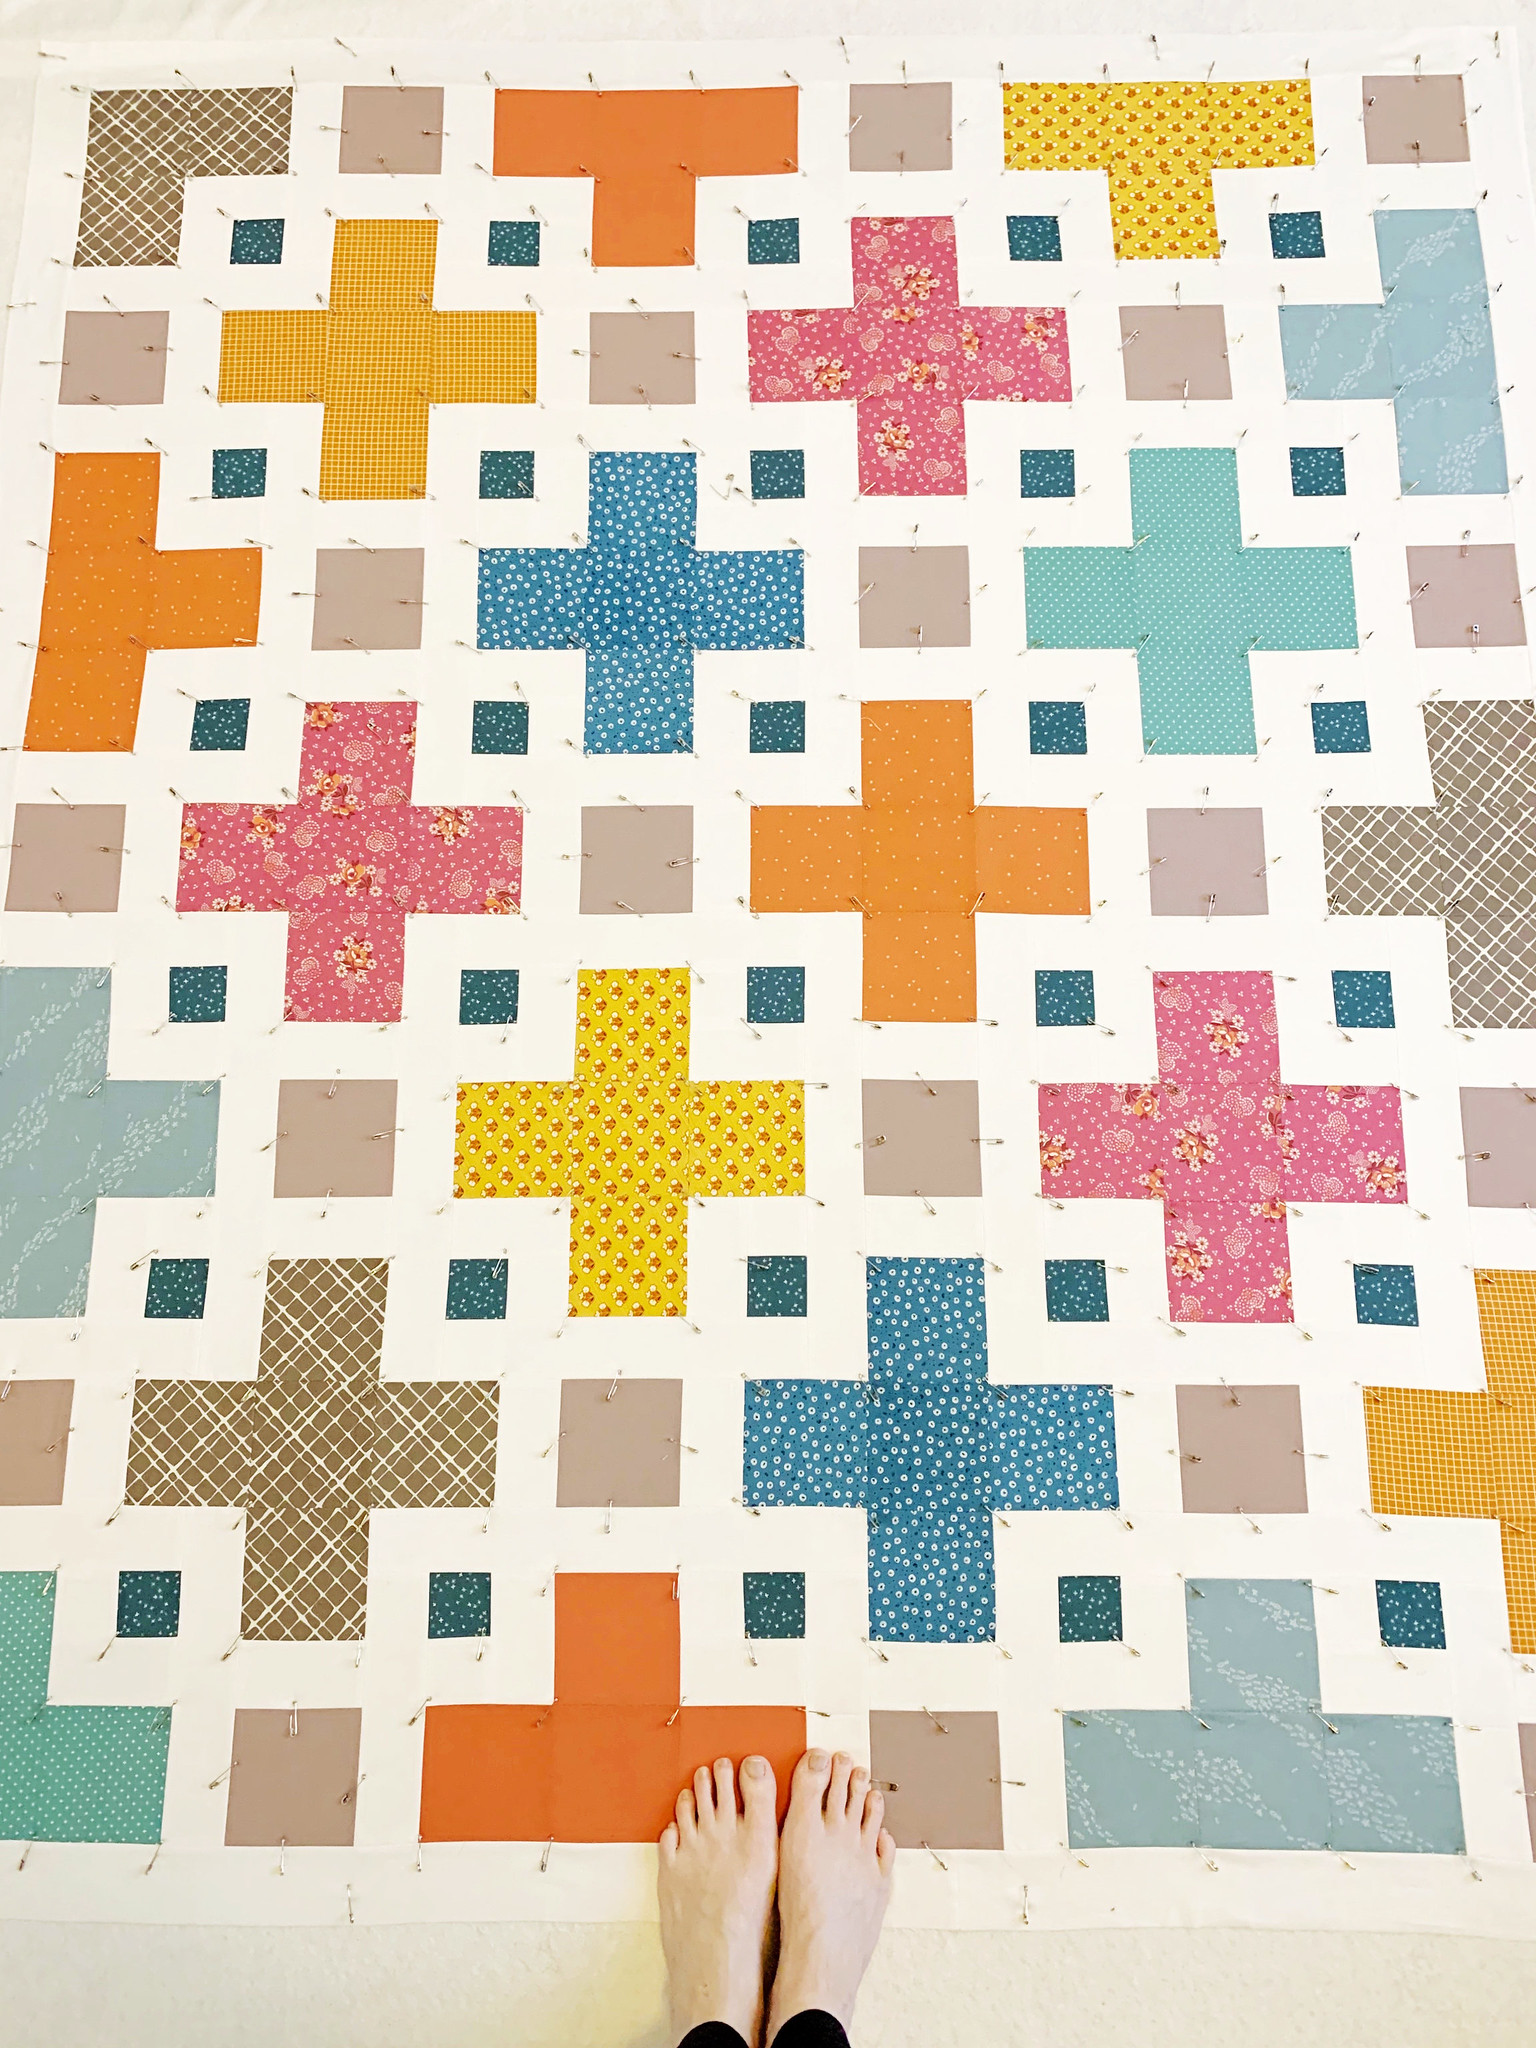
As you can see from the photos in this post, I have basted many Violet Quilts (in addition to the hundreds of other quilts that I have basted). In the quilt above, I was in a really big hurry to finish the quilt and actually spray basted it - but then added some pins to help keep things stable. That's why this one has fewer pins.
Pin basting is my preferred method because it is cost effective and it gives me consistently good results - I never get puckers in my quilts and very rarely have any shifting at all. I am going to walk you through my process - there are videos of me showing the full process in my story highlights on Instagram if you want to see basting in action.
Step 1
Spread your backing fabric on a flat surface. I have basted on all kinds of floors, including carpet, with great success. Some people also use large tables, counters, or giant sheets of plywood for basting. It is nice to have room around the quilt so you aren't squished, but I am quite squished in my basting space and it works out ok.

Step 2
Tape your corners. You want to pull the fabric taut without stretching it - however, I have found that I always need to pull it a little bit tighter than I think I need to. Once you start adding more tape, you might realize you didn't pull it tight enough and you can readjust the corners (I have to do this a lot).

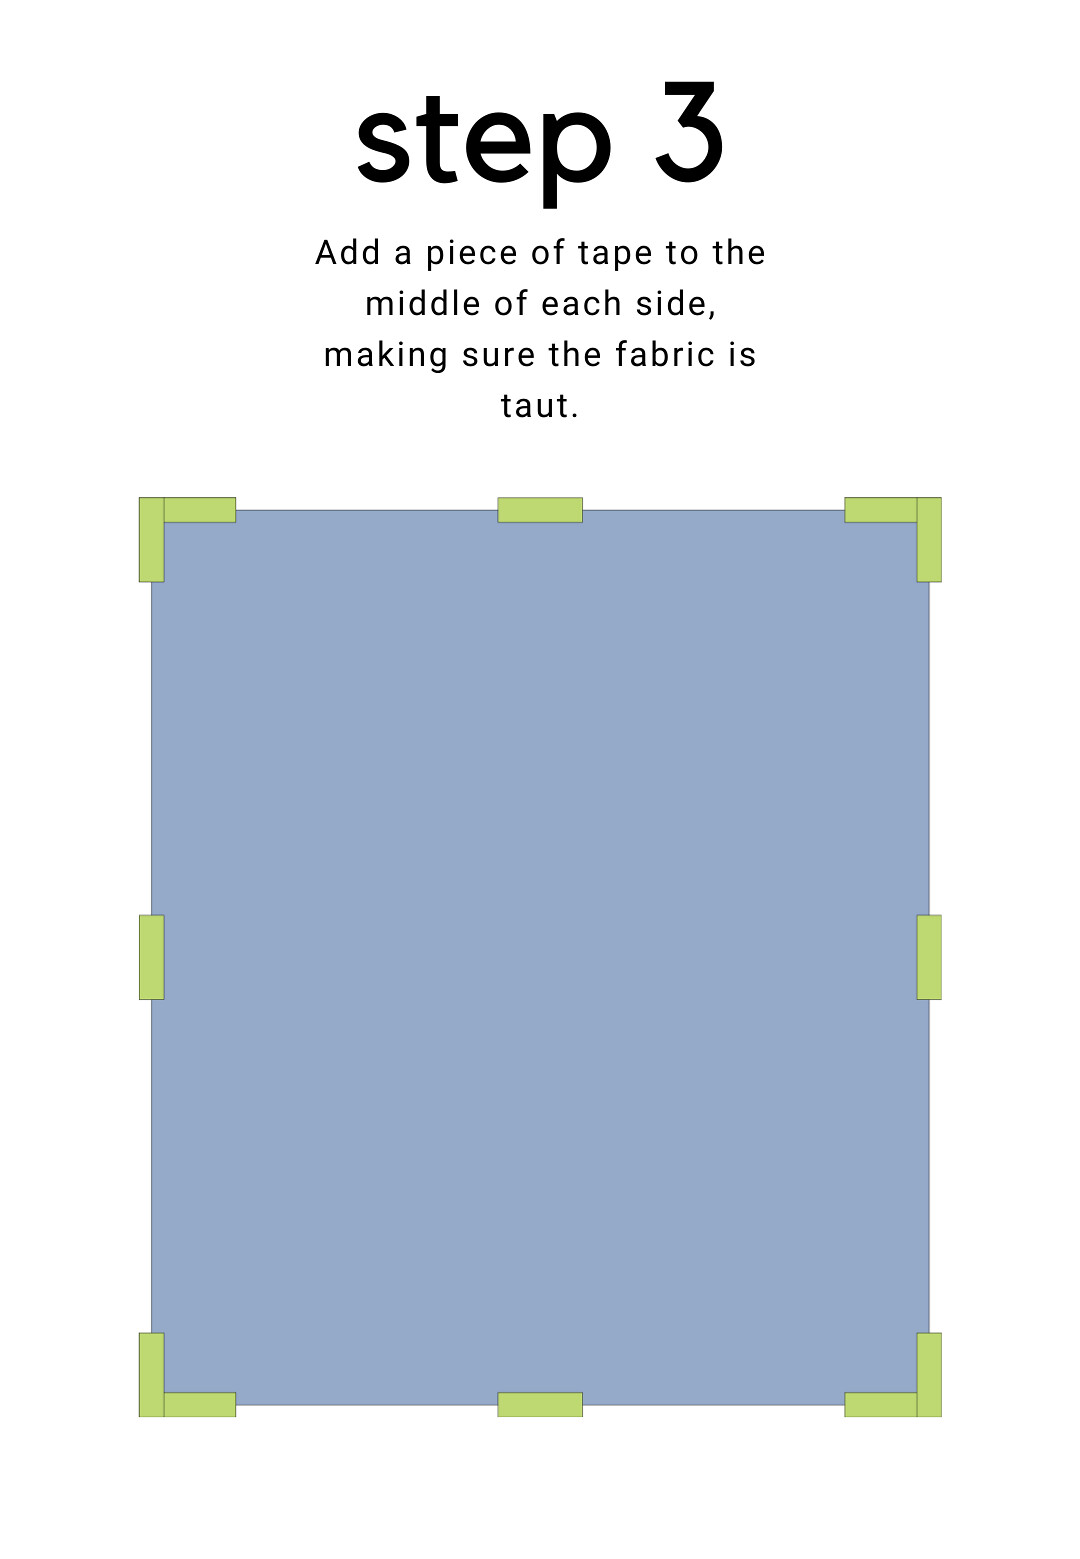
Step 3
Add a piece of tape to the middle of each side, making sure to pull the fabric taut.
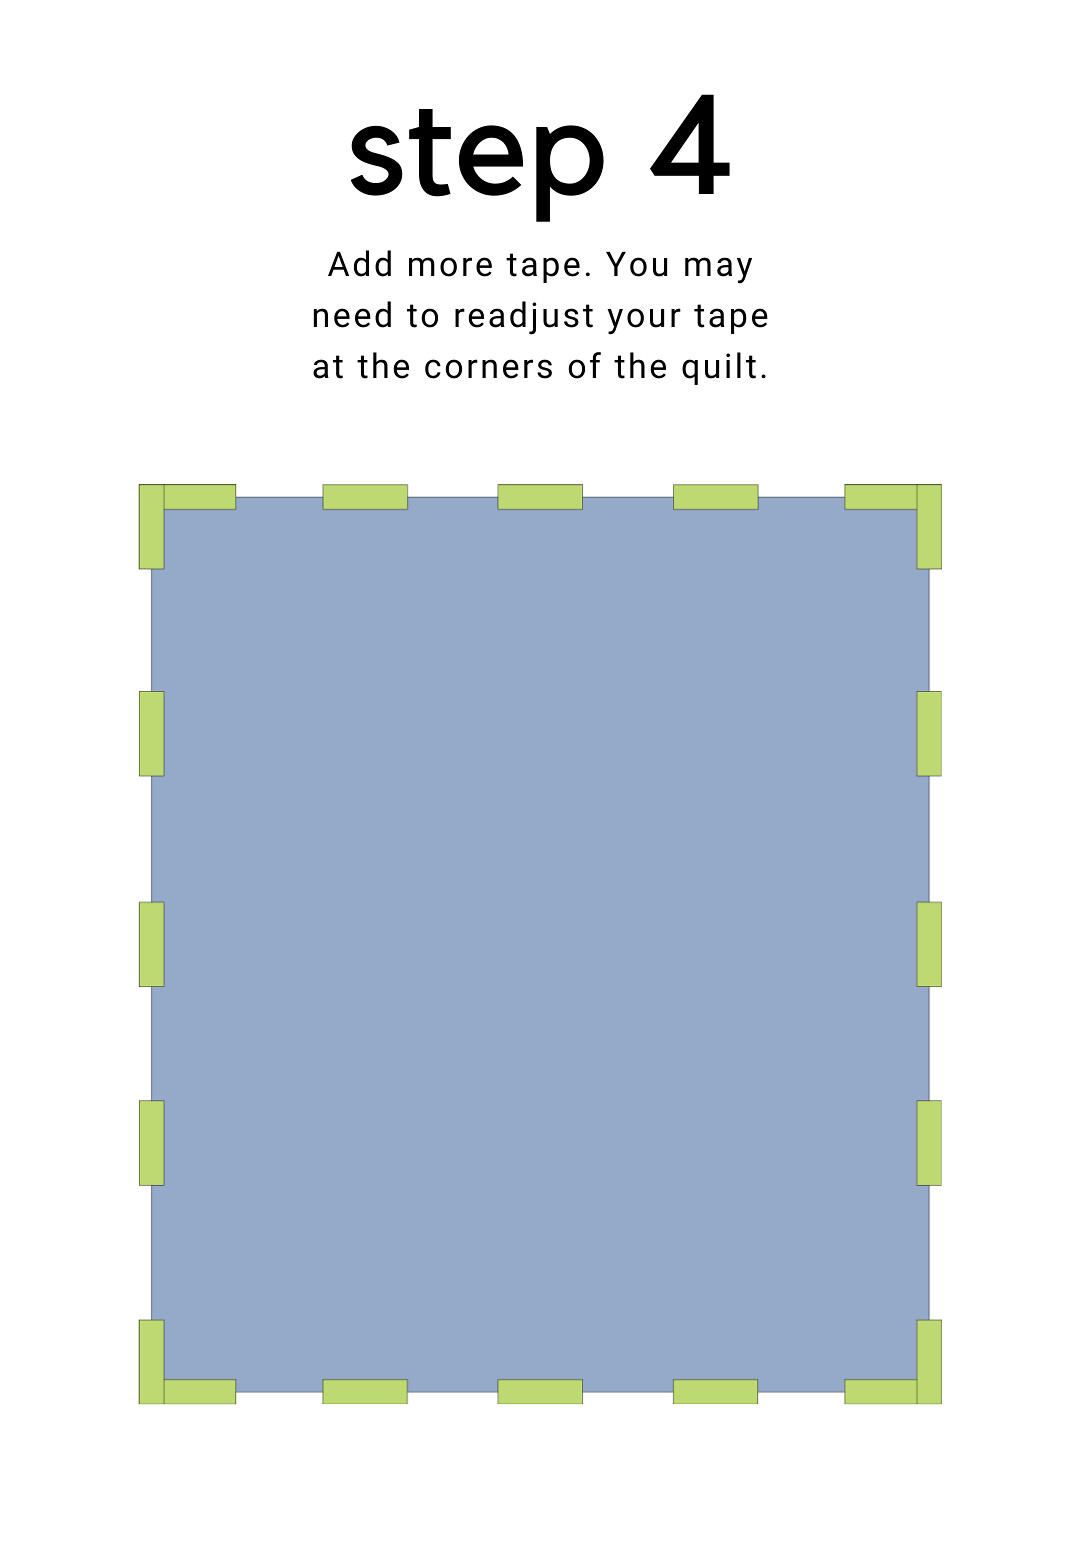
Step 4
Add more tape between the center and corners.
Step 5
Add even more tape! I think the reasons why people get puckers in the back of their quilt are because (1) they don't pull their fabric tight enough (remember, you don't want it to be too tight either) or (2) they don't use enough tape.

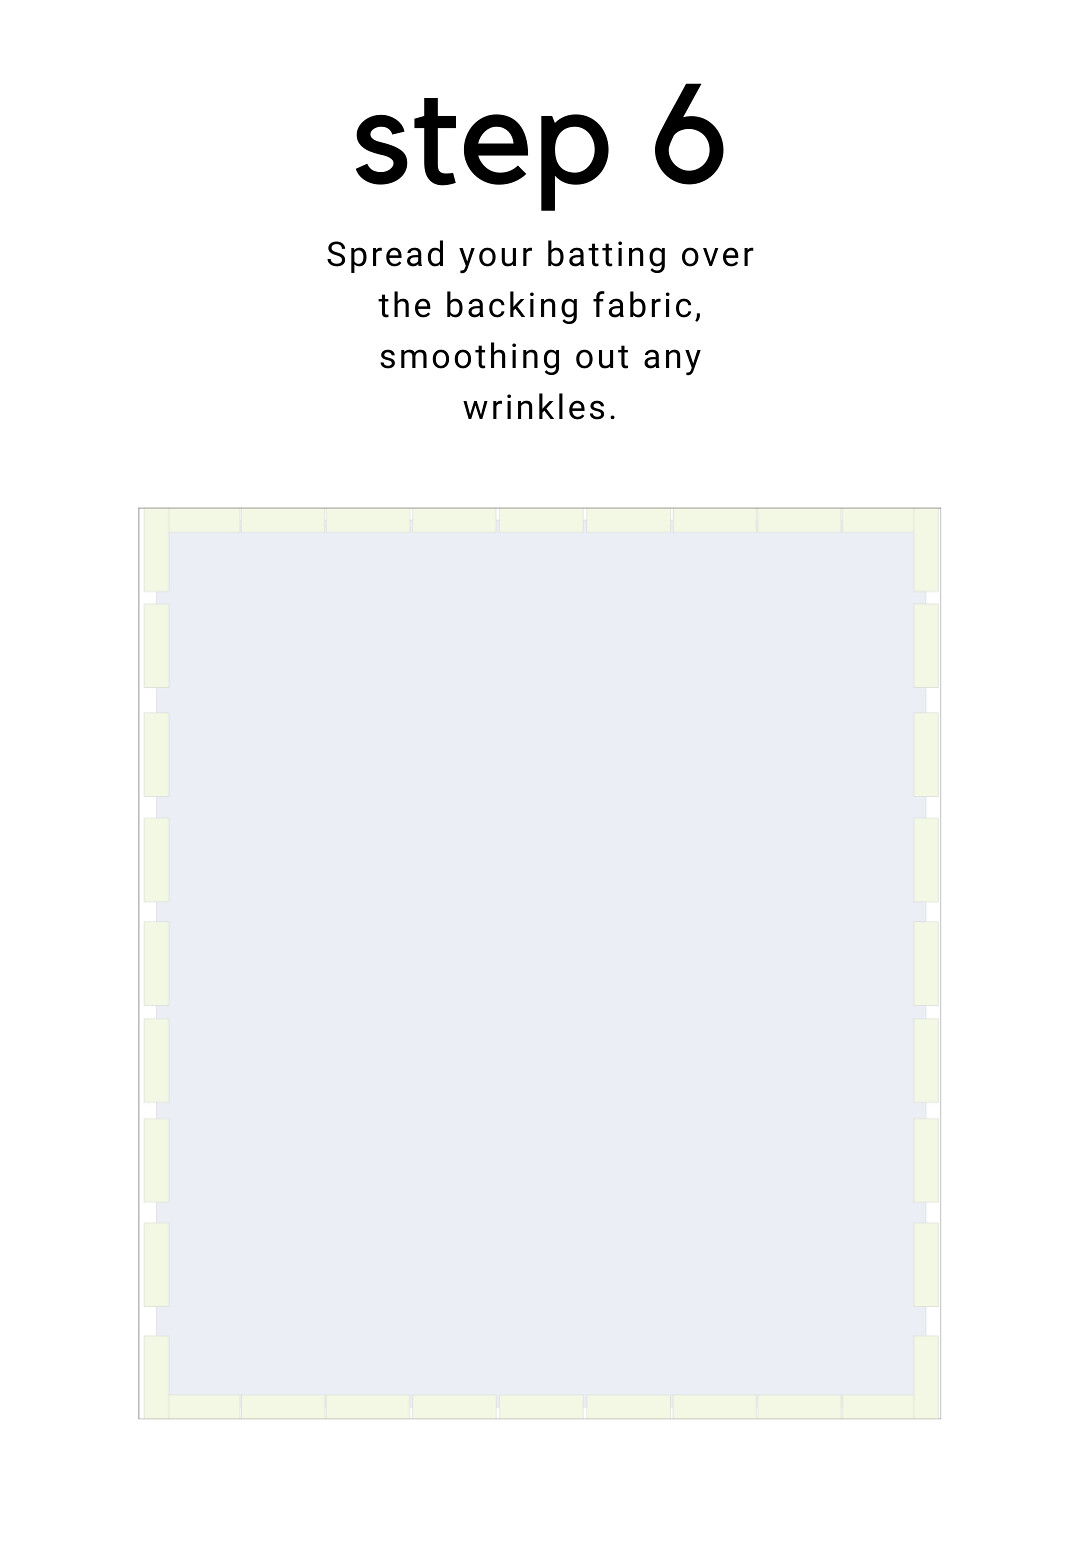
Step 6
Spread your batting over the backing fabric. If my batting is oversized, I don't bother trimming it yet - I do that when I am done basting, but you can do it at this point if you want to.
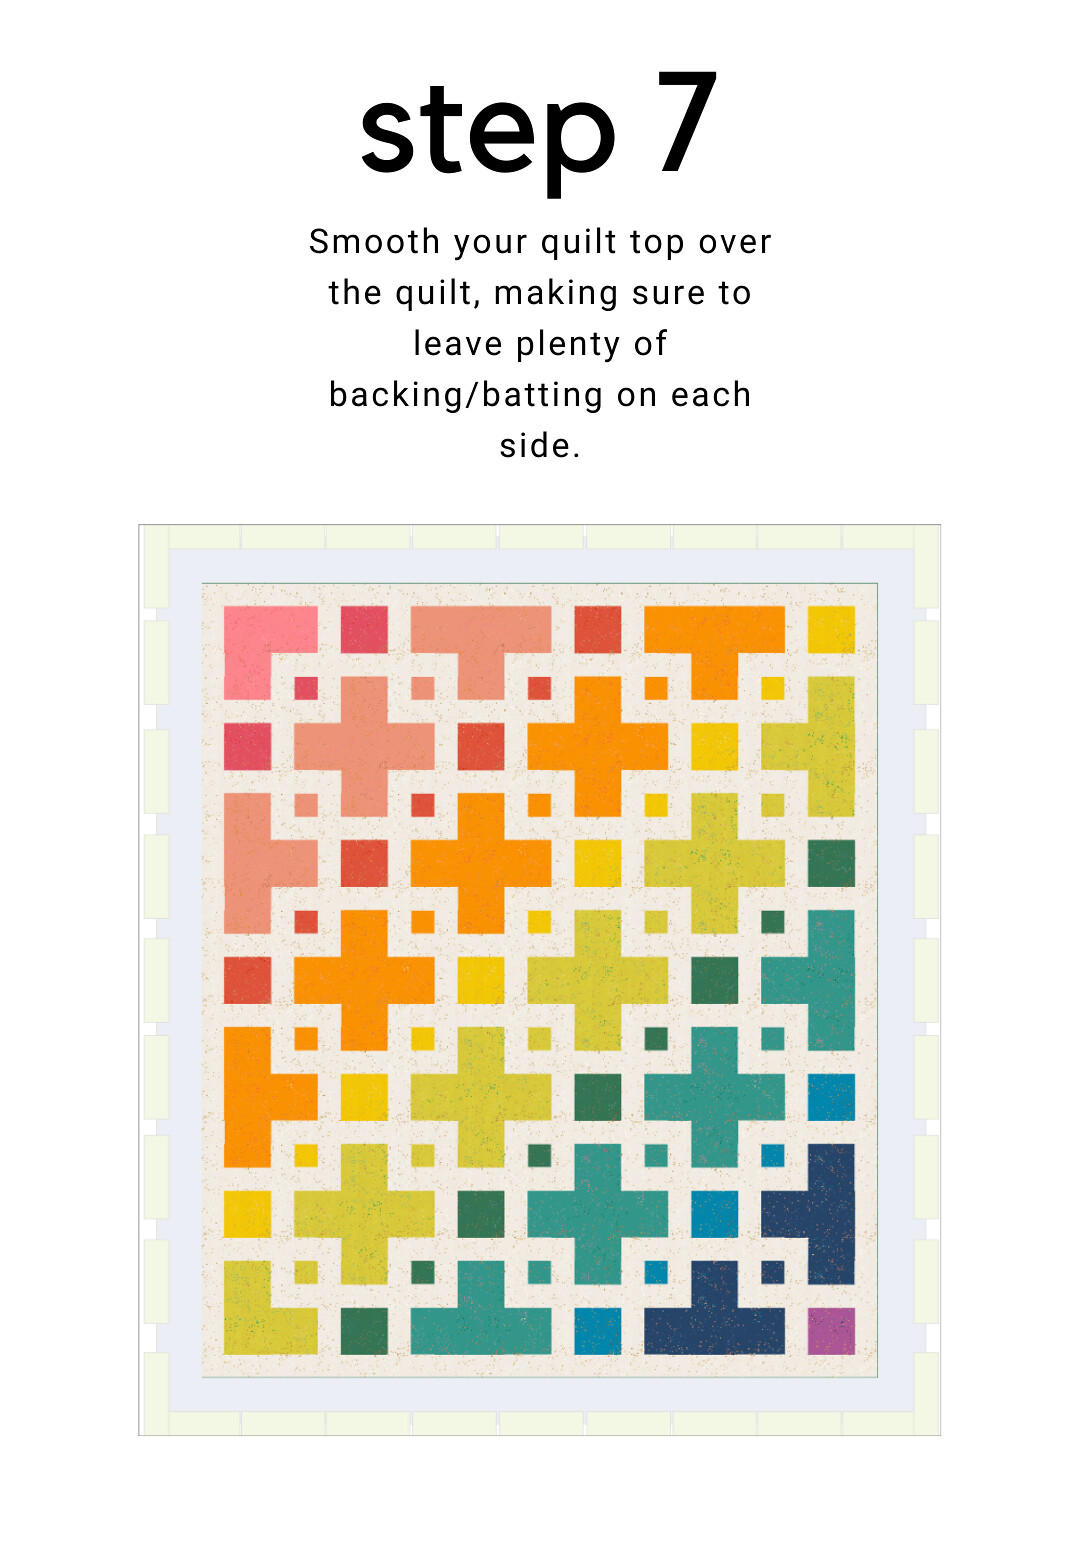
Step 7
Spread your quilt top over your batting/backing, making sure that you have plenty of excess batting/backing on each side. Your quilt top will shift a little bit as you baste it, so try to get it as close to the middle as possible.
Step 8
Start in roughly the center of the quilt and start to pin one corner, constantly smoothing the fabric with your non-pinning hand. I use my hand to smooth the fabric, then add the pin before moving my hand. I want the fabric to stay as flat as possible when I add the pin.

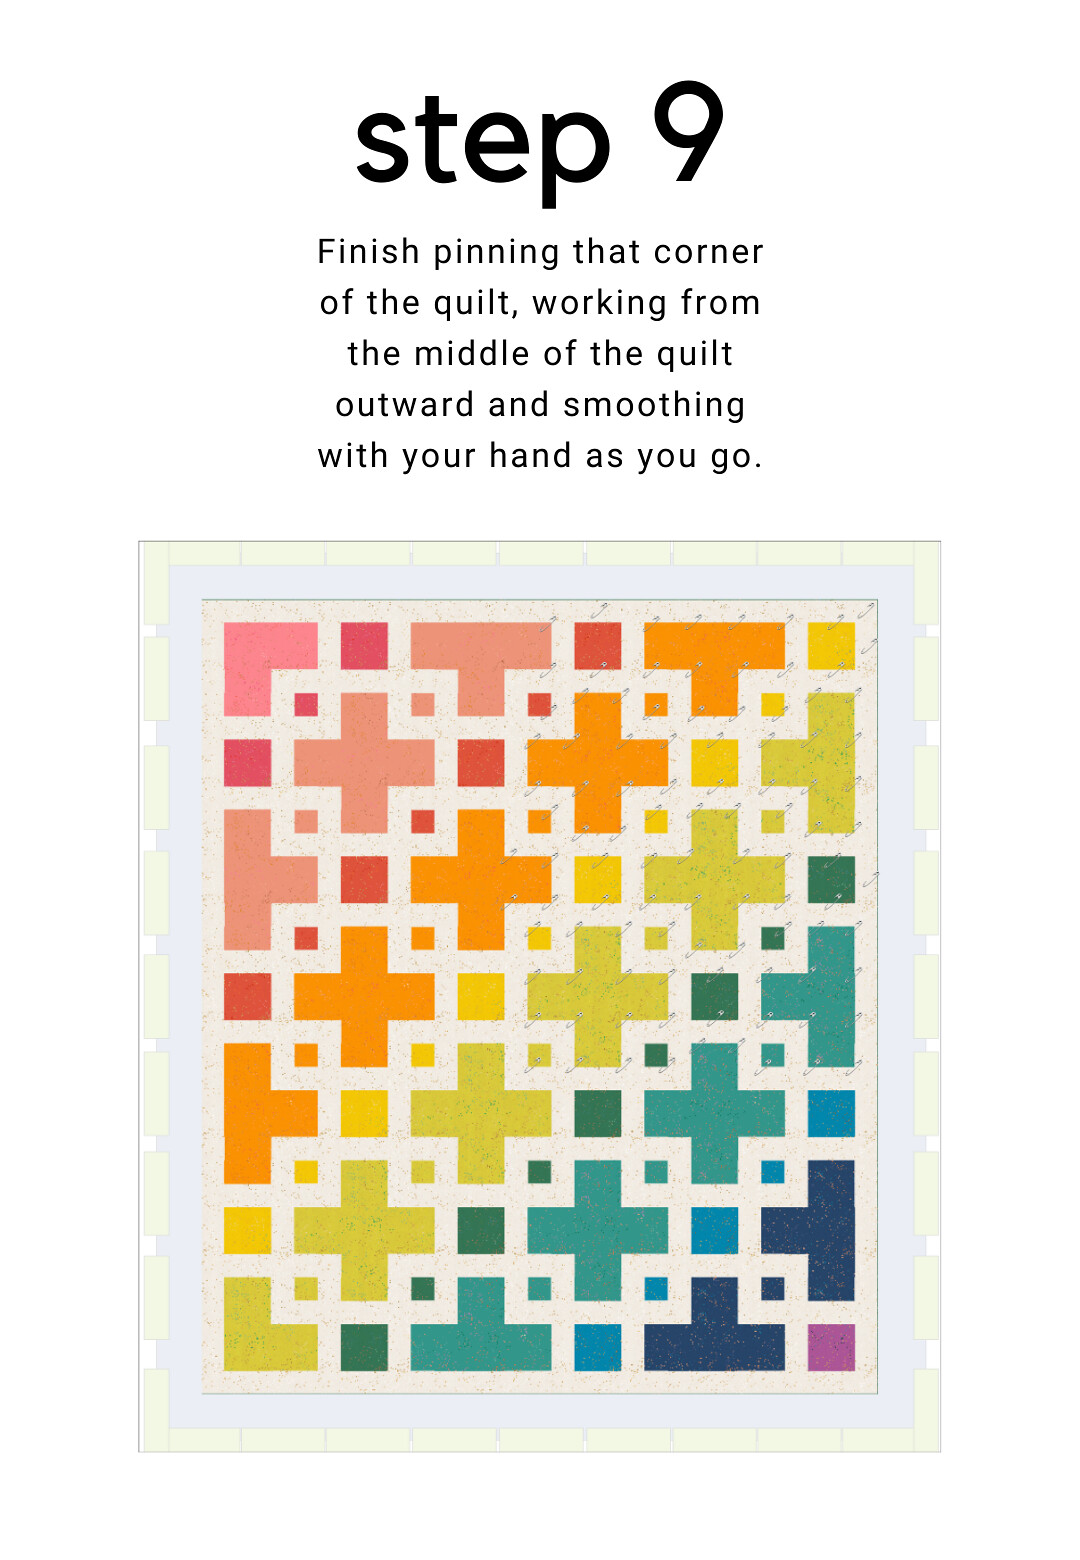
Step 9
I get a lot of questions about how many pins to add - pins should be roughly 3-4" apart or about the size of your palm. It might seem like a lot, but it makes a difference. Keep smoothing and pinning, working outward from the center, until you have finished pinning that quarter of the quilt.
Step 10
Go back to the center and work outward, pinning the next quarter of the quilt.

Step 11
Finish pinning the last two quarters of the quilt, working from the center outward.
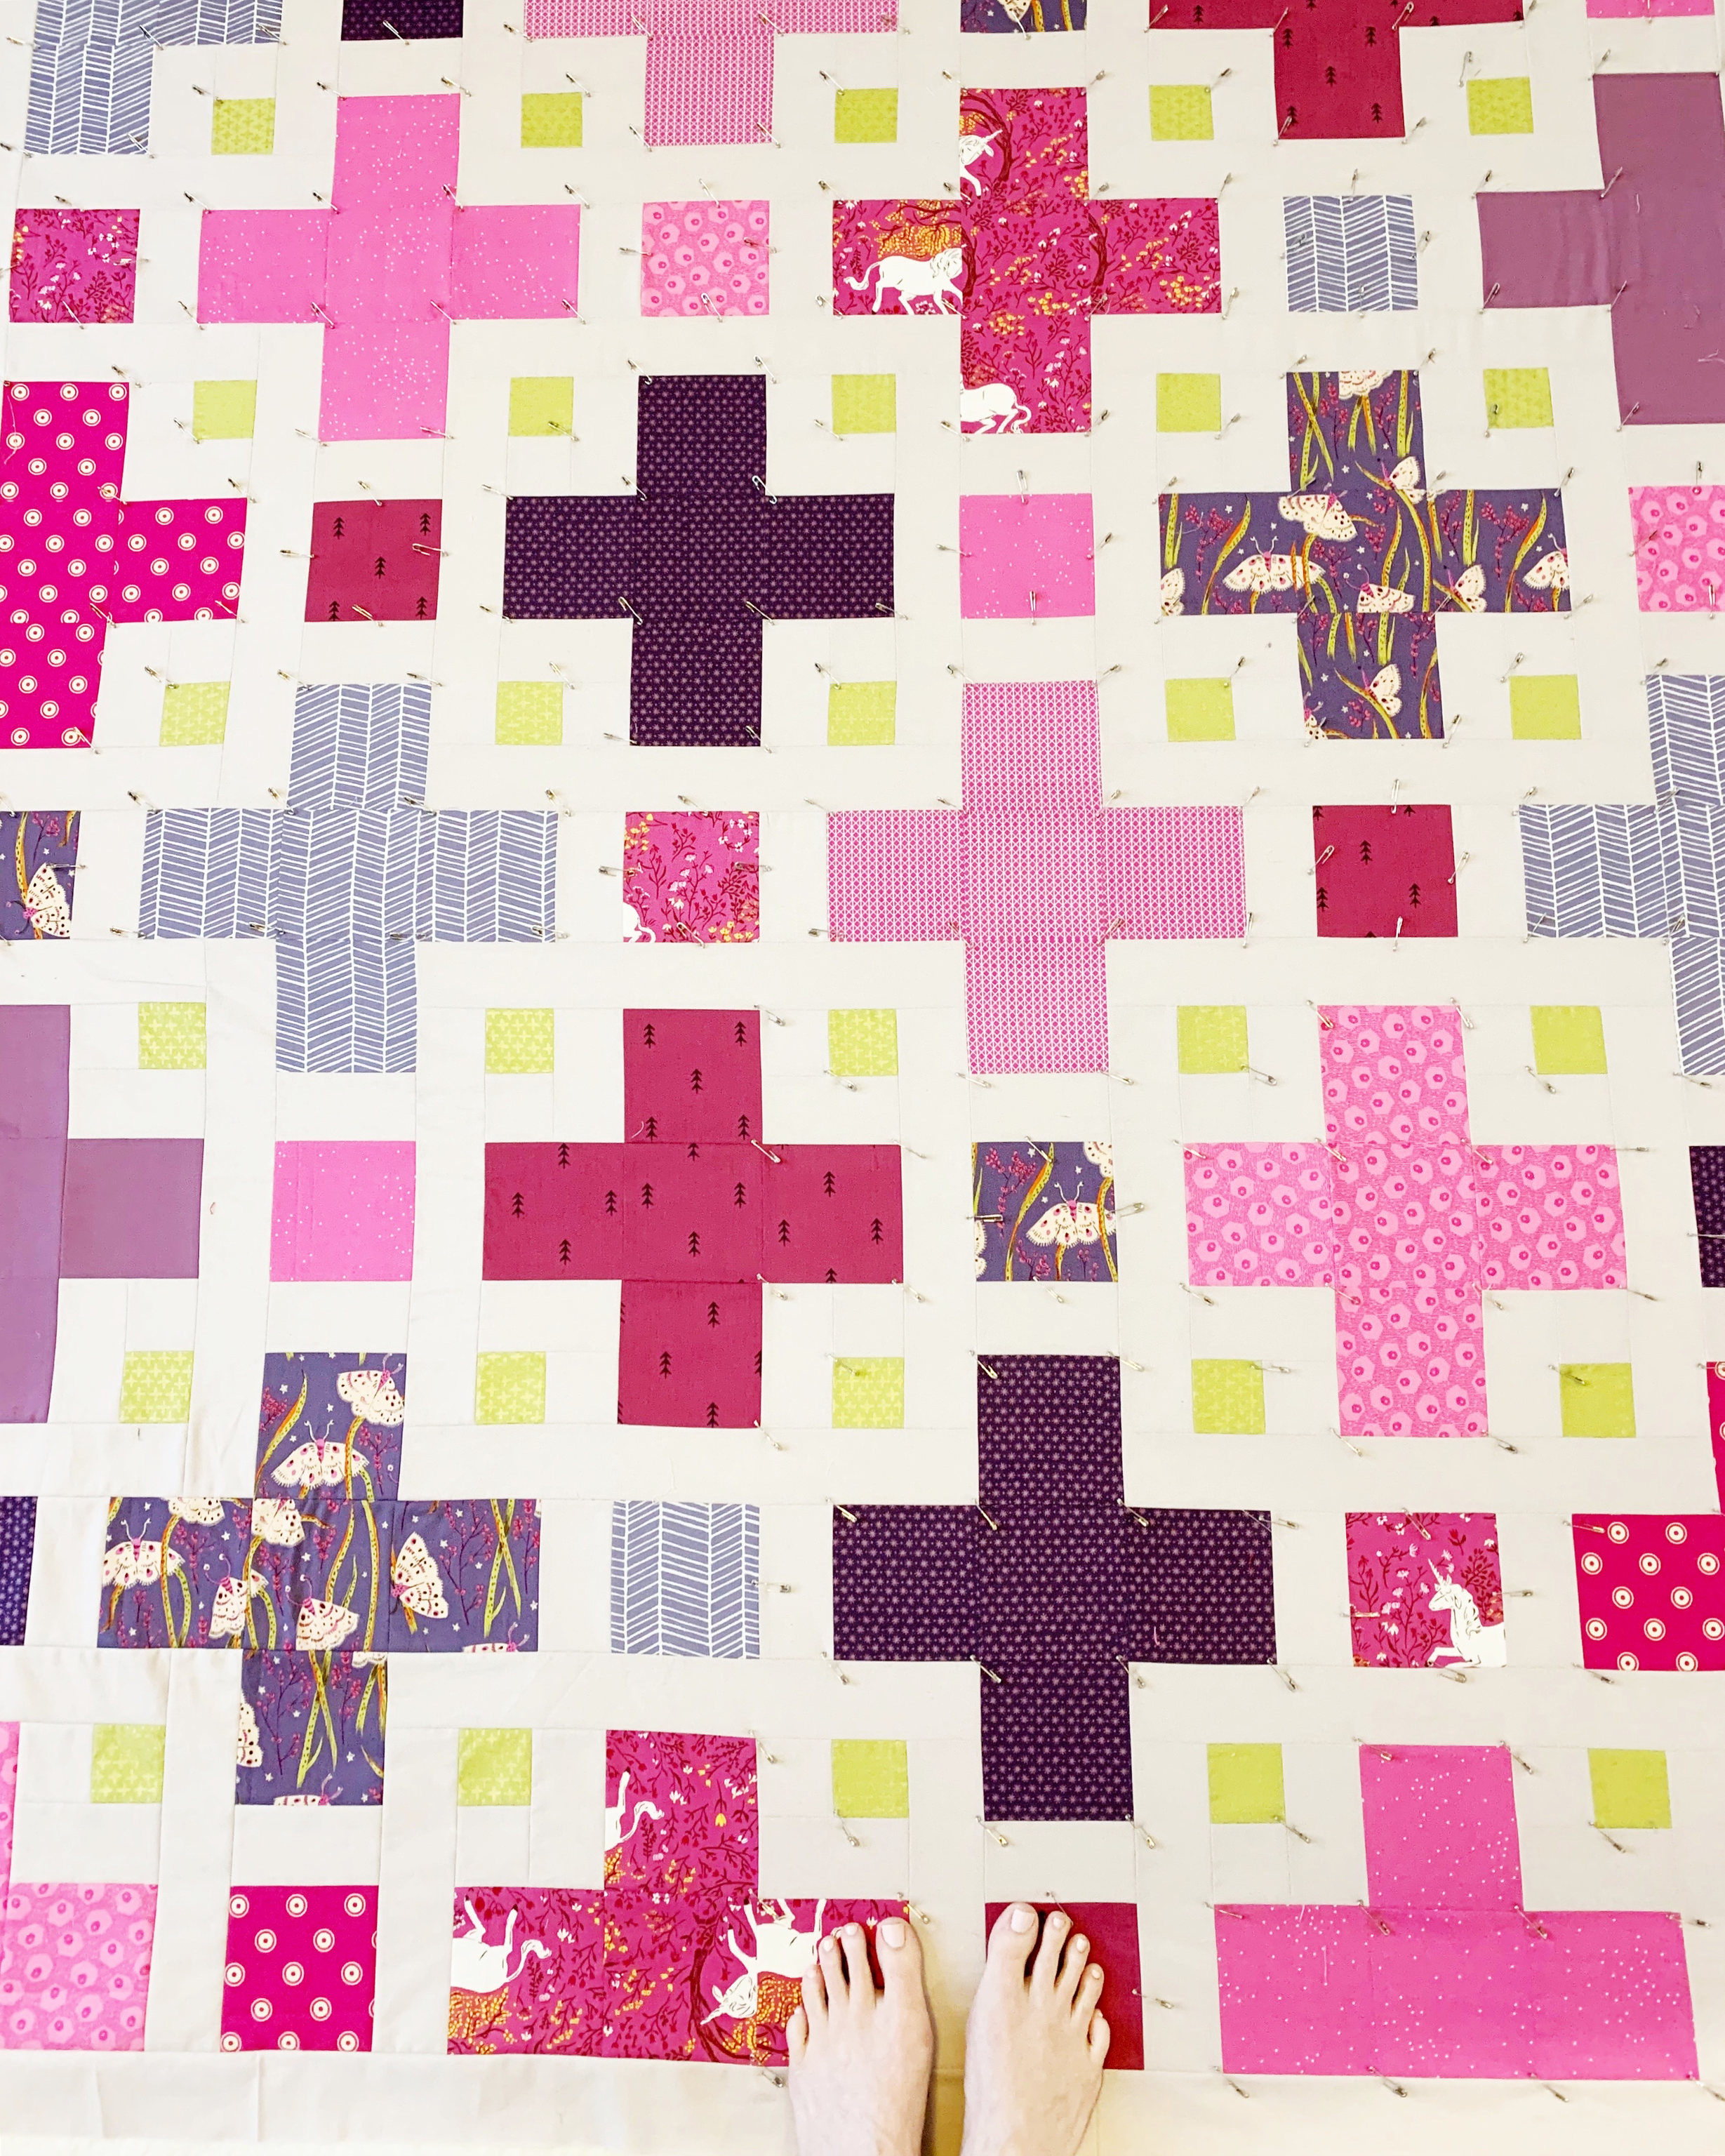
At this point, I always take a photo of my feet while standing on the quilt. I know the feet photos drive some people crazy, but it is a fun way for me to document my quilts and I enjoy doing it.
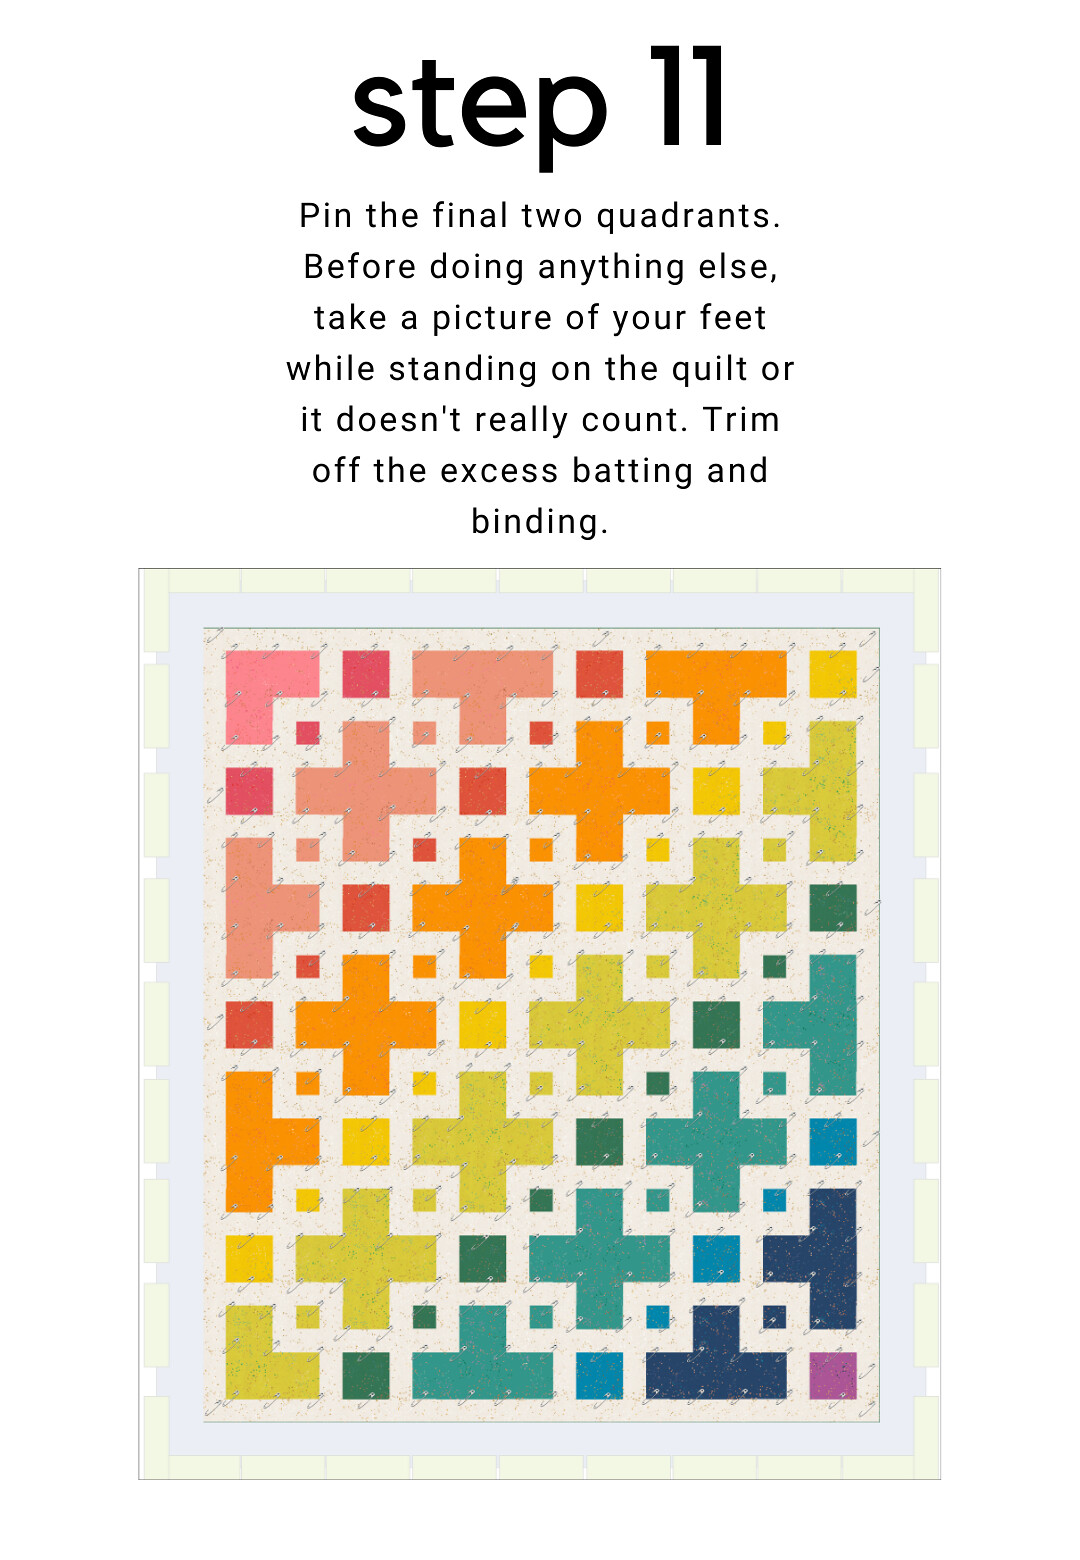
After basting (and taking a photo), trim away the extra backing and batting fabric. You want to leave about 3" of extra batting/backing around each side of the quilt in case you have any shifting while quilting. If you have basted well, you shouldn't have any shifting (or at least only a tiny bit) but better safe than sorry.
Hopefully after reading all of that, you don't hate basting more than ever. I think that once your basting skills improve, you will enjoy it more and finding a system that works for you will really help with that. This is my system and it works really well for me, but you may have a completely different system and that is fine too.

Tomorrow we will be talking about quilting!

Gorgeous varieties!
ReplyDeleteI'm like you. I prefer pin basting and I use the same pins. I'm going to have to try the painter's tape you recommended. I don't like spray baste for the same reasons - sticky residue and chemicals. I really prefer Quilter's Dream Orient for batting for its softness, but I do also use Quilter's Dream Cotton Select. It's easier to find locally. Thanks for a great tutorial.
ReplyDeleteQuilter's Dream is just a really great brand all around - I haven't used one of their battings that I didn't like.
Delete