


If you make the pattern as written, I just want to tell you that cutting your blocks into quarters is going to be easier than you think - I recorded myself cutting all of my blocks and there are lots of tips and advice mixed in with my rambling.
There will probably be many people who are concerned because your blocks are too small, too big, or are not all the same size. Don't worry! We are going to make it work.
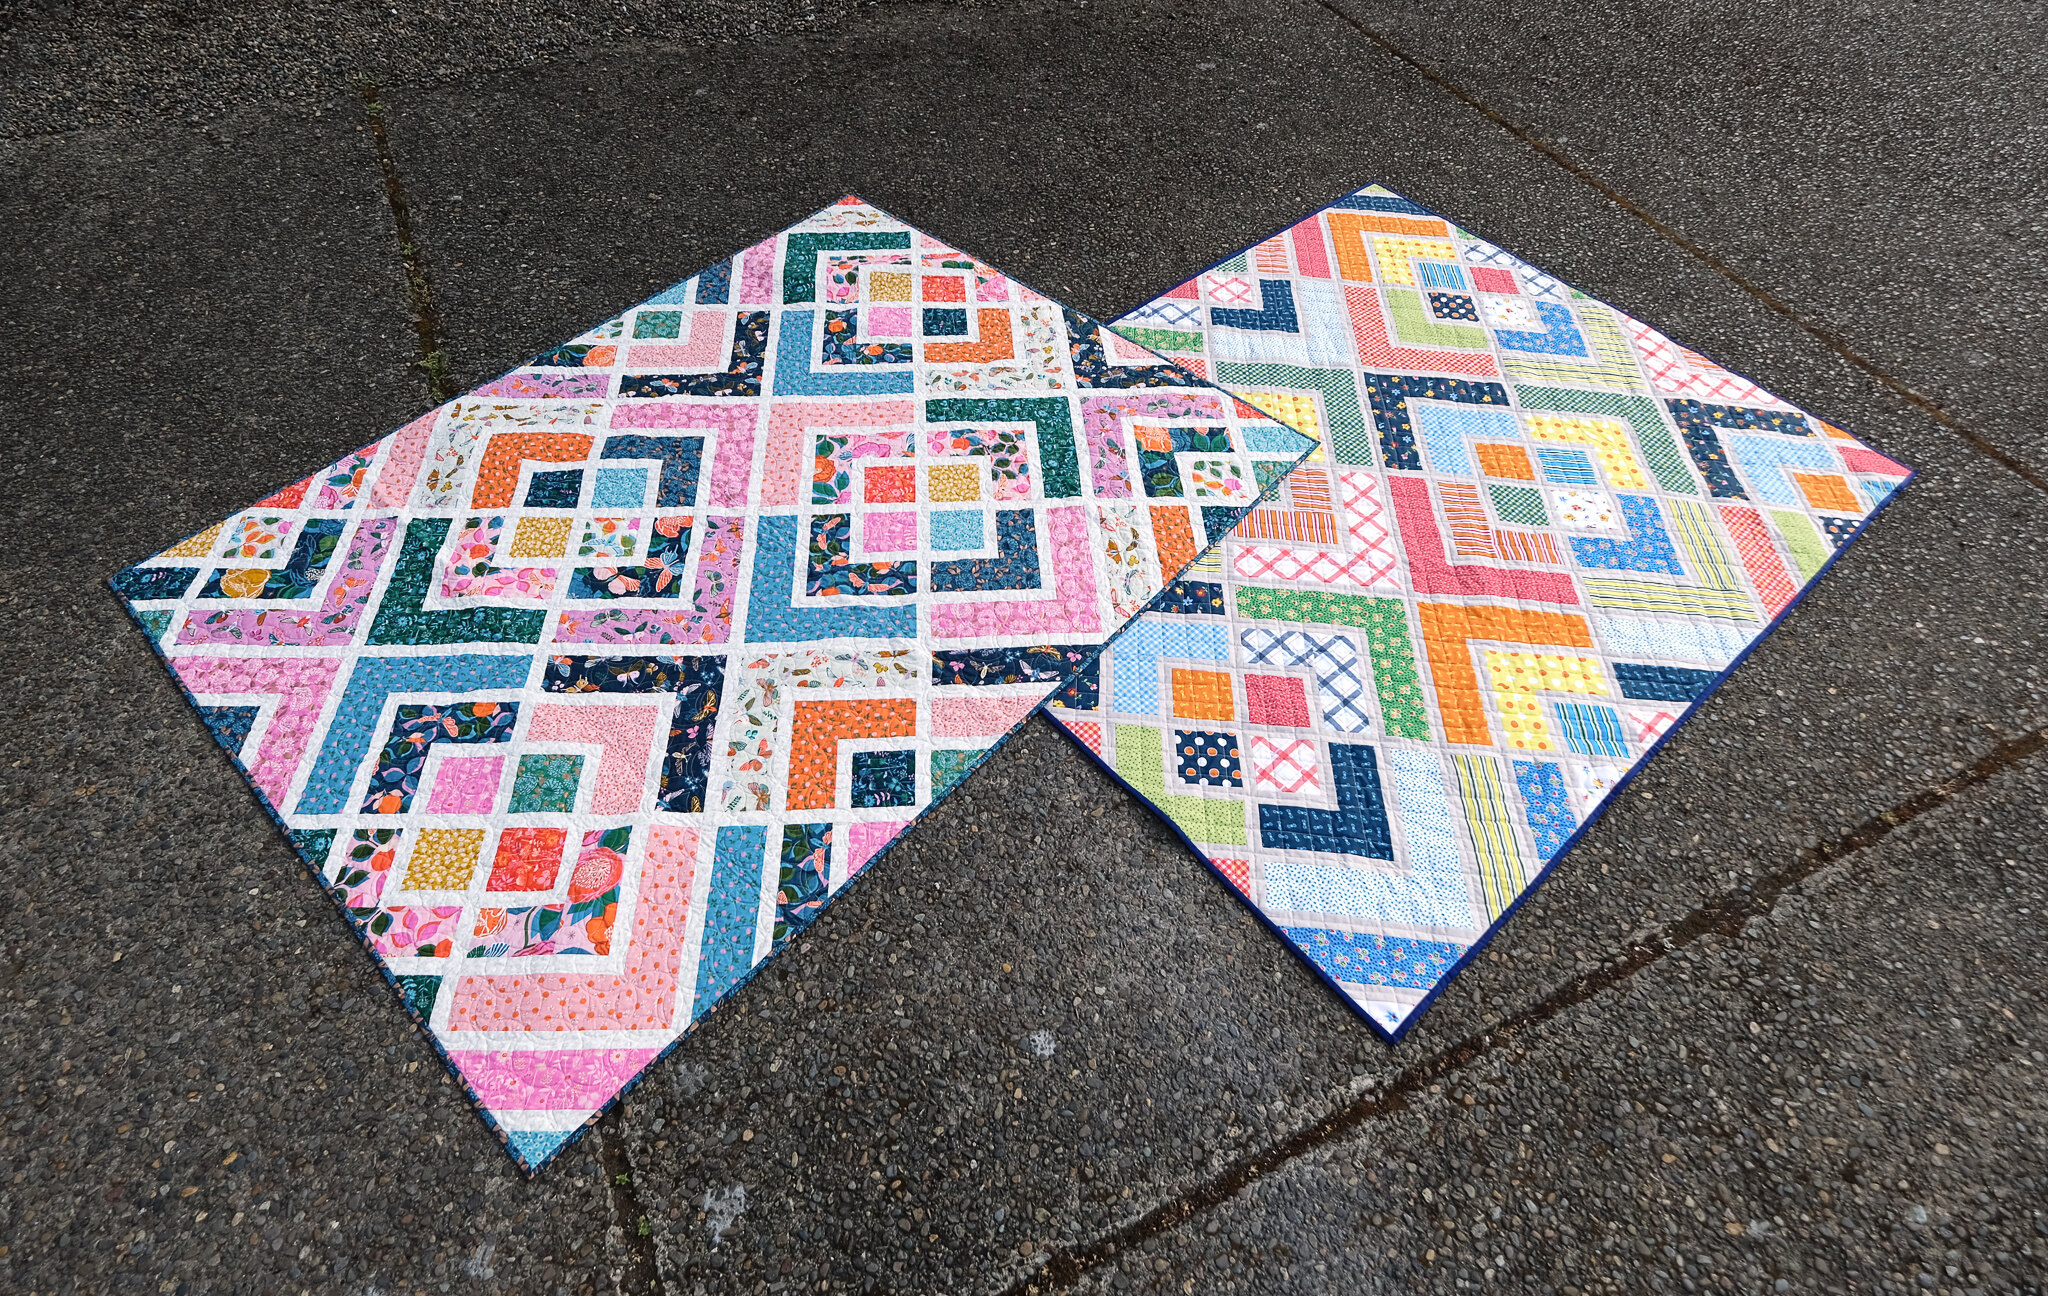
Whether you made the fat quarter version and your blocks are already in quarters or the pattern version and you have big blocks - follow these steps.
1. If you have big blocks, cut your blocks into quarters using the steps in the video. Just do your best.
2. Once your blocks are in quarters, measure the size of the smallest block (if they are different sizes). We will be cutting down the blocks to be this size. The most important thing will be that your blocks are the same size.
3. The second most important thing will be that the proportions are the same for all of your blocks - watch the video below for information on how to trim your blocks to keep the proportions as close as possible. I will try to walk you through all possible scenarios, but if you have an issue that I don't address, let me know and we will figure it out.
4. Once your blocks are the same size, you will need to adjust the size of the smallest Fabric D pieces. The width will remain the same, but now your length will be the size of your blocks. If you blocks ended up 12 1/4" square, then cut your strips 12 1/4" long. If your blocks ended up 12" square, then cut your strips 12" long.
5. Trimming your blocks will result in a slightly smaller quilt top and will change the size of long sashing that you need. Don't call the quilt police on me, but go ahead and make the long sashing size listed in the pattern. We will be trimming the edges of the quilt top anyway and I will show you a tip for keeping everything lined up when we get to the quilt top construction part of the QAL.
Here is a video that is hopefully more helpful than confusing. I talk you through different scenarios and how to make adjustments if your blocks aren't the correct size. If you have any further issues, please send me an email or contact me on Instagram!
This week we will also work on our quilt top layout a little bit. Don't worry if you don't reach that point - next week we are working on sashing so we still have plenty of time before we start piecing our quilt top!


This comment has been removed by a blog administrator.
ReplyDeleteThis comment has been removed by a blog administrator.
ReplyDelete